

- Top Links auf dieser Webpage:
Mein Youtube Kanal:
10micron GM3000HPS
It is late autumn 2022, the global pandemic is still leaving its mark after more than 2 years and the war in Ukraine is plunging Europe into an economic and energy crisis.
Time to save and wait...right???
Well, I just bought a 10micron GM3000 HPS mount...
All that money for a hobby....
Necessary? Probably not.
Crazy? Probably yes.
Nevertheless, the 10micron GM3000 HPS is the ultimate observatory mount for the amateur astrophotographer in 2022.
"HPS means “High Precision and Speed” and is the name for the new series of astronomical mounts by 10micron. The HPS mounts feature two high-precision absolute encoders mounted directly on each axis to ensure unprecedented pointing and tracking accuracy, and high performance servo motors and drivers for high speed pointing."
When I first saw the GM3000 in 2014 at the Astro Trade Show ATT here in Essen, Germany, right next to the GM2000 HPS, I thought to myself: this is the perfect observatory mount - larger than the GM2000 for more payload, but not as exceptionally large as the GM4000, which is massively oversized for most amateurs.
But at that time this was still a long way off for me and I was satisfied with my GM2000QCI, which for a long time was the measure of all things for astronomical mounts.
But with the years, the telescopes grow - an experience that probably many astronomers make - and so do the ambitions. And since one is not getting any younger, at some point the thought came to finally stop playing and start working seriously - after all, life time is limited.
However, I have to admit that my small home observatory is not the best place on earth to observe stars. Here, in the northern part of the Ruhrgebiet, one of the largest metropolitan areas in Europe, it does not get dark at night. Under a Bortle 7 sky you can hardly observe visually and astrophotography is possible only with many tricks - and quite sure not on a world class level.
Is it still worth investing a lot of time and money in such an equipment and hobby? Well, the simple answer I have found for myself is: here I am at home and here I want to get the best out of it!
So let's get started with unboxing and setting up the GM3000!
I have also made a short video abou unboxing, installation and test of the GM3000. It can be watched on youtube.
10micron GM3000HPS unboxing
The big unboxing day - so to say a present for my 50th birthday.
When I opened the pallet box in which the GM3000 is delivered by the European distributor, I realized how big this mount actually is - compared to the GM2000, which is delivered in a card board box with foam.
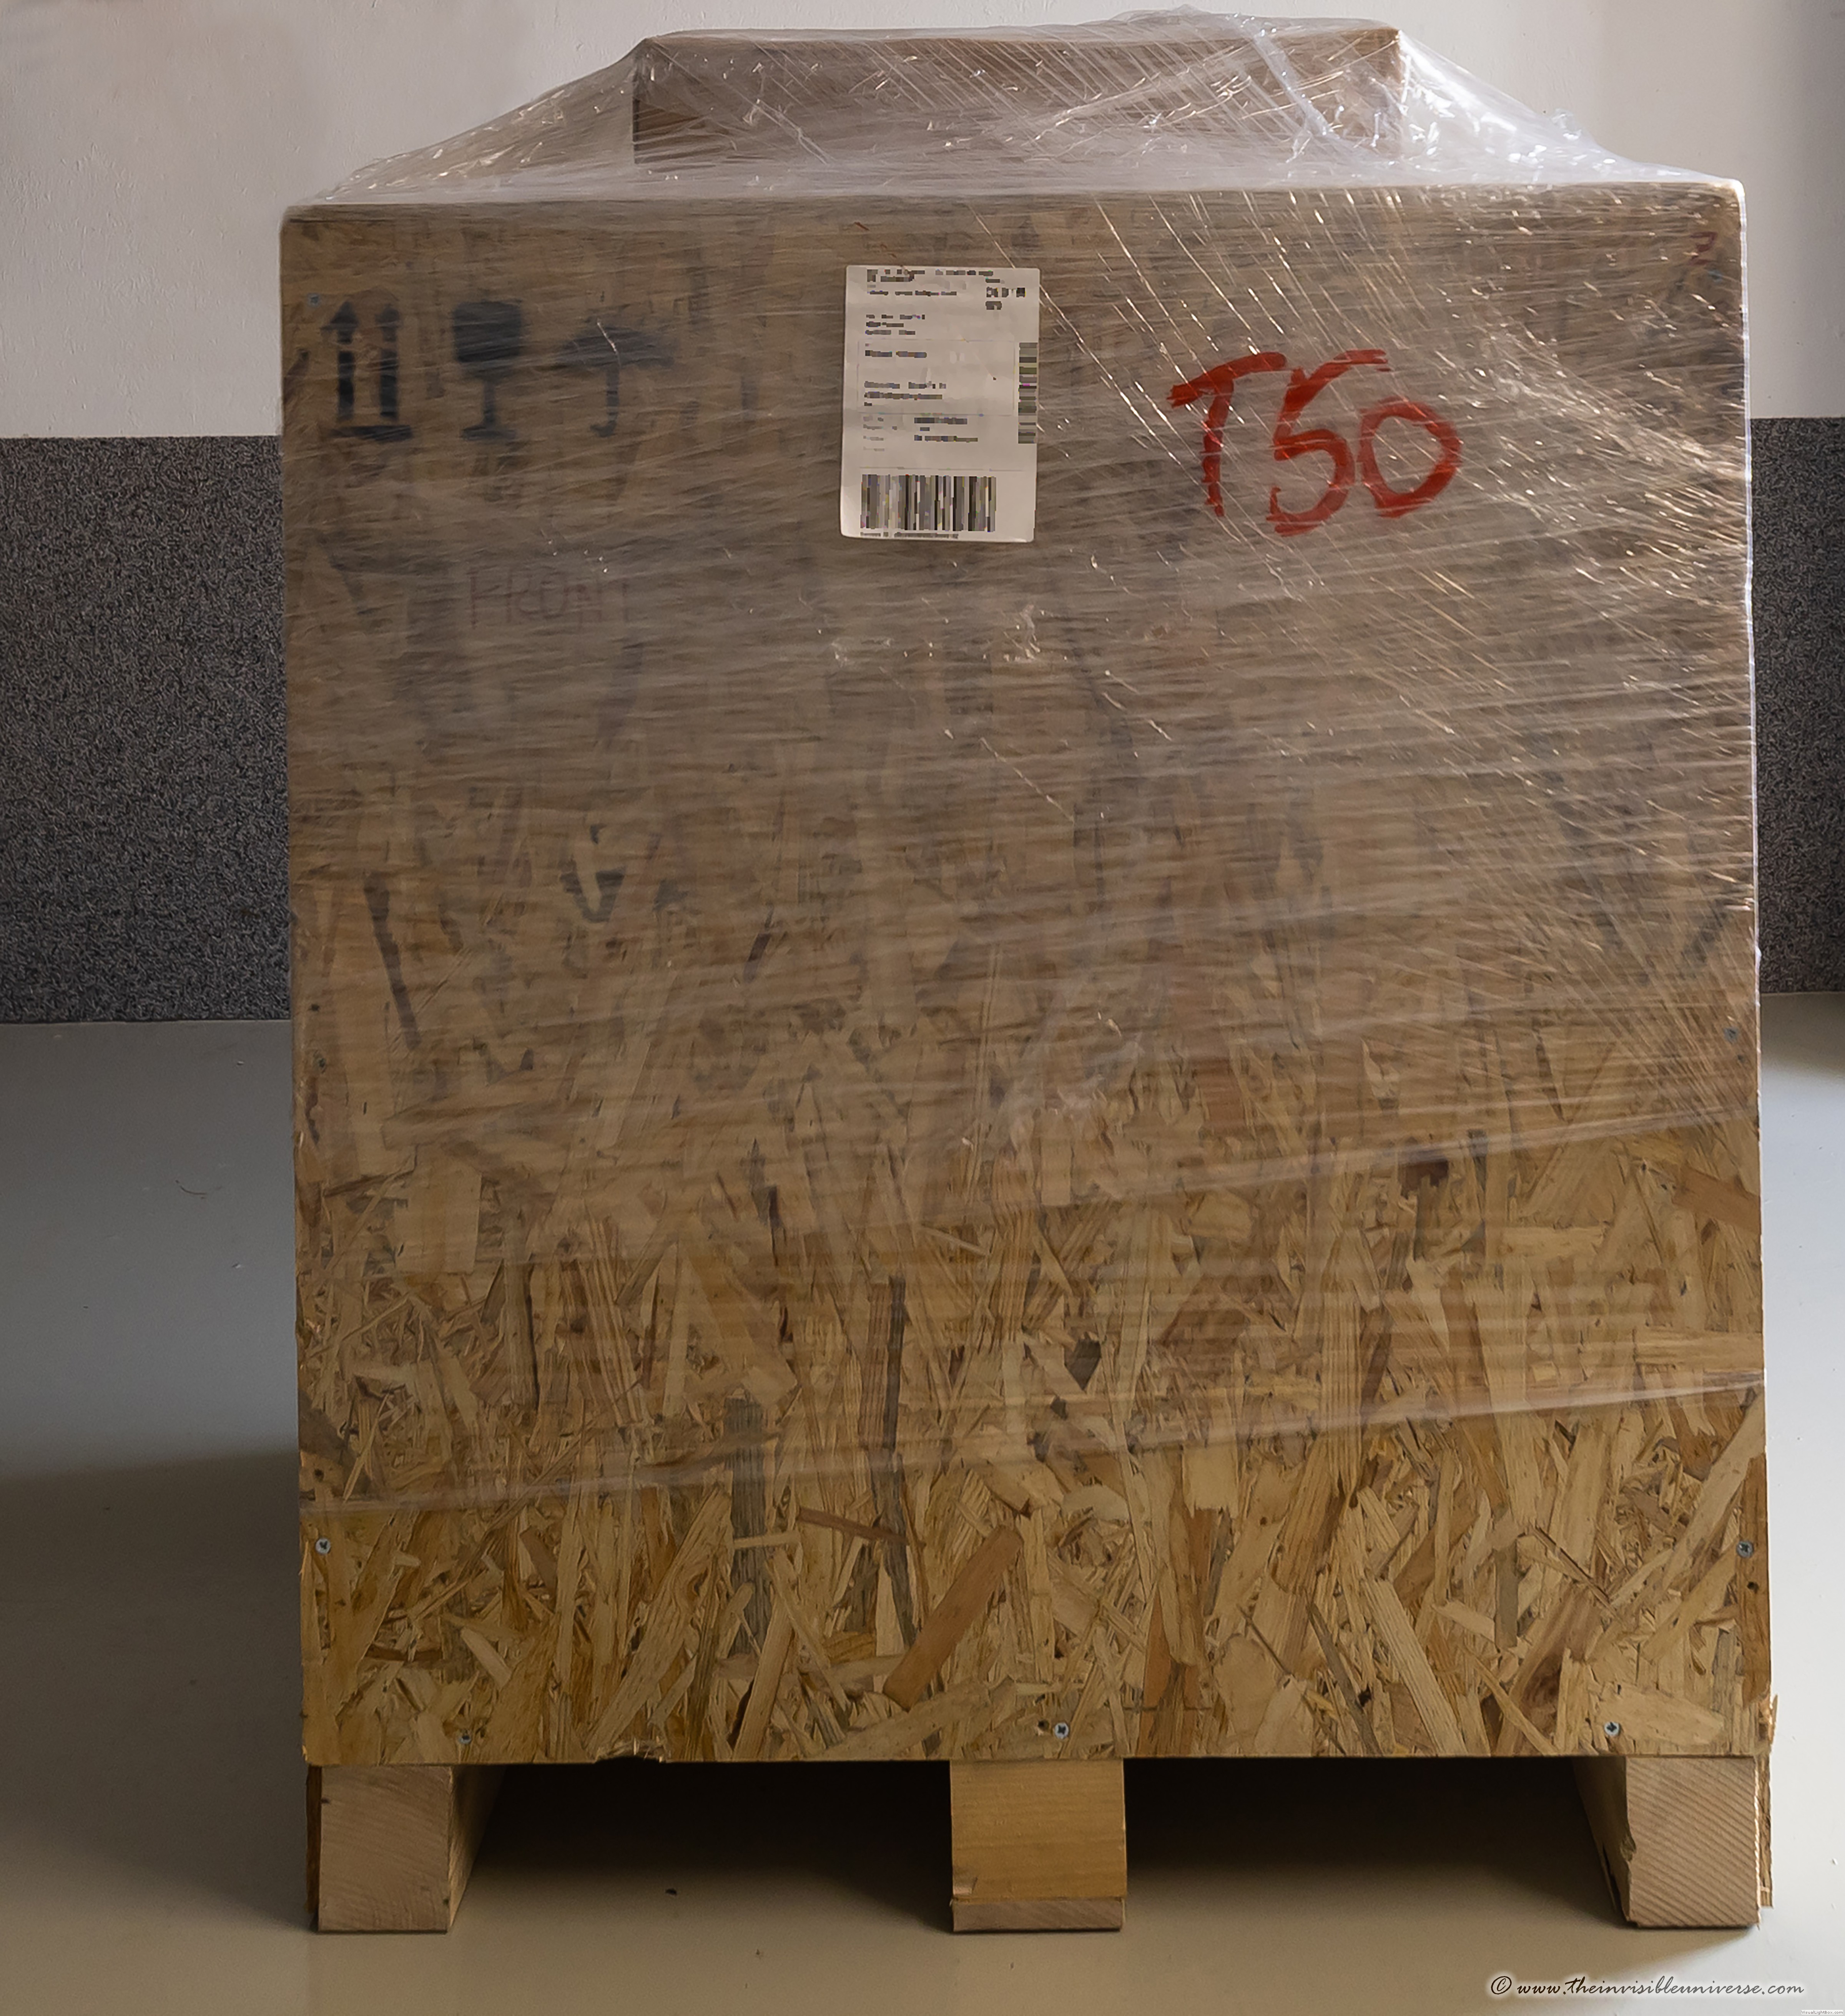 10micron GM3000HPS in a pallet box which must be aquired mandatory
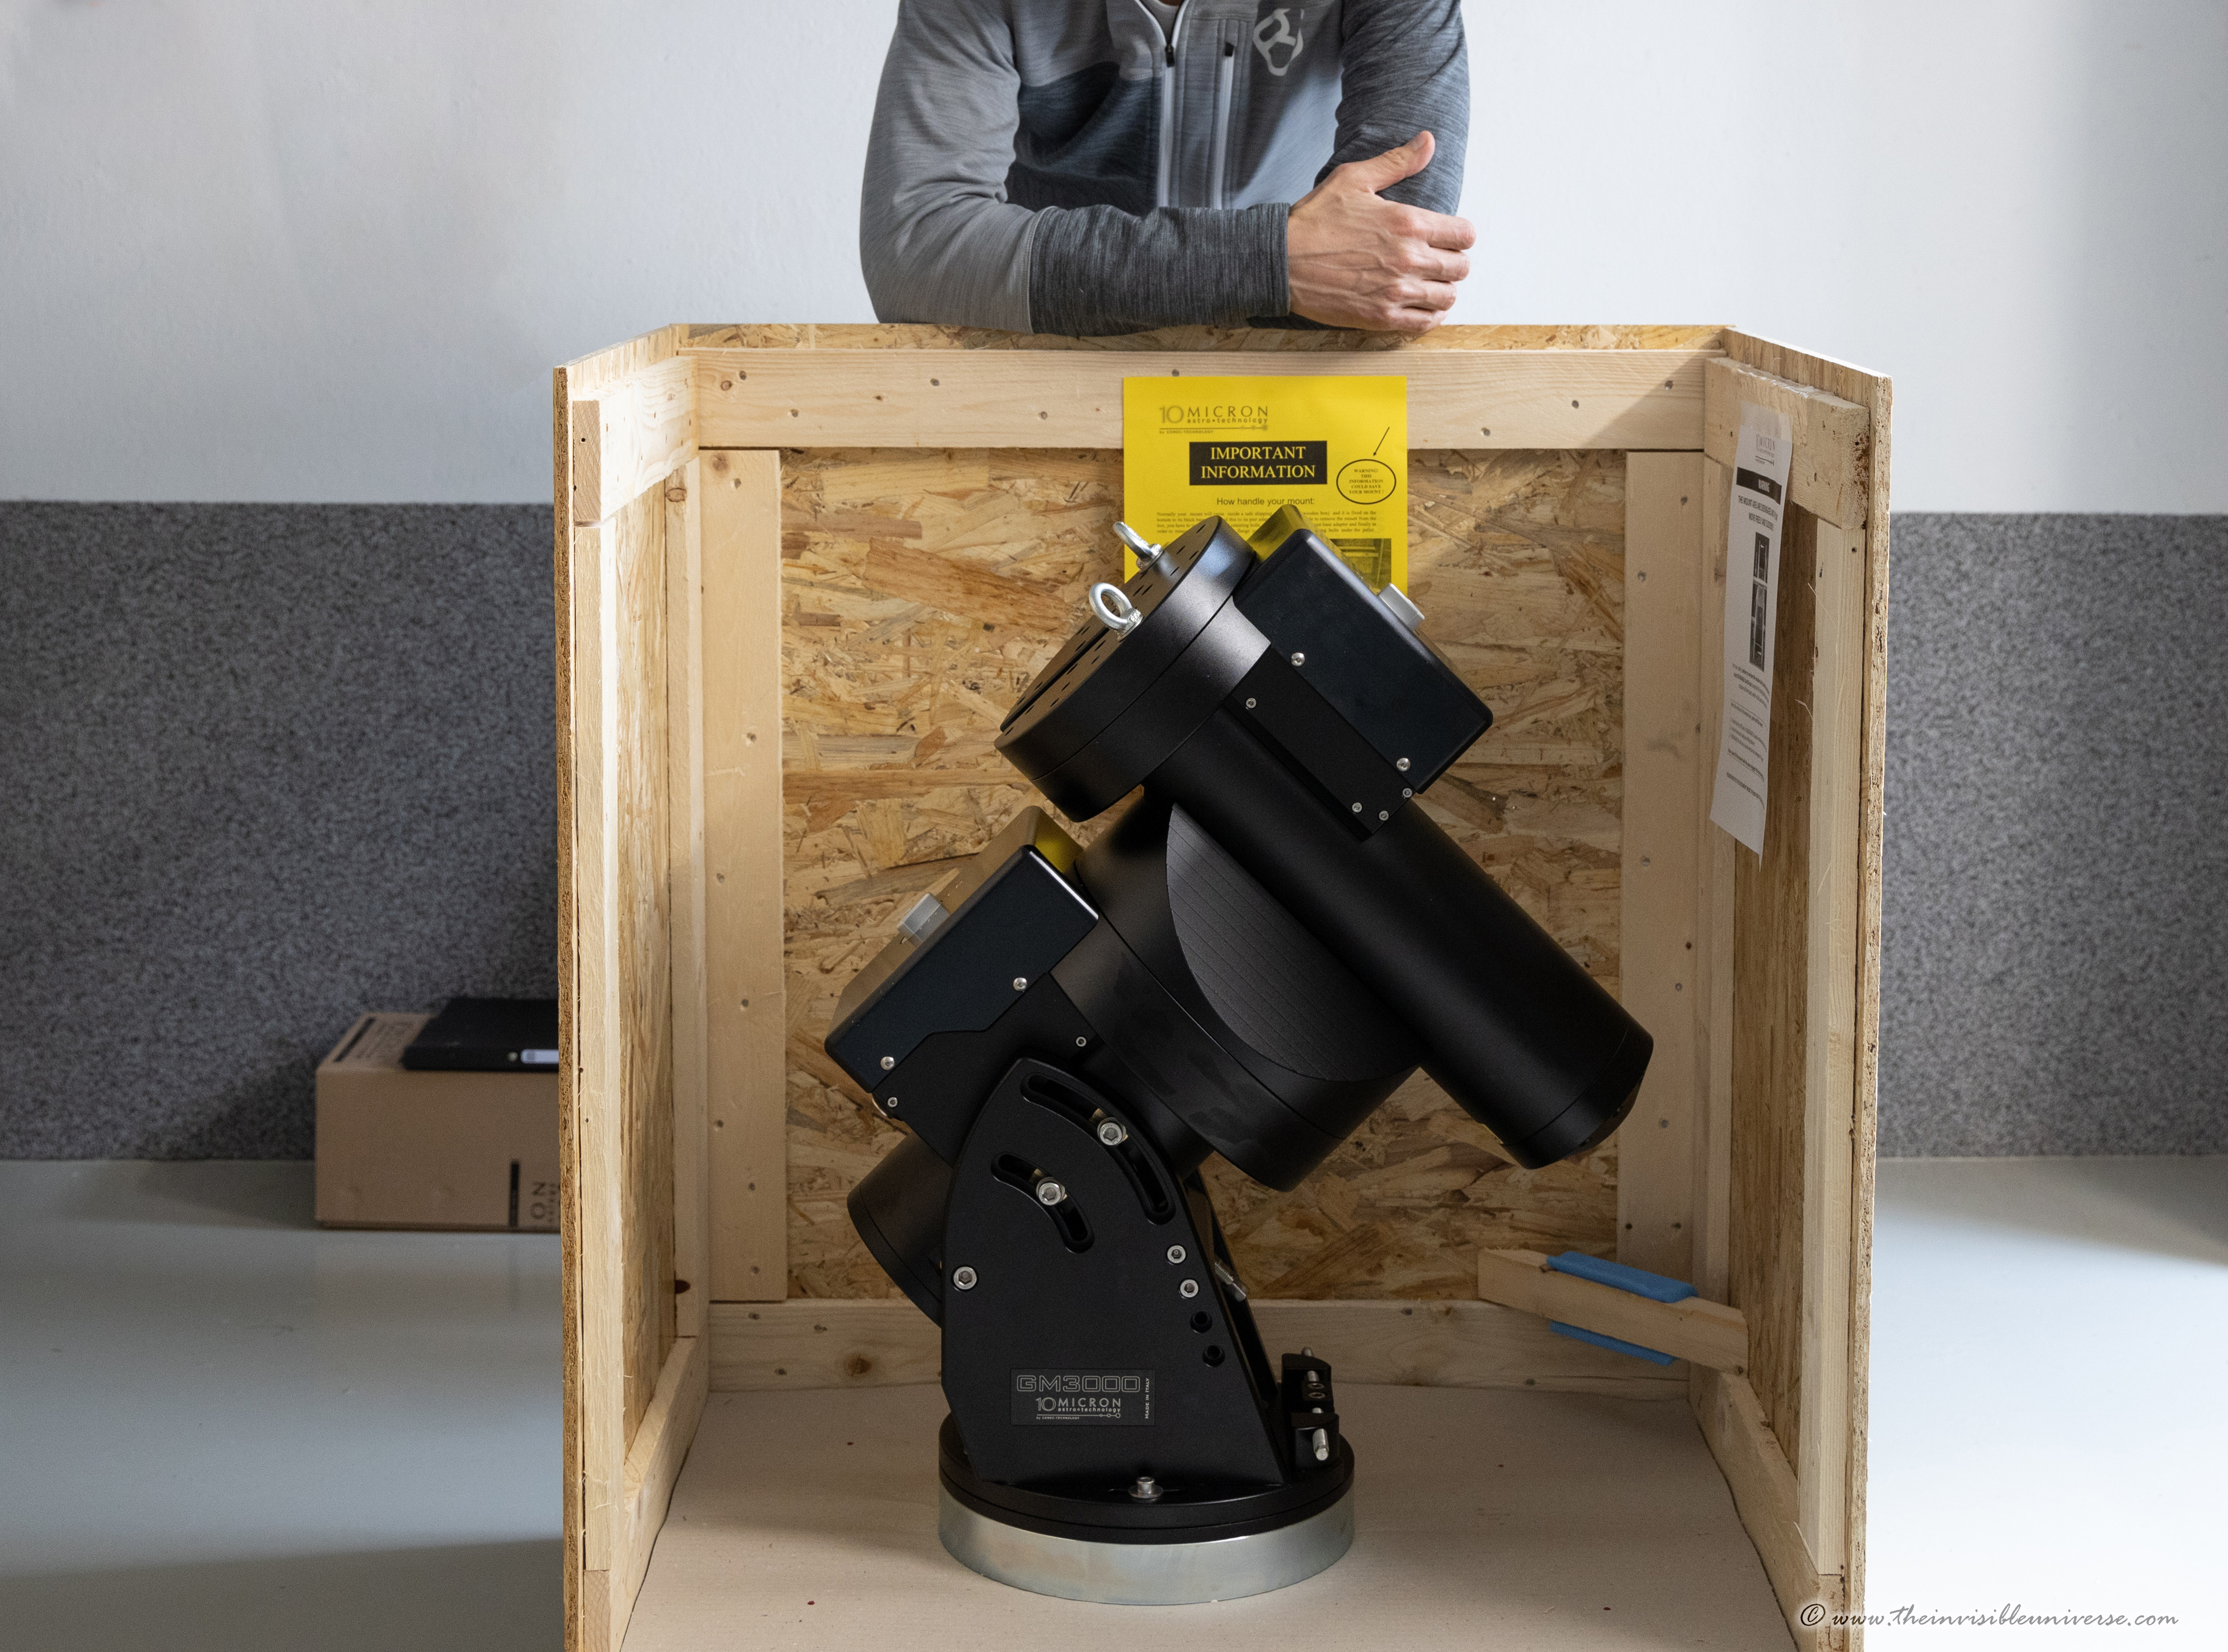
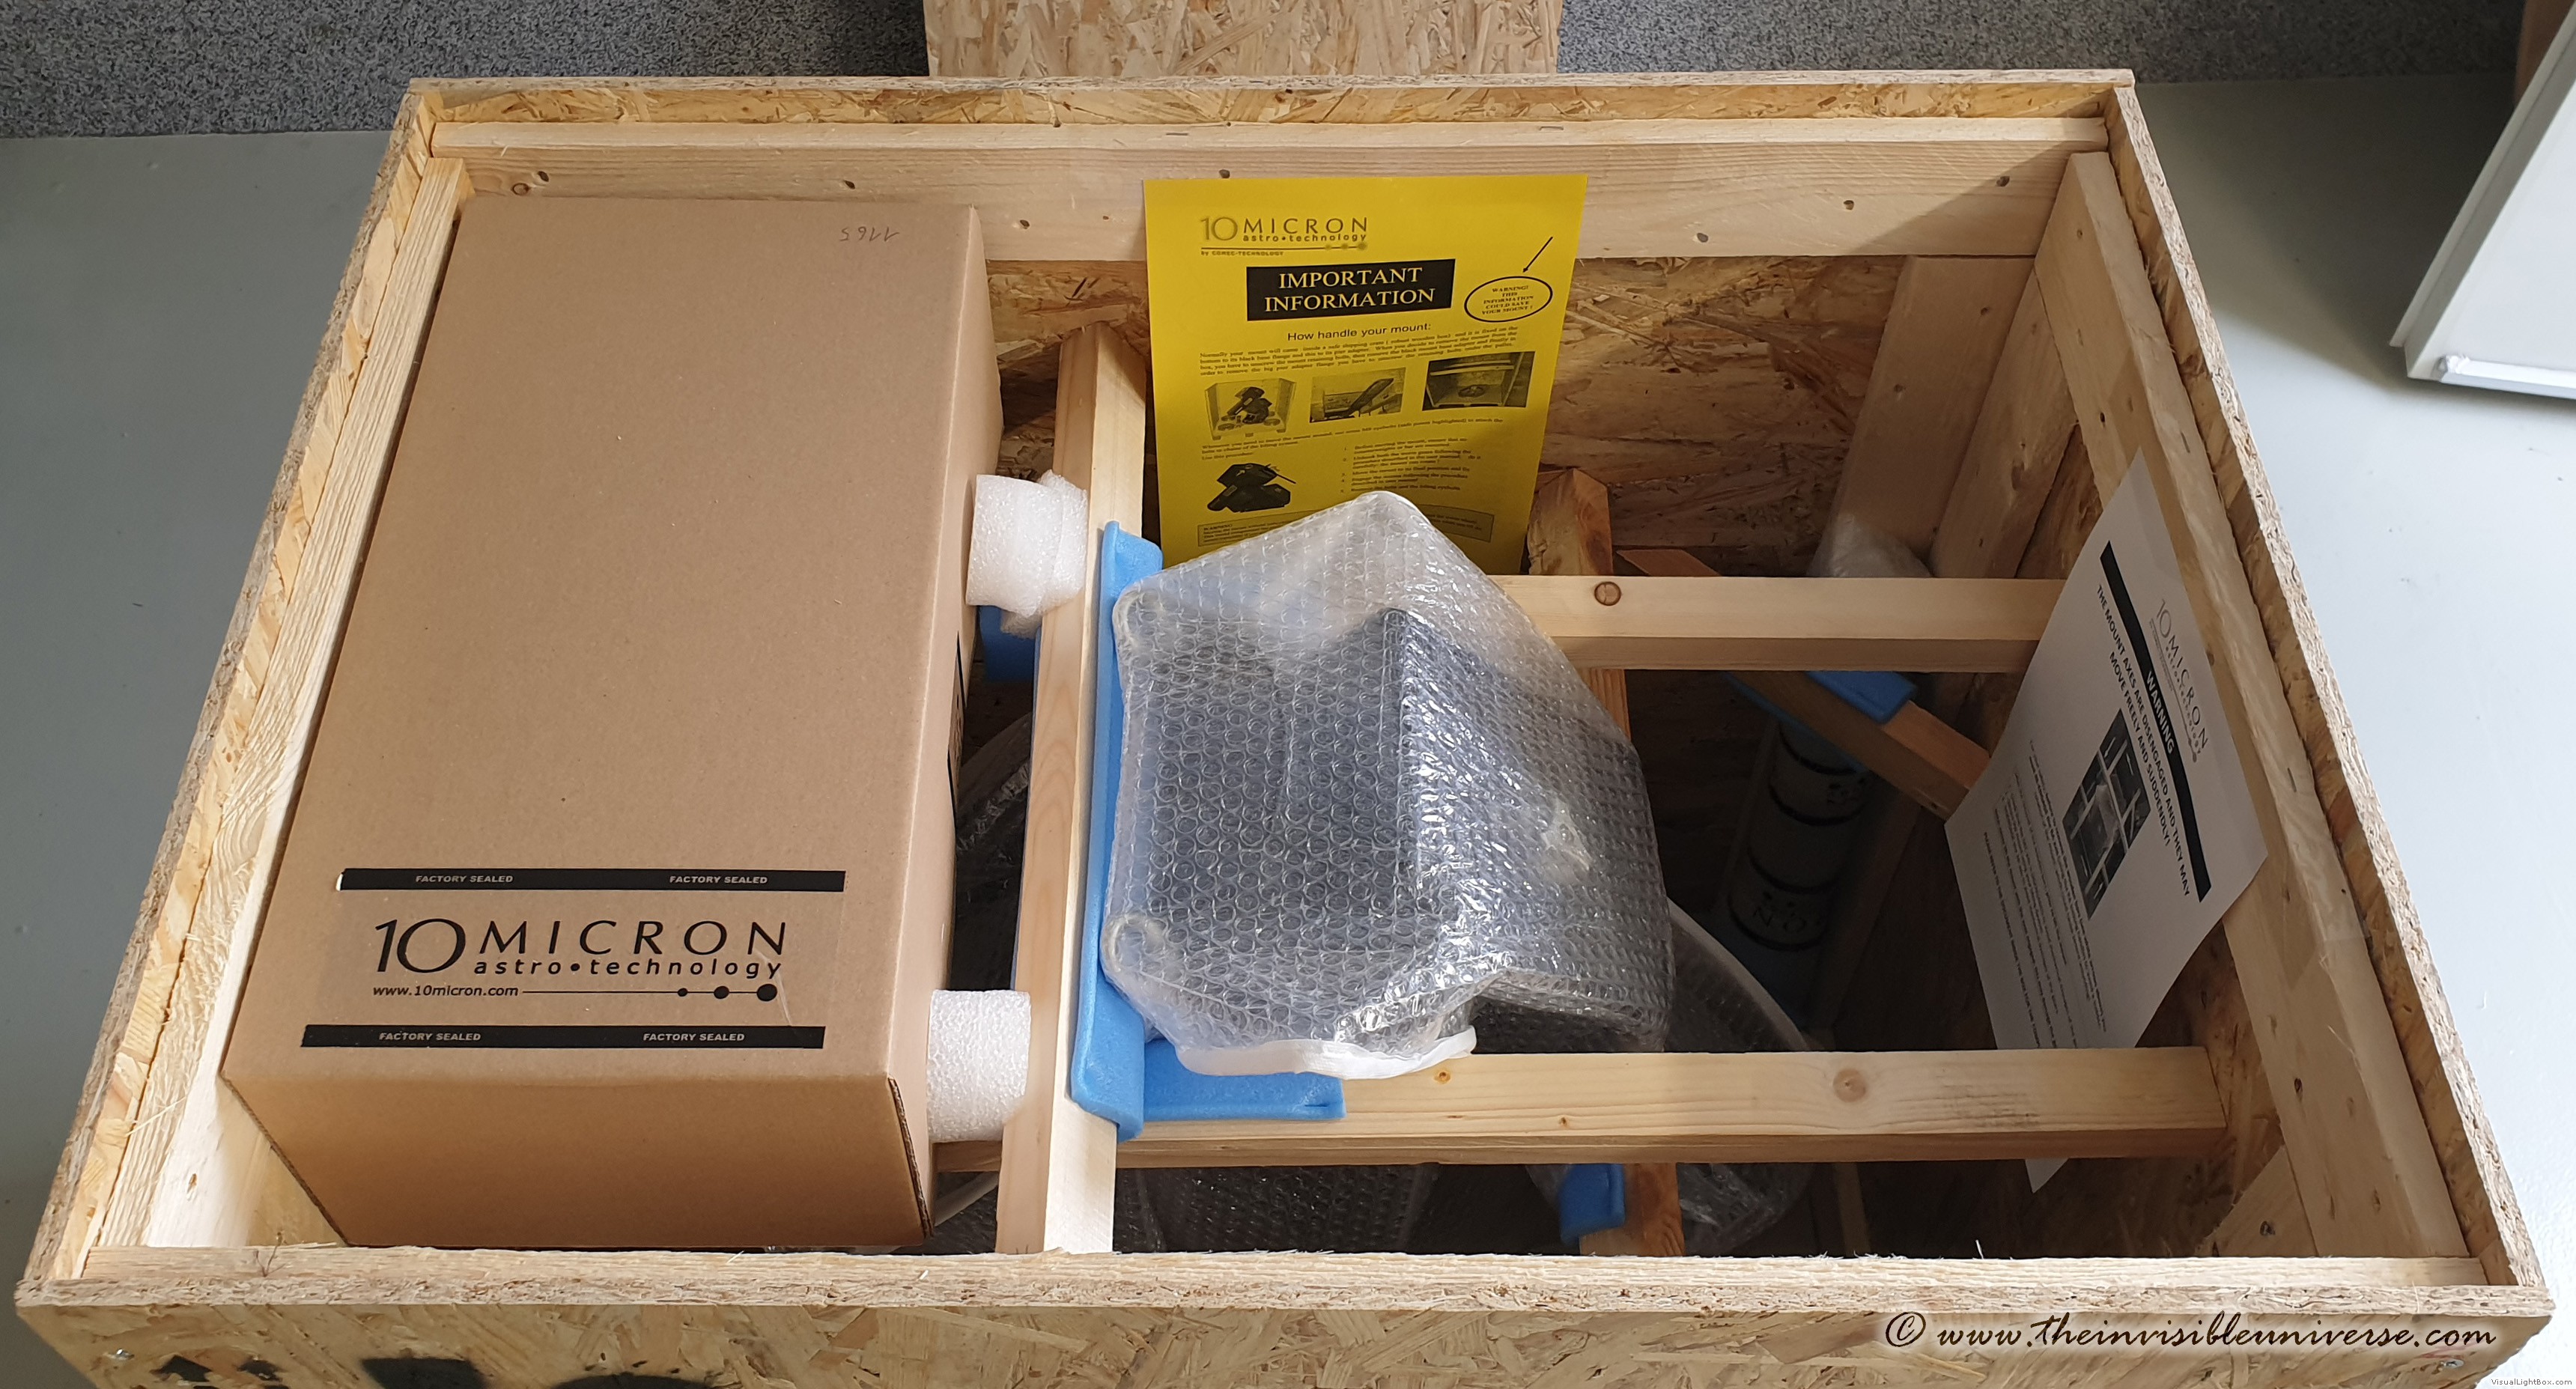 First glance into the pallet box - what monster is inside?
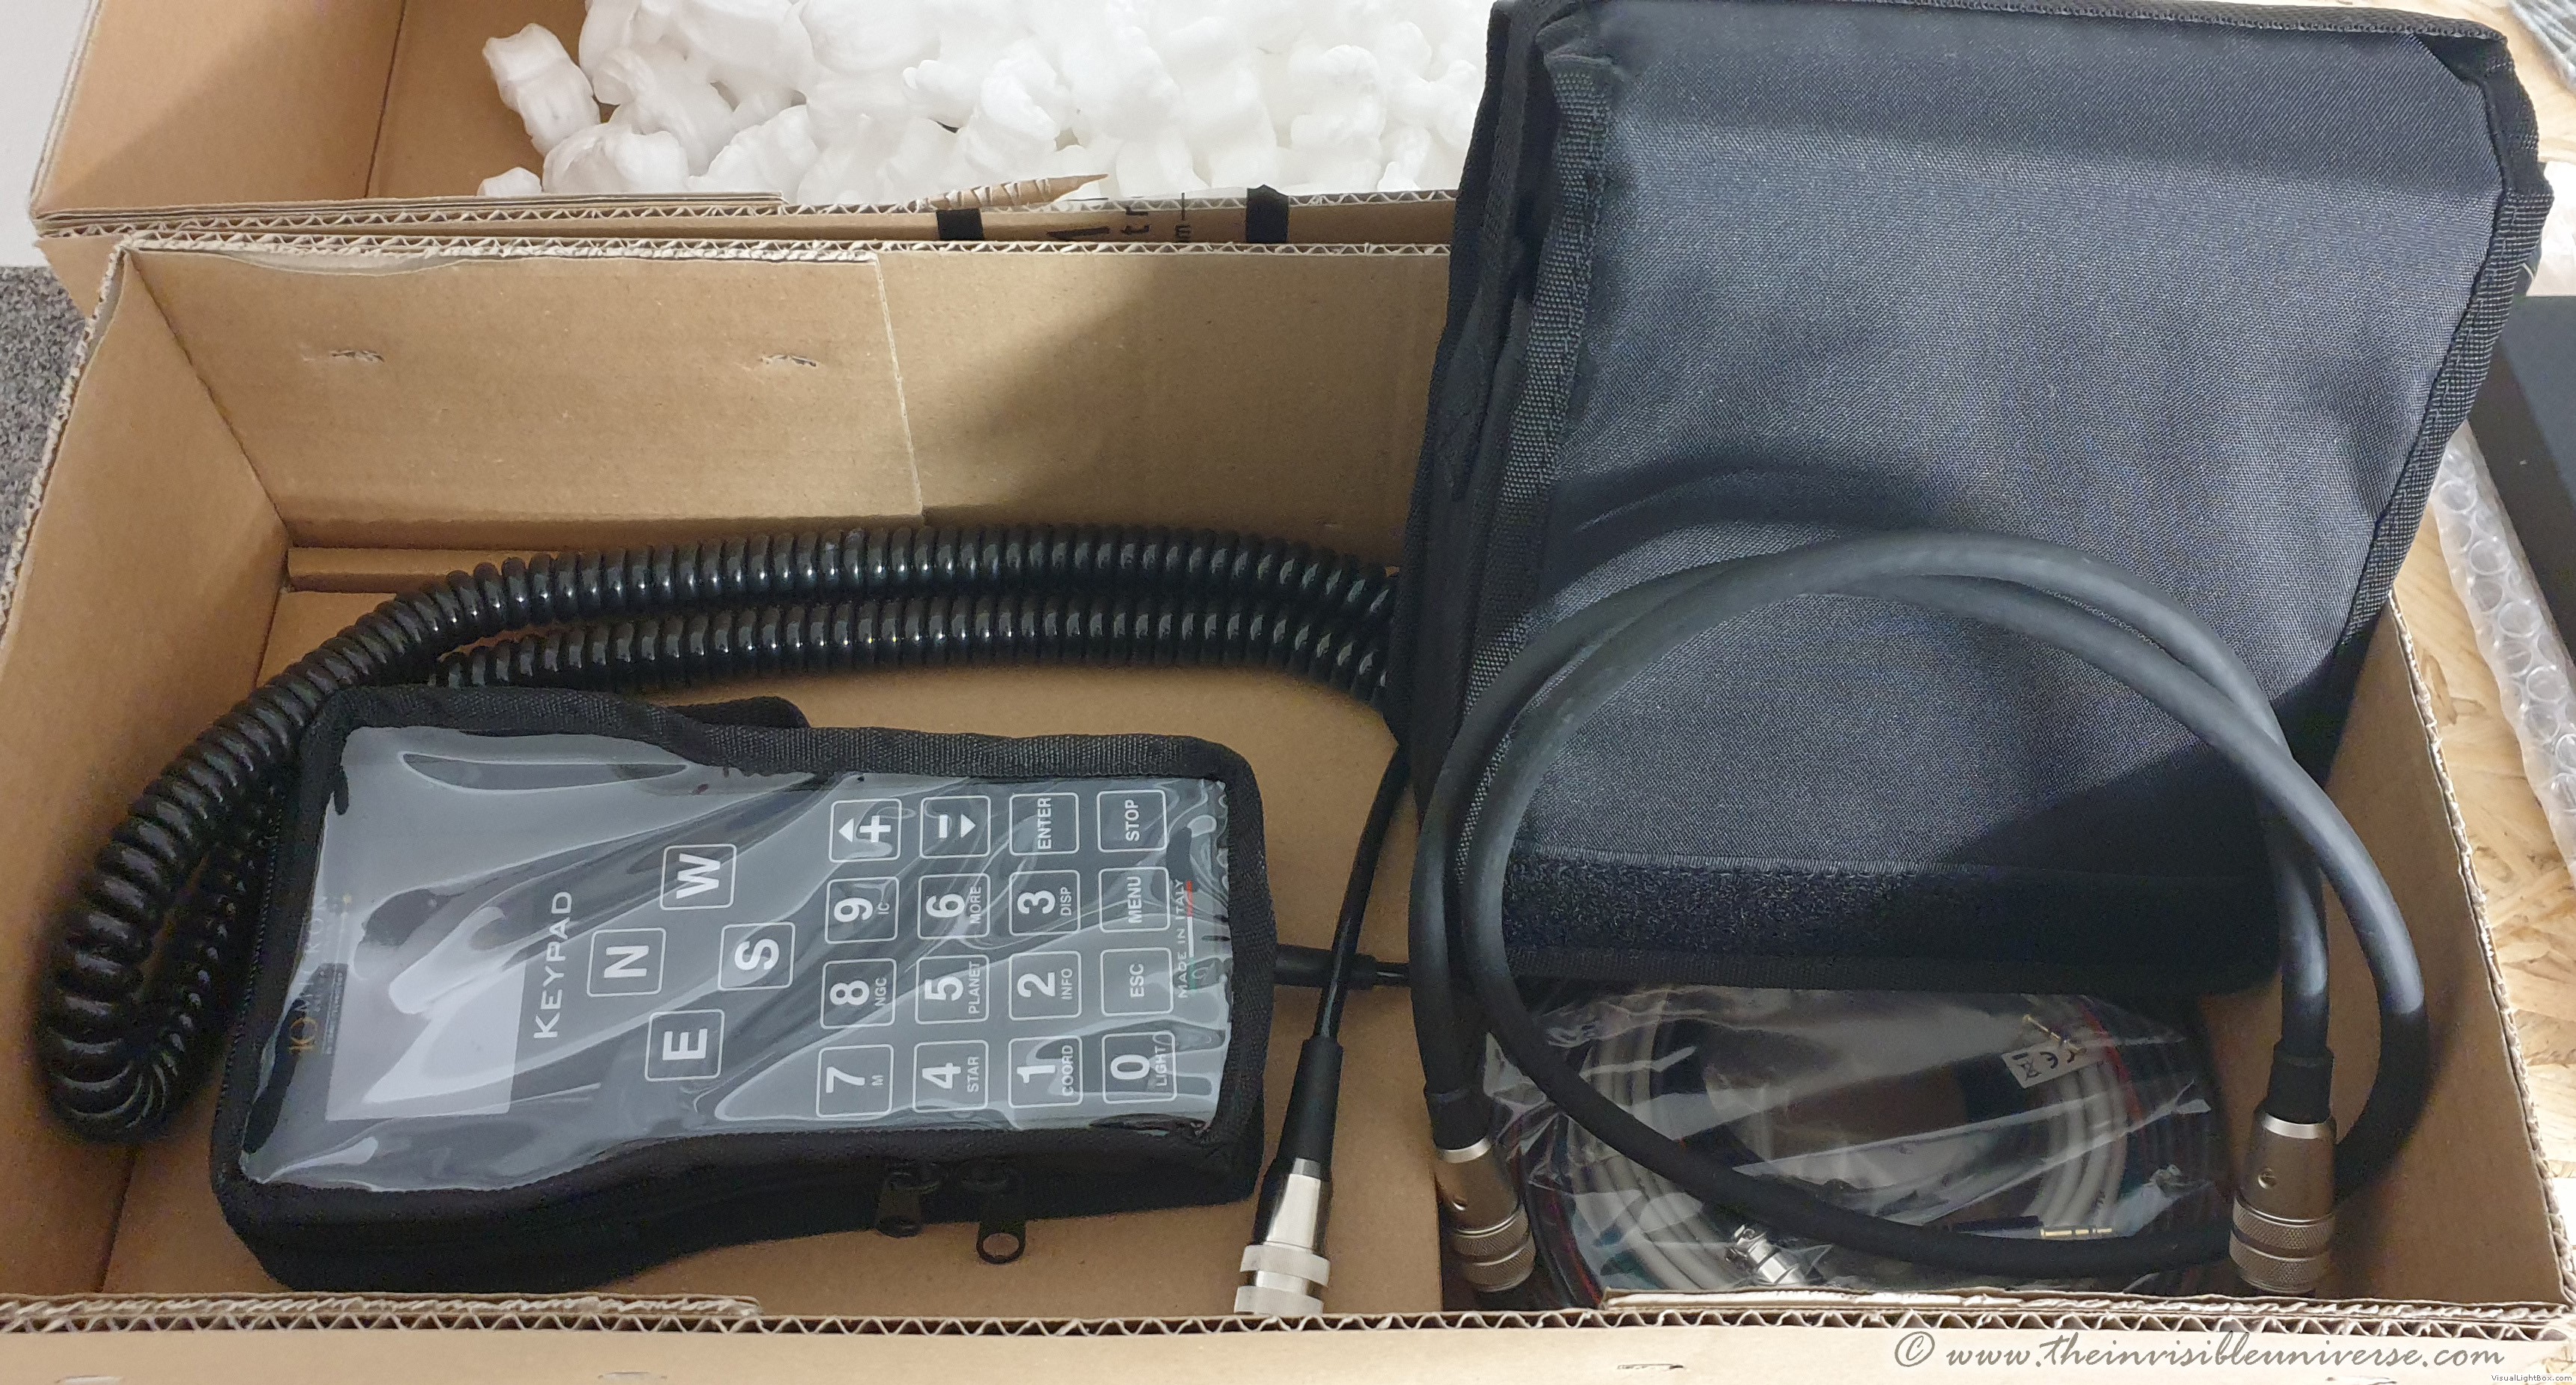 The accessory card box with the excellent hand controller and motor cabel.
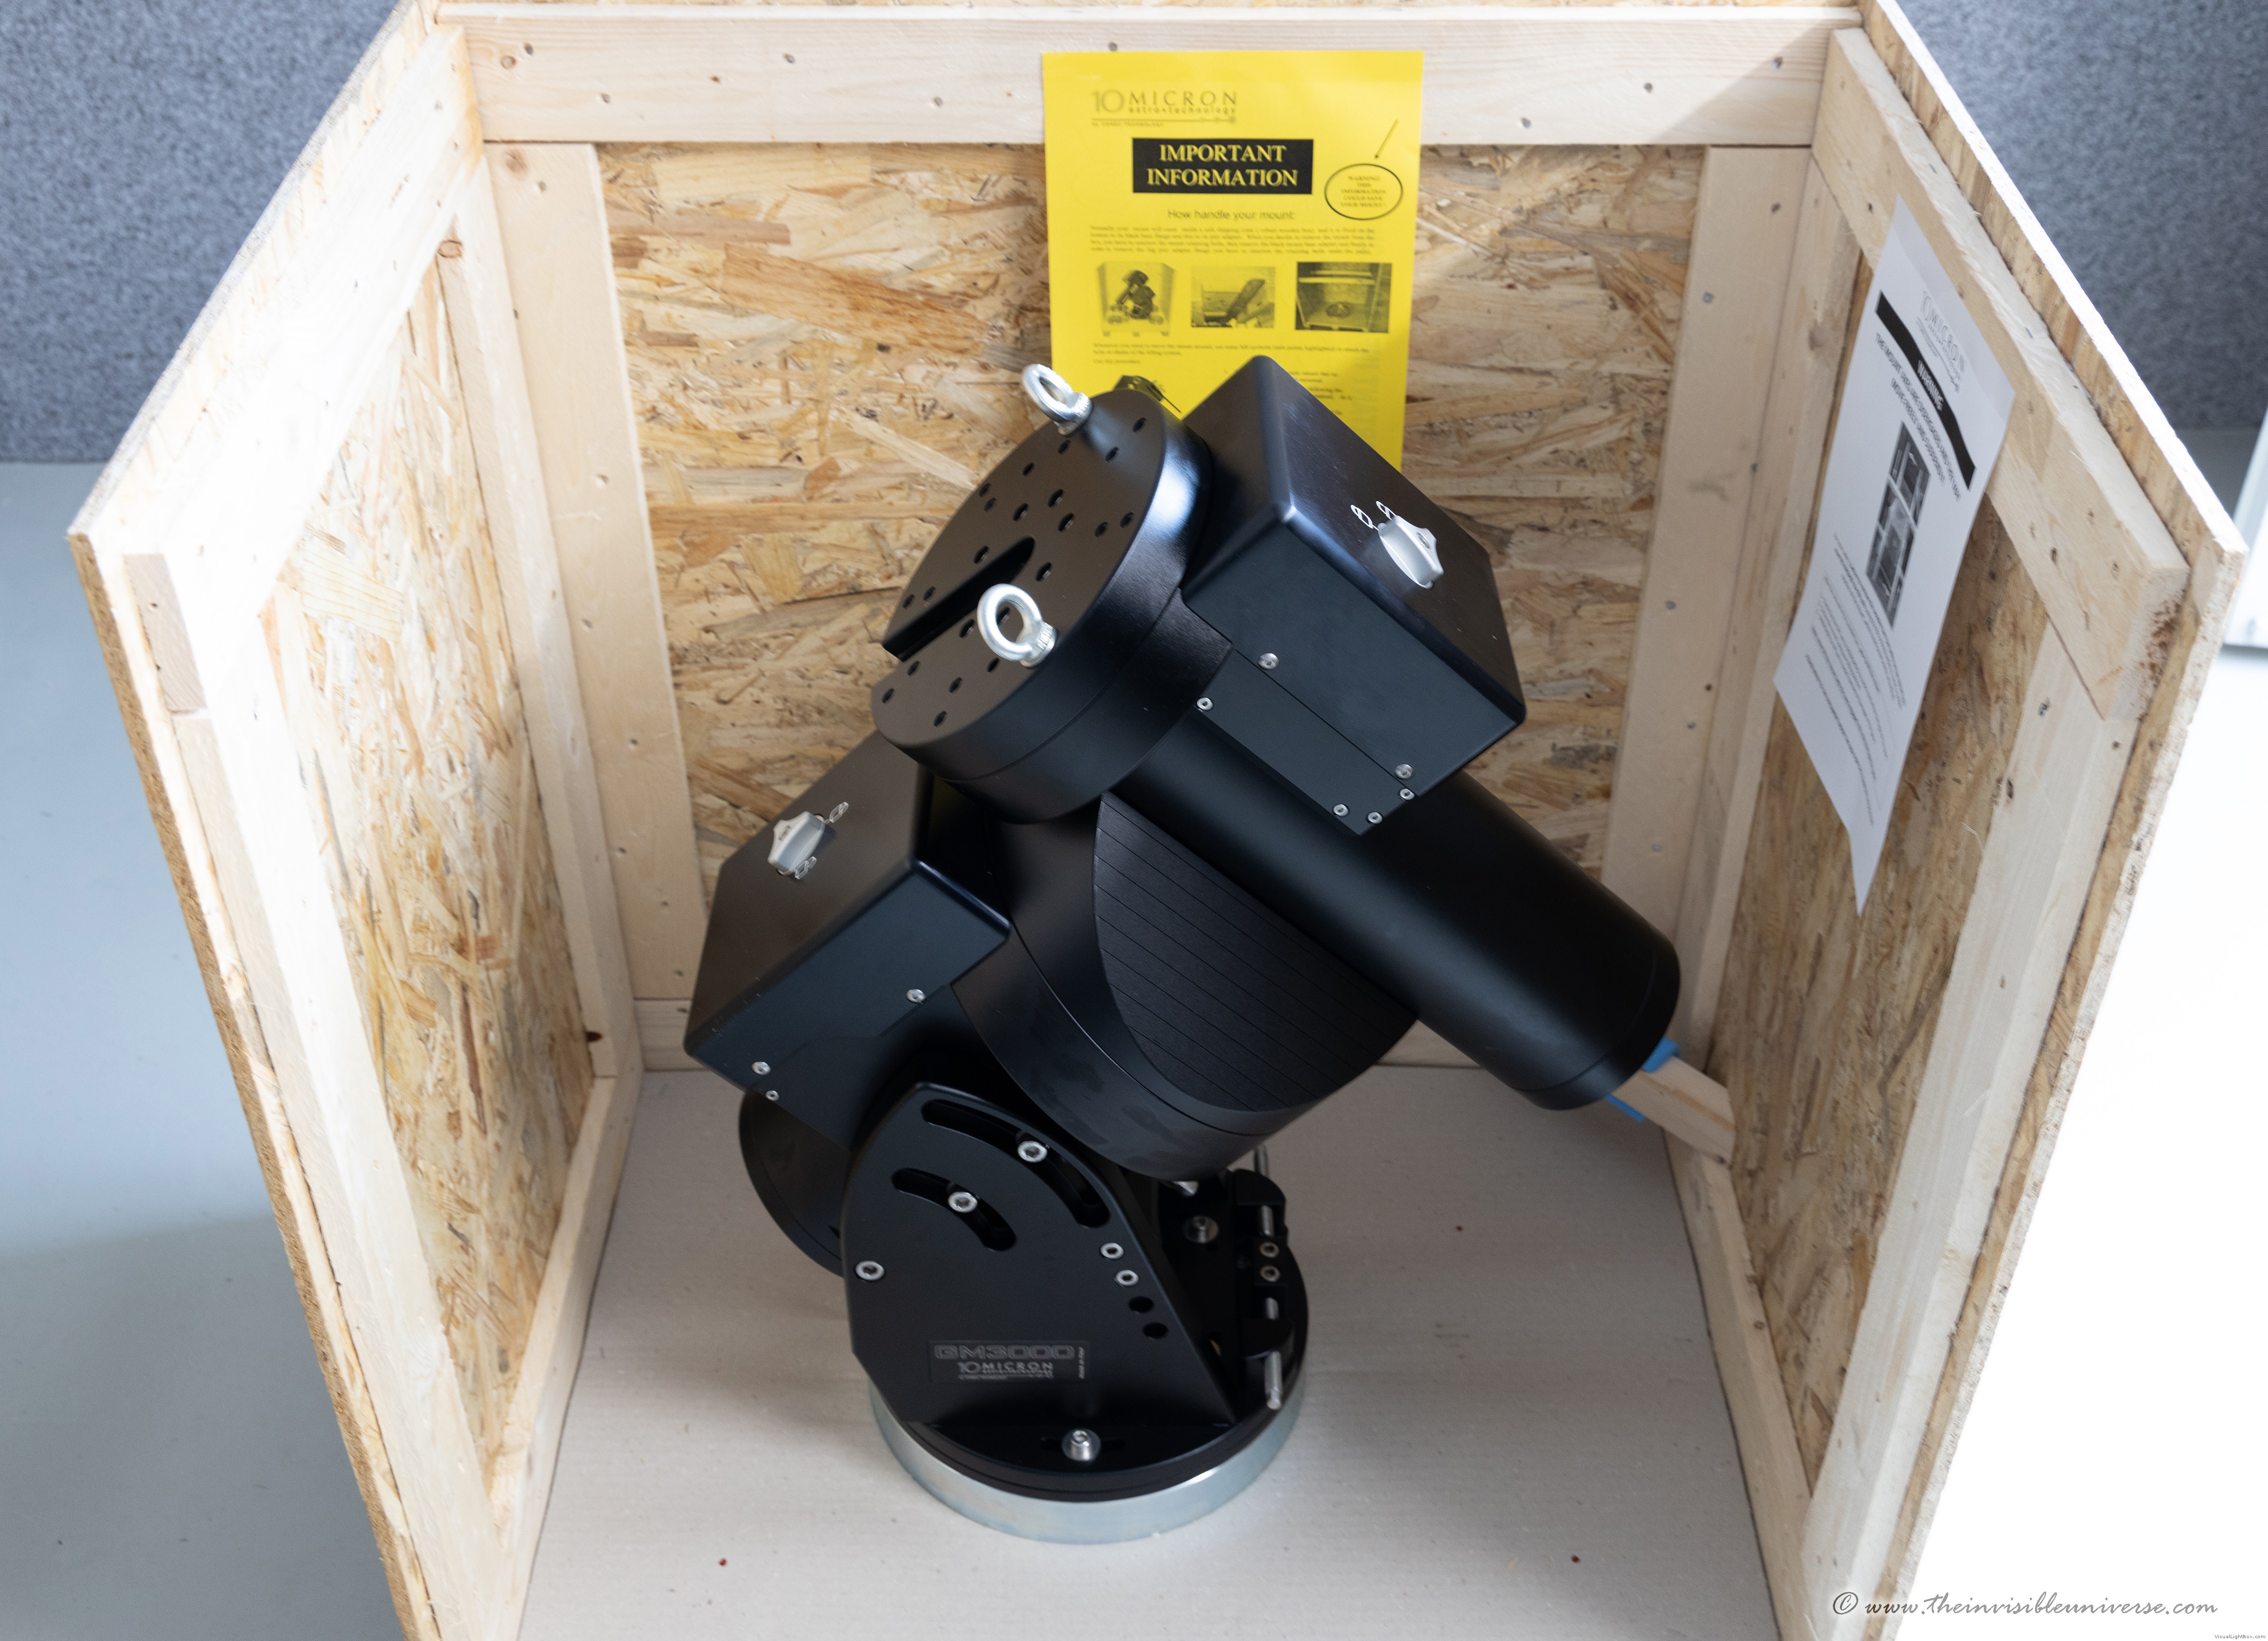 There it is - monster black. And it is hughe! It looks just small on the image.
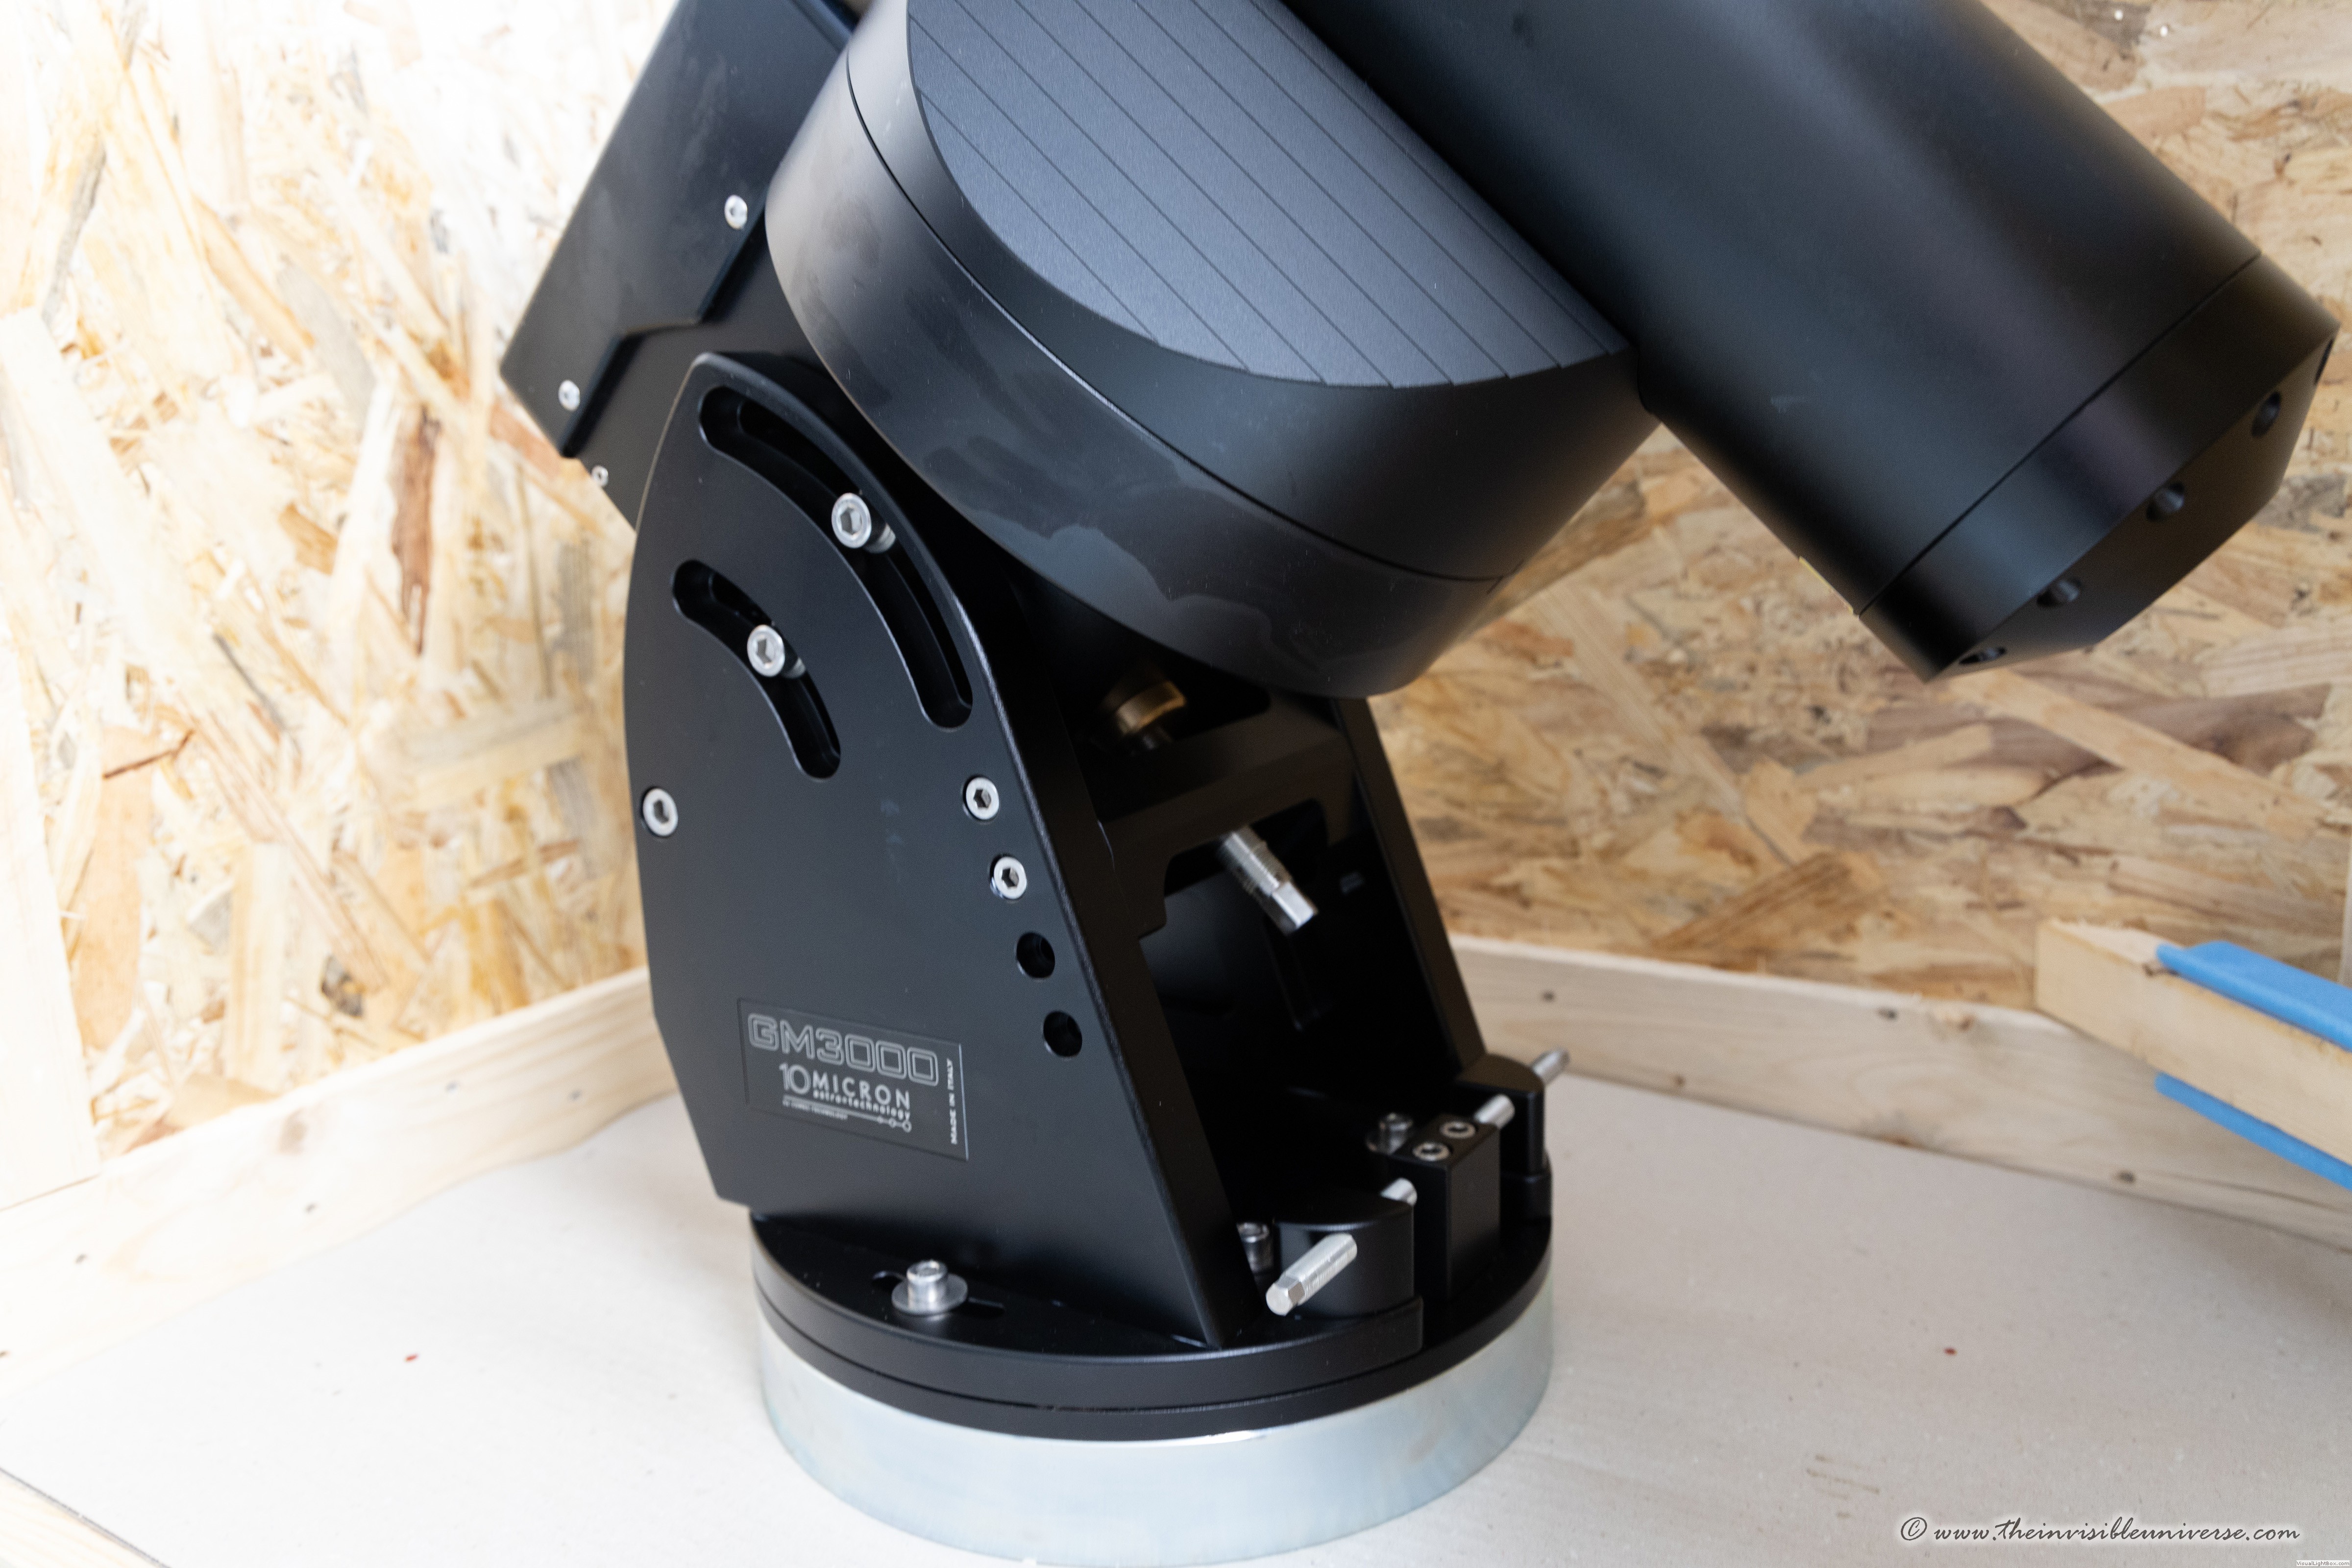 Precise manufacturing... machining made in Italy
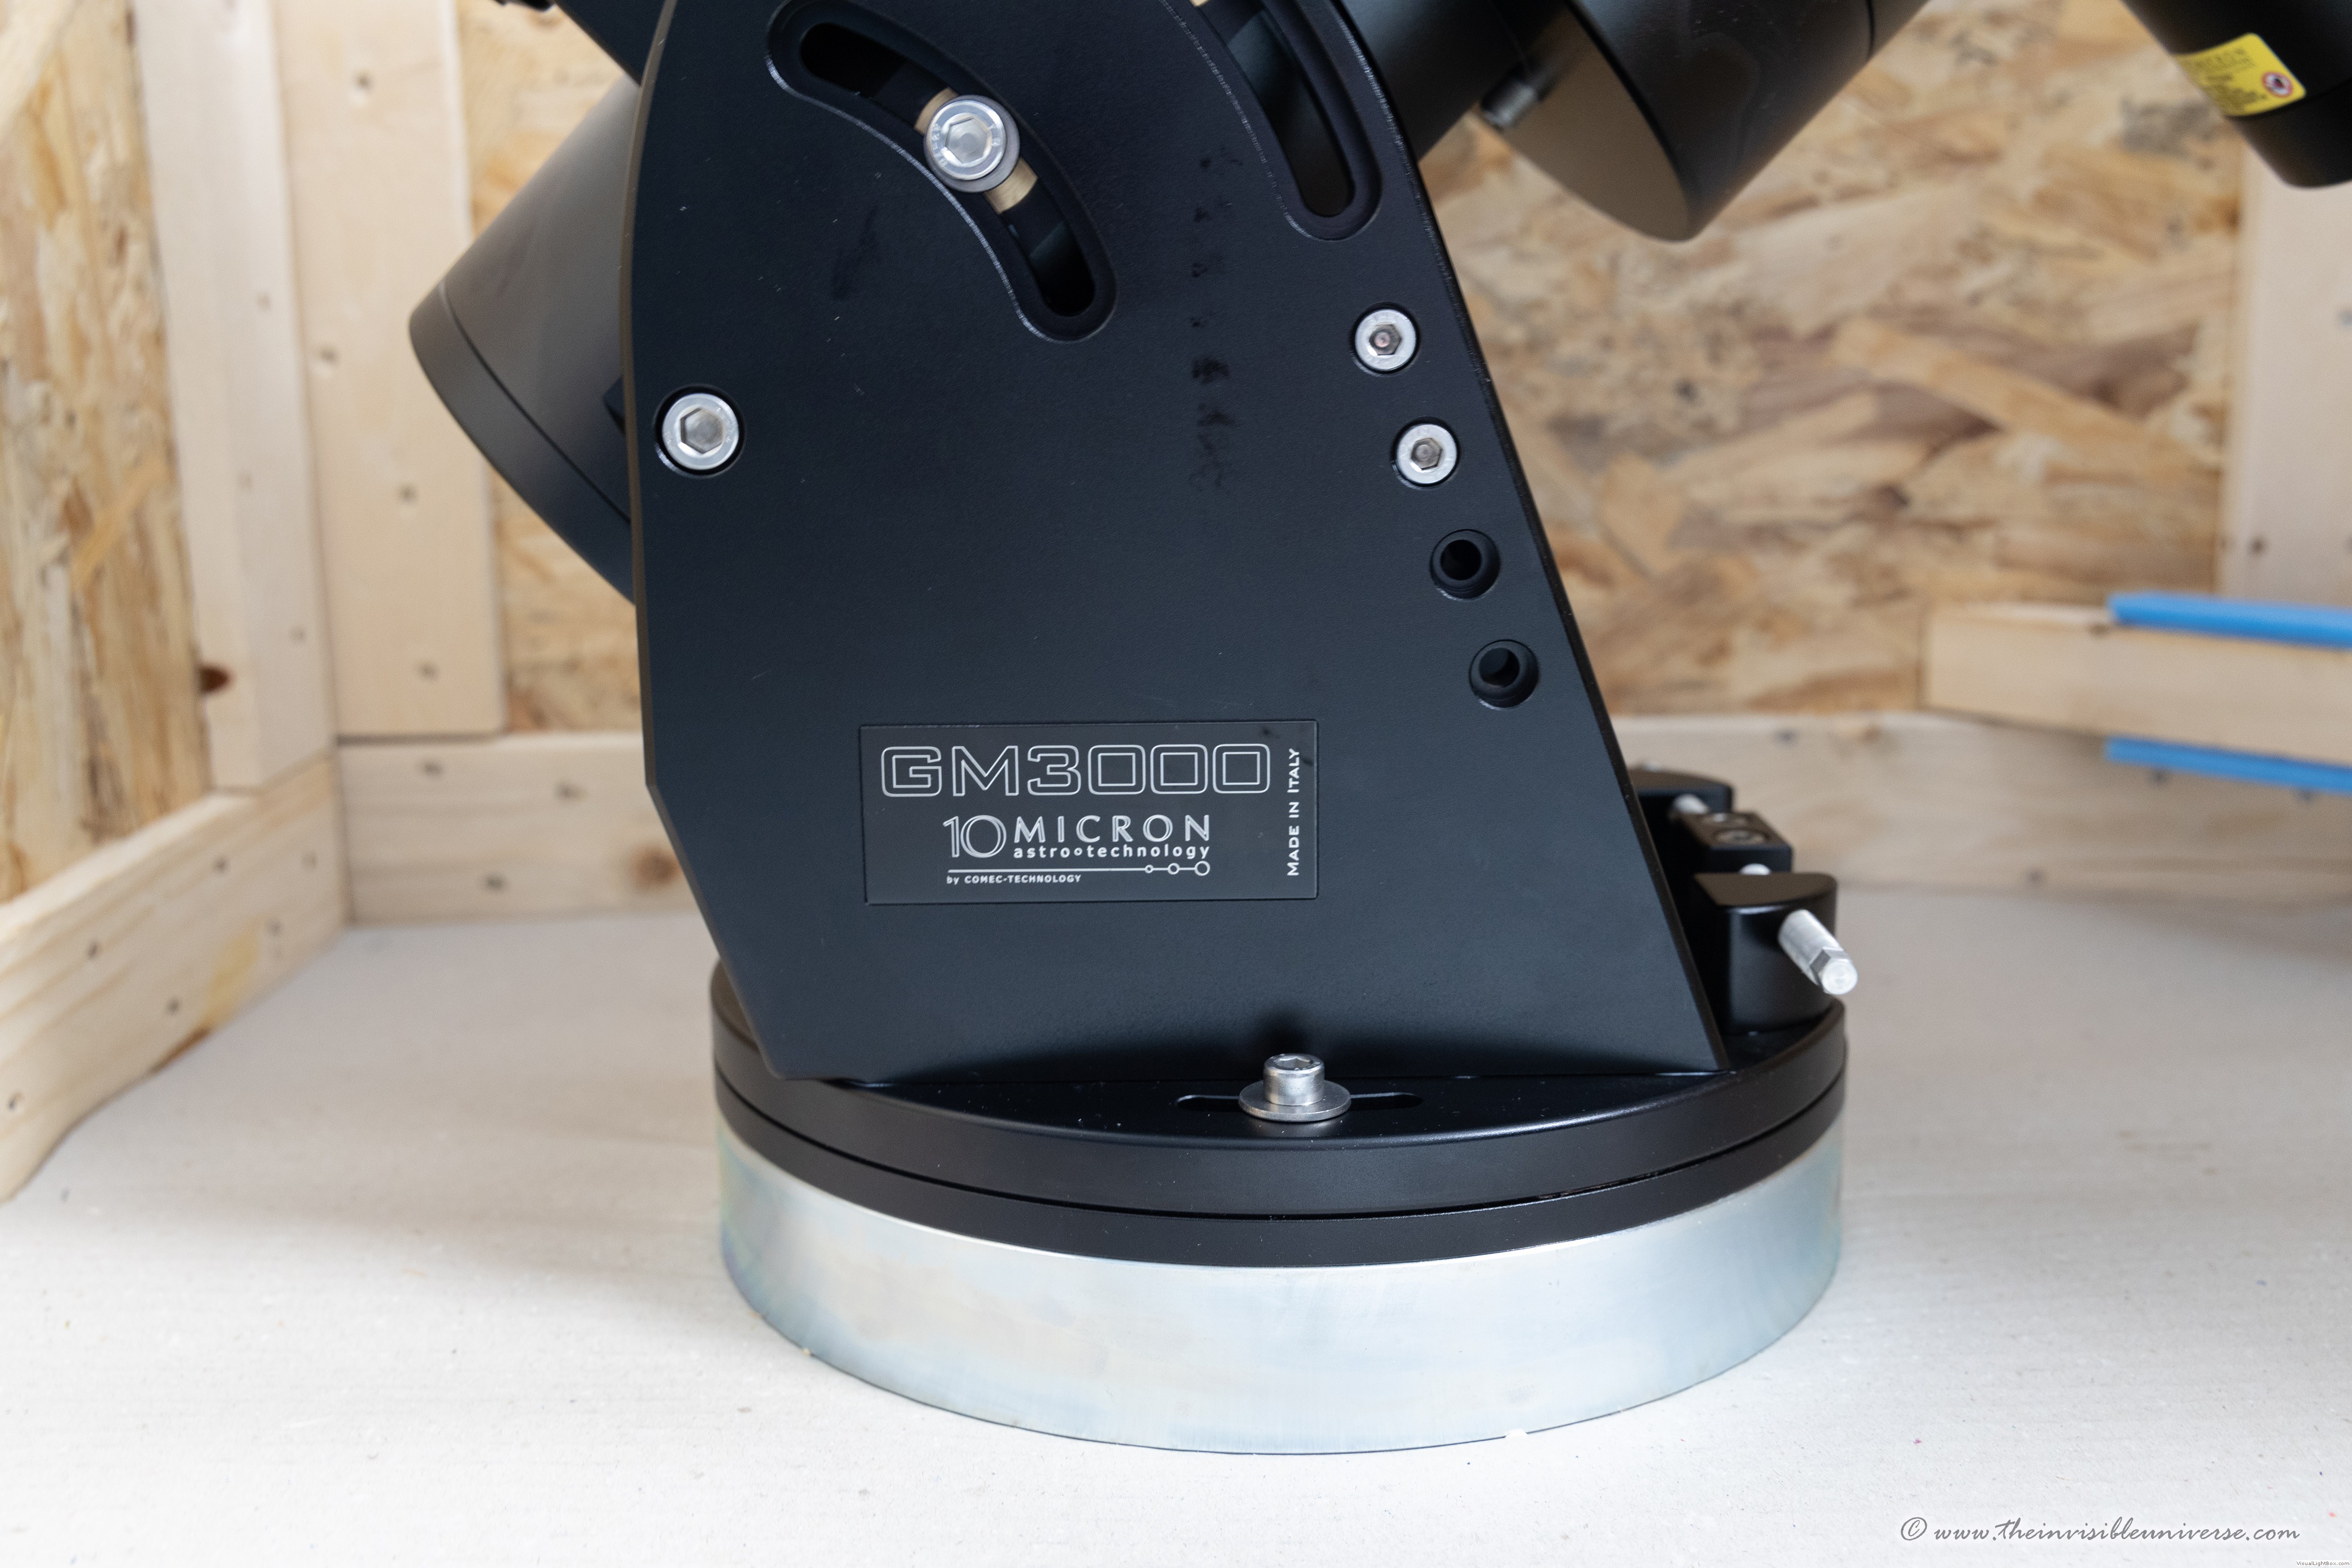 The steel pier adapter - also a mandatory item to buy.
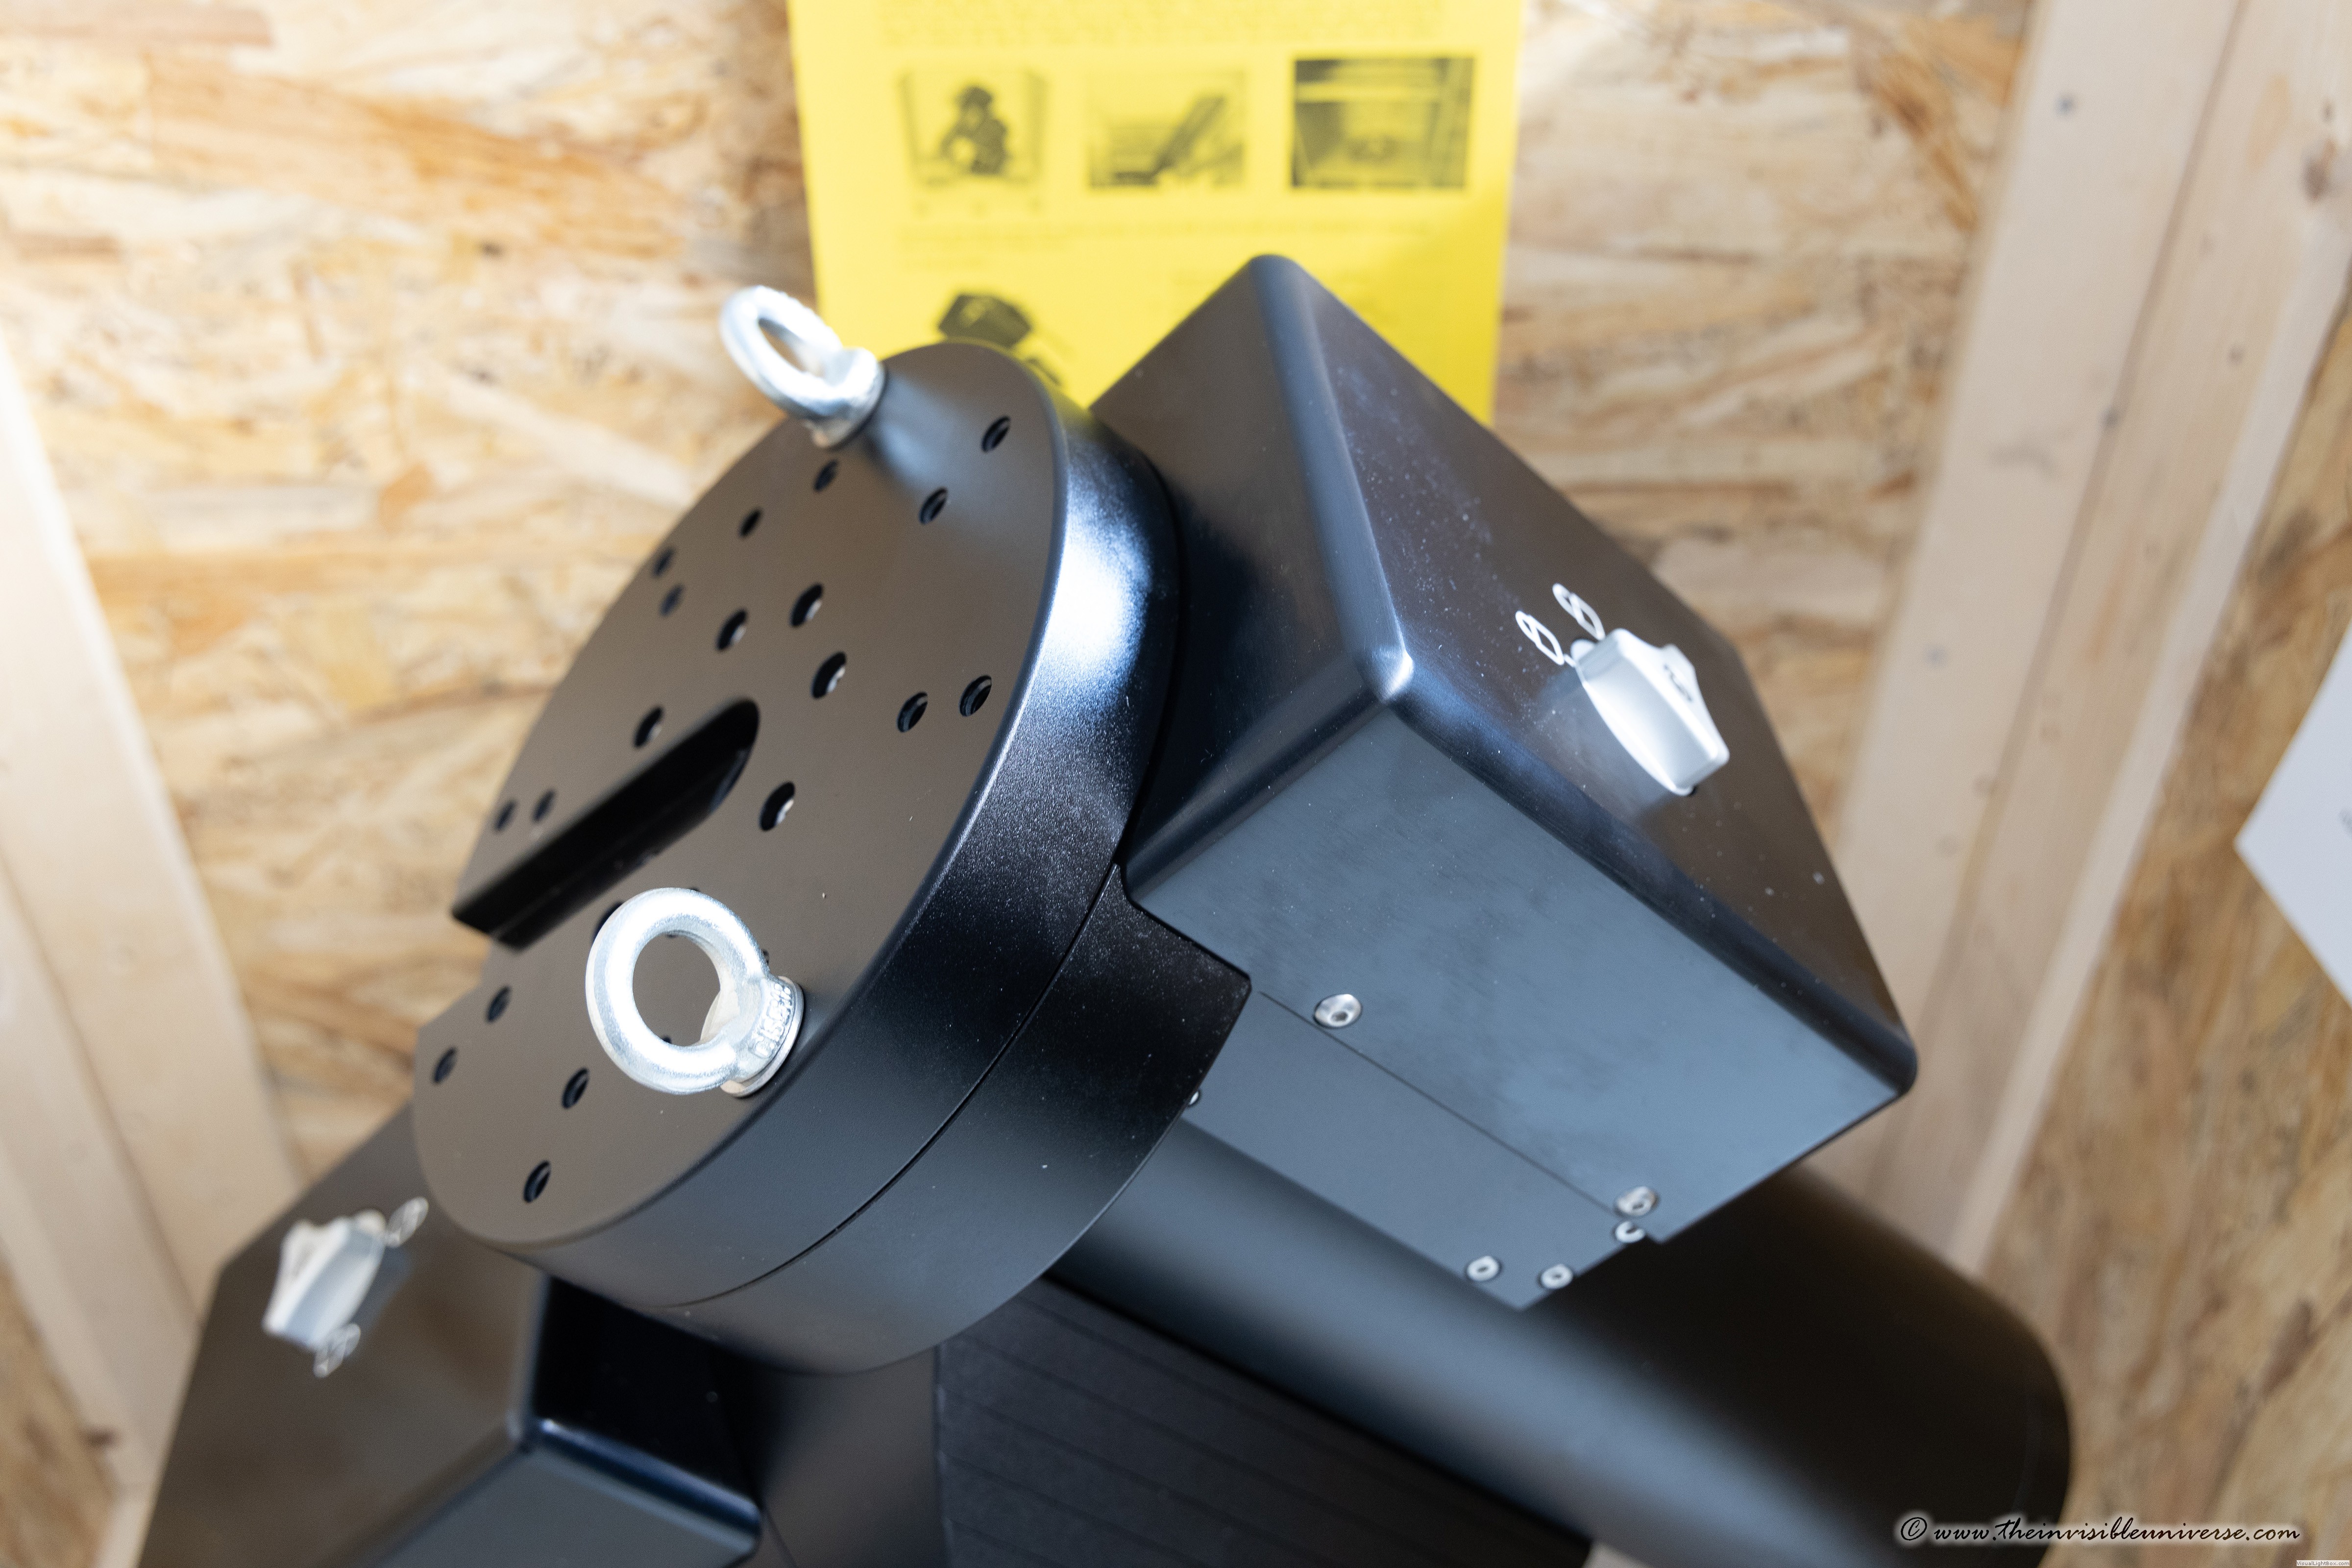 Top of the mount with rings for lifting the heavy chunk of Aluminum with an electric winch.
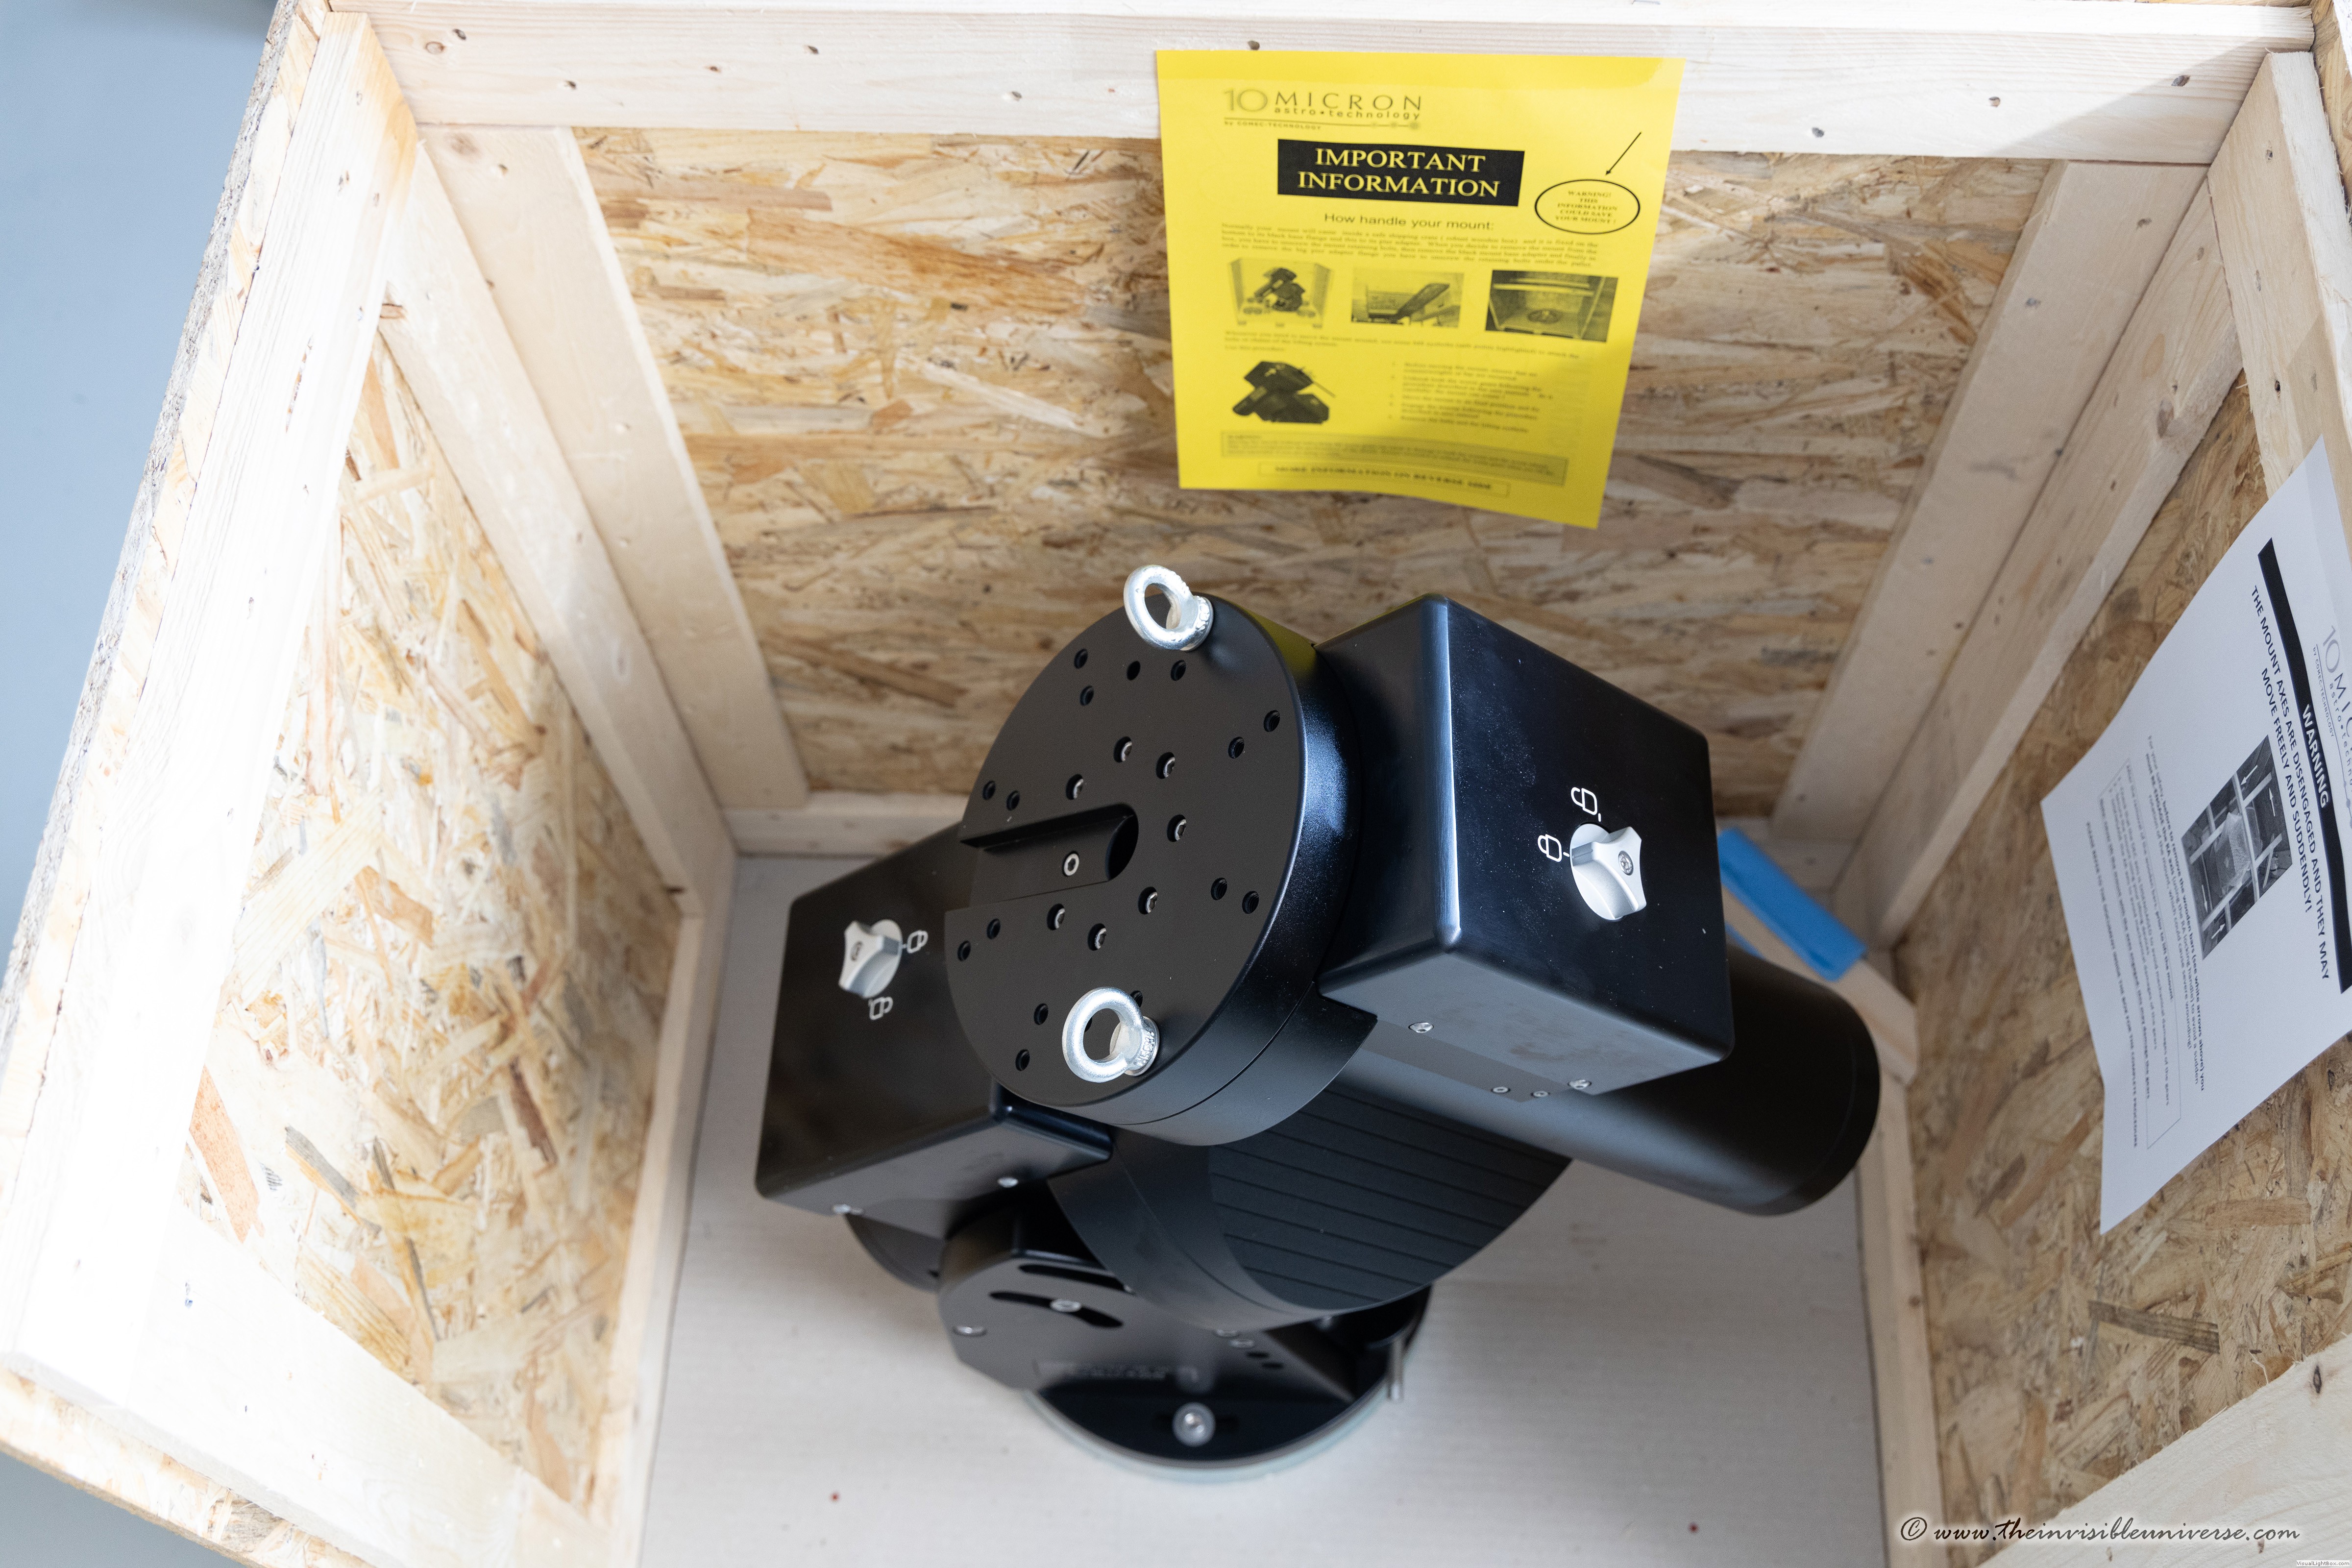 Lots of stickers in the pallet box - the RA and DEC clutches must be unengaged for transportation.
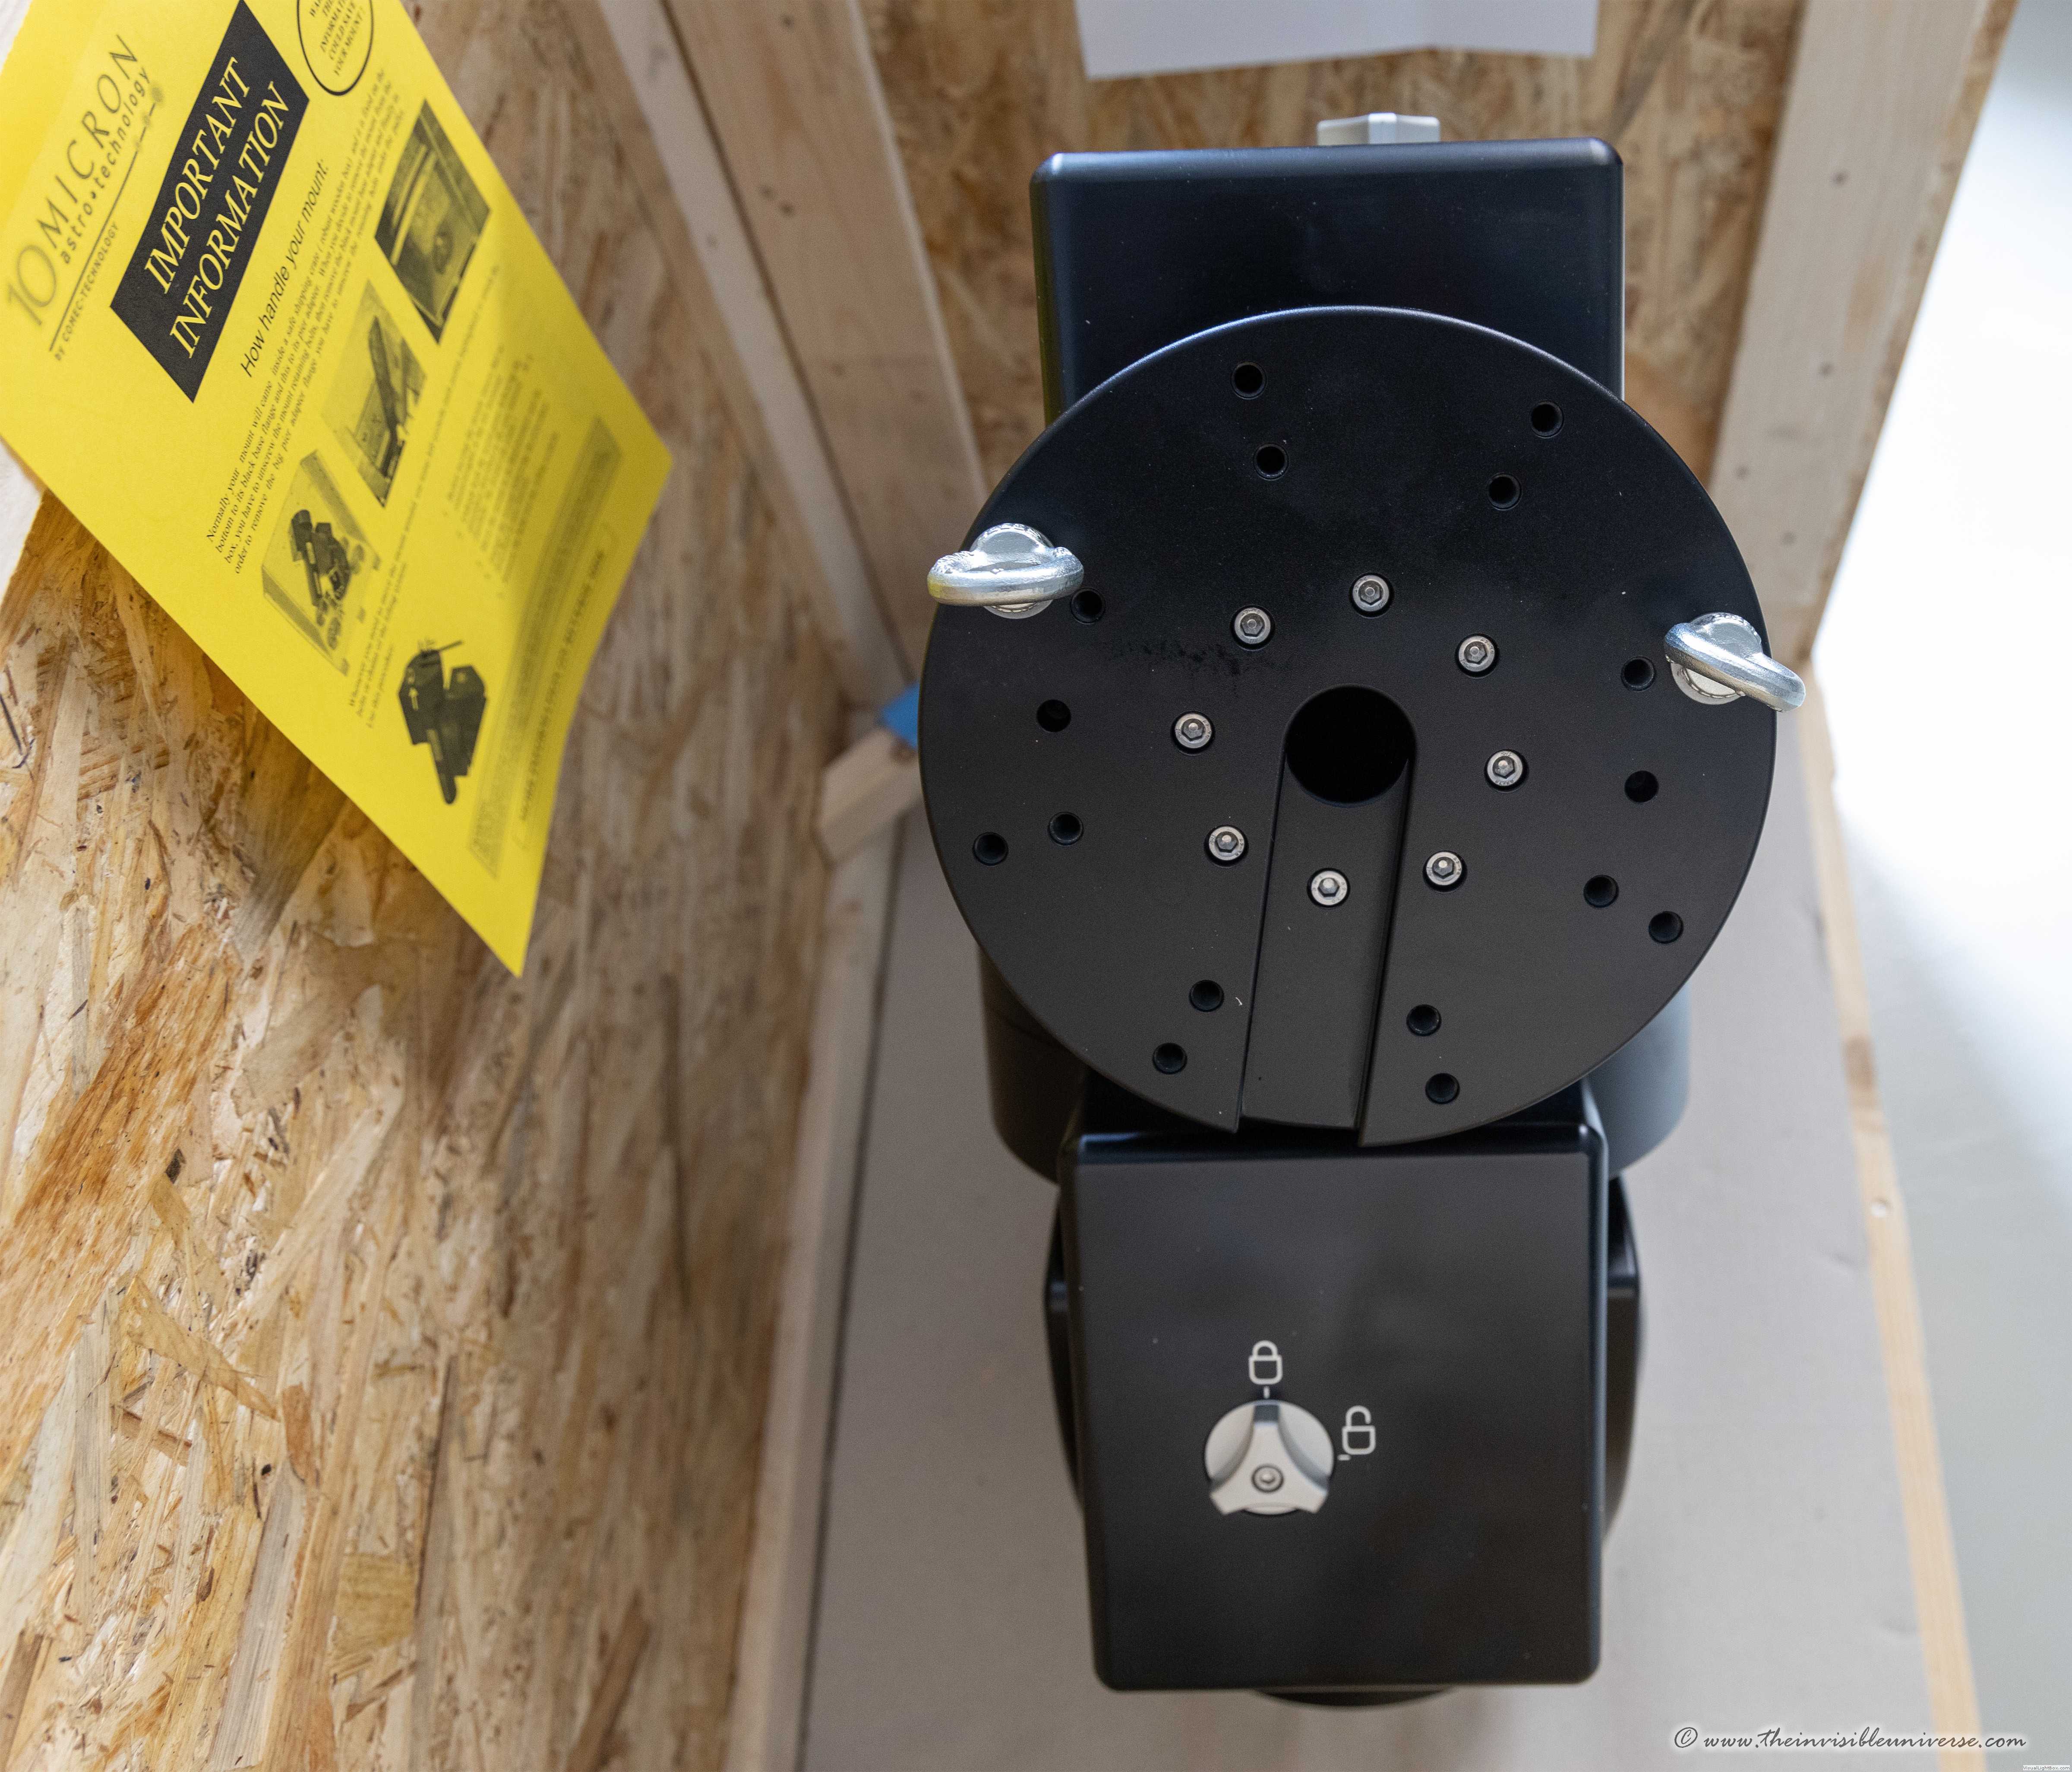 Top mounting plate.
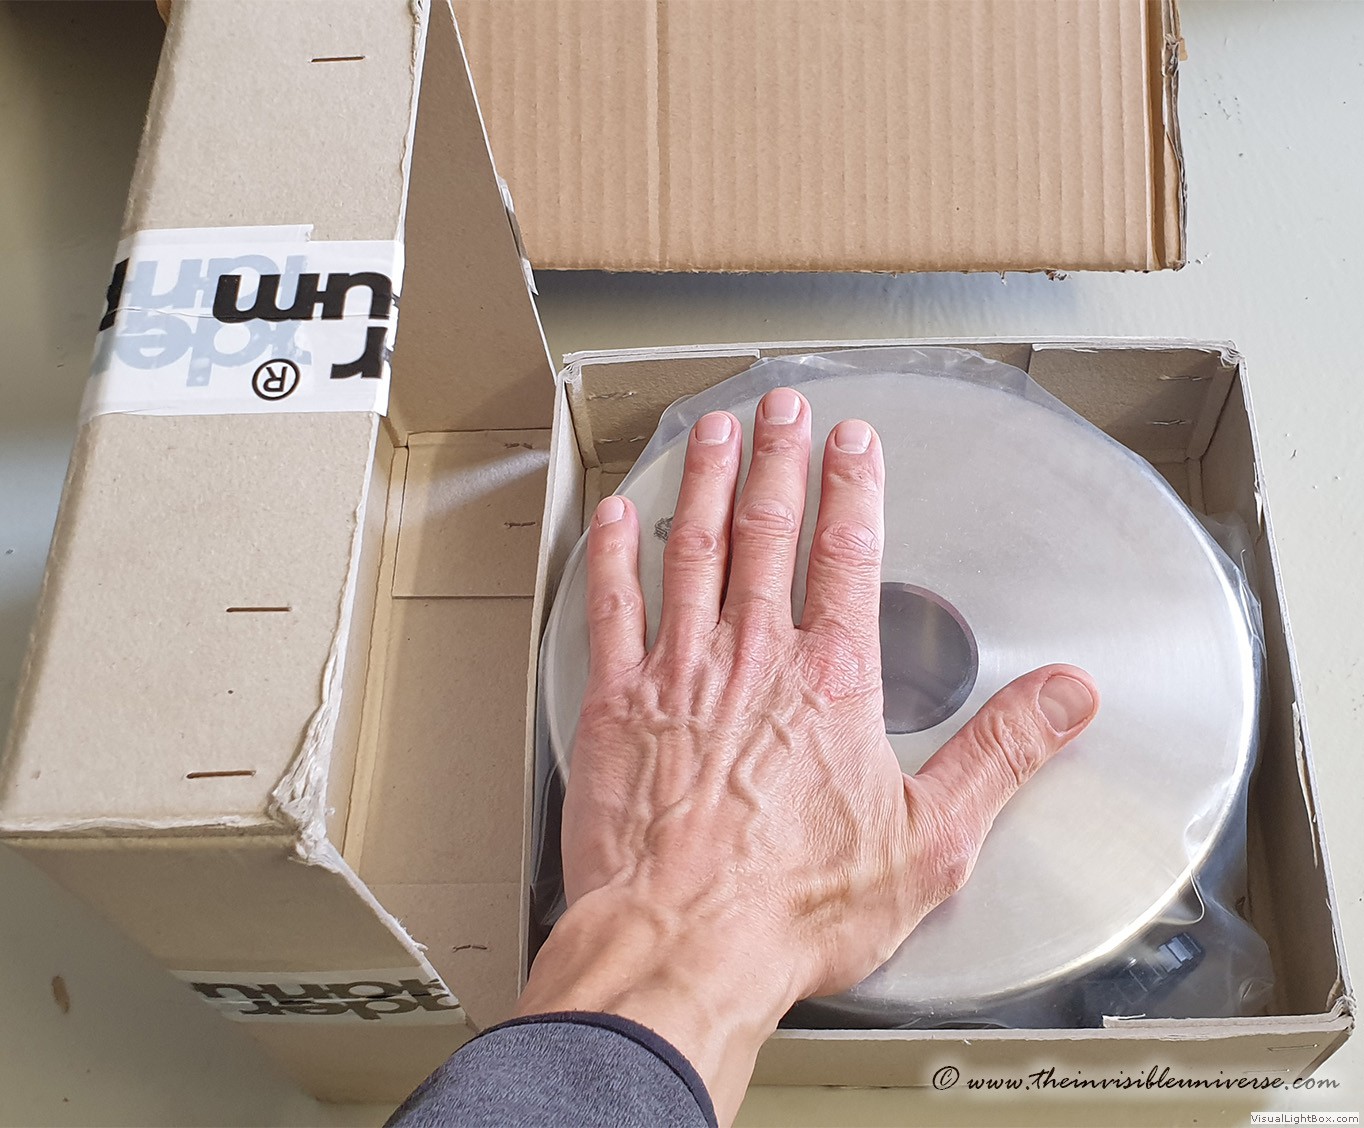 20kg of stainless counterweight steel
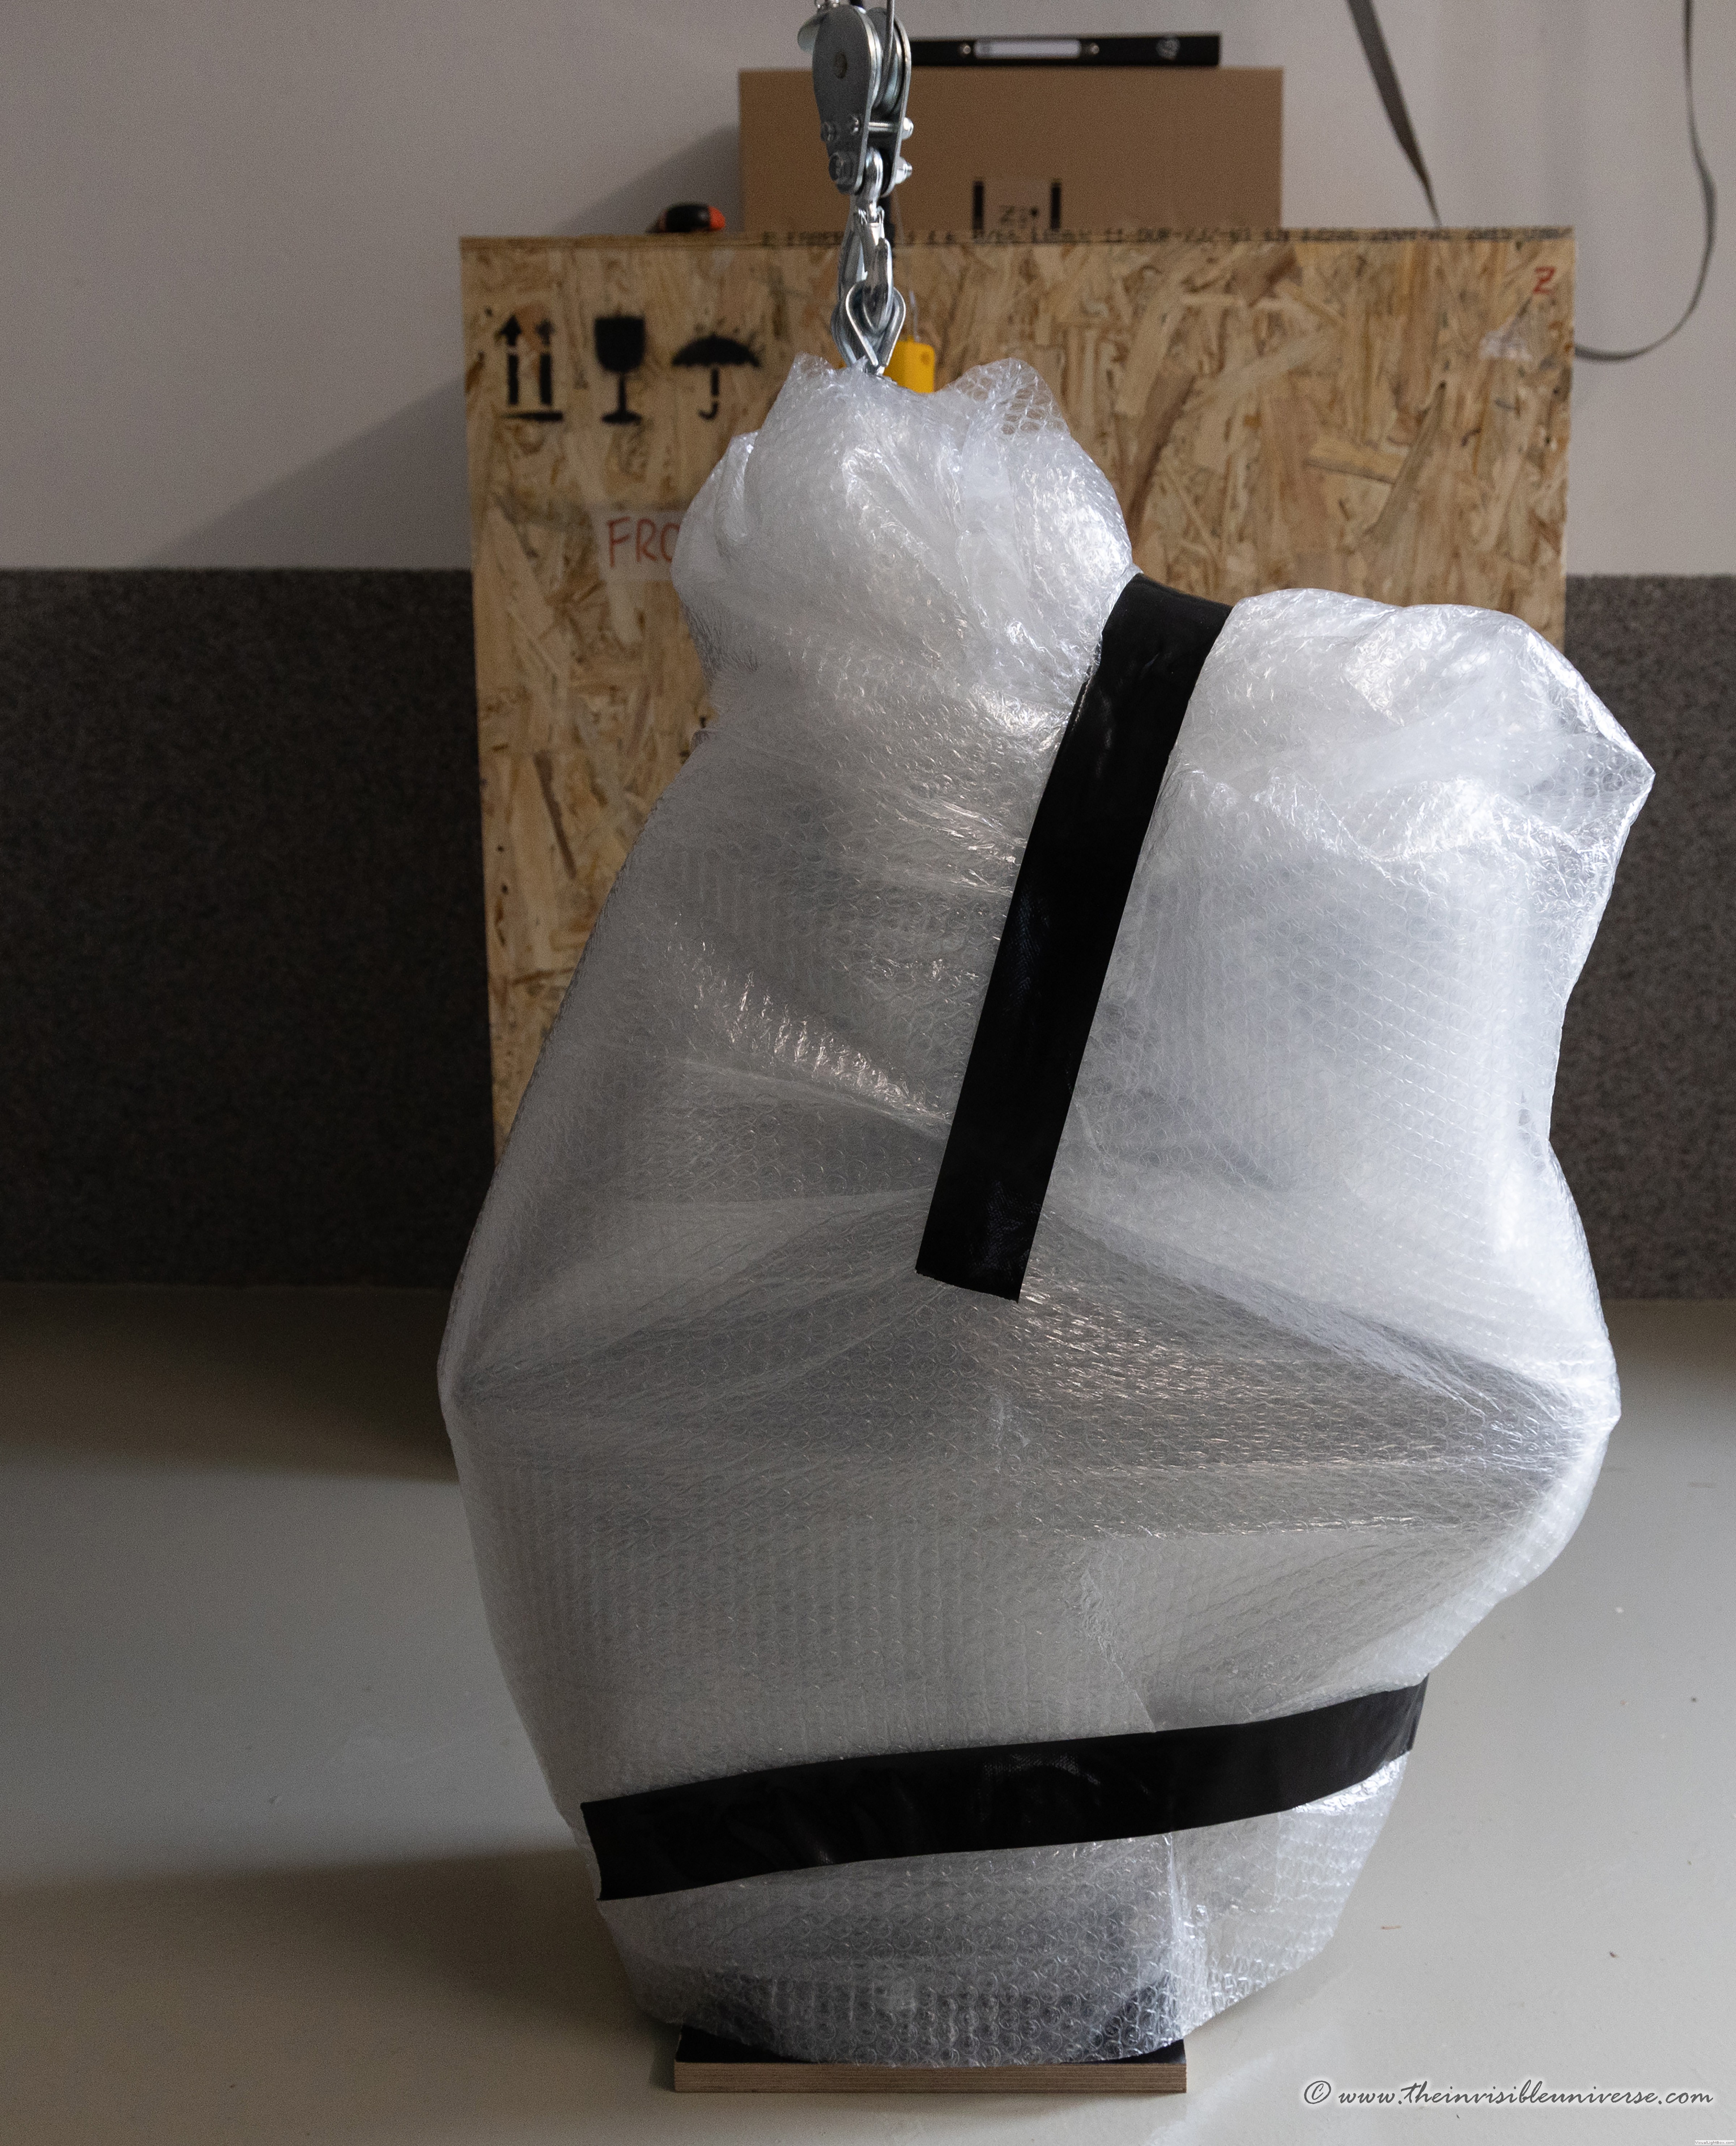 Packed in bubble wrap for transportation to the observatory.
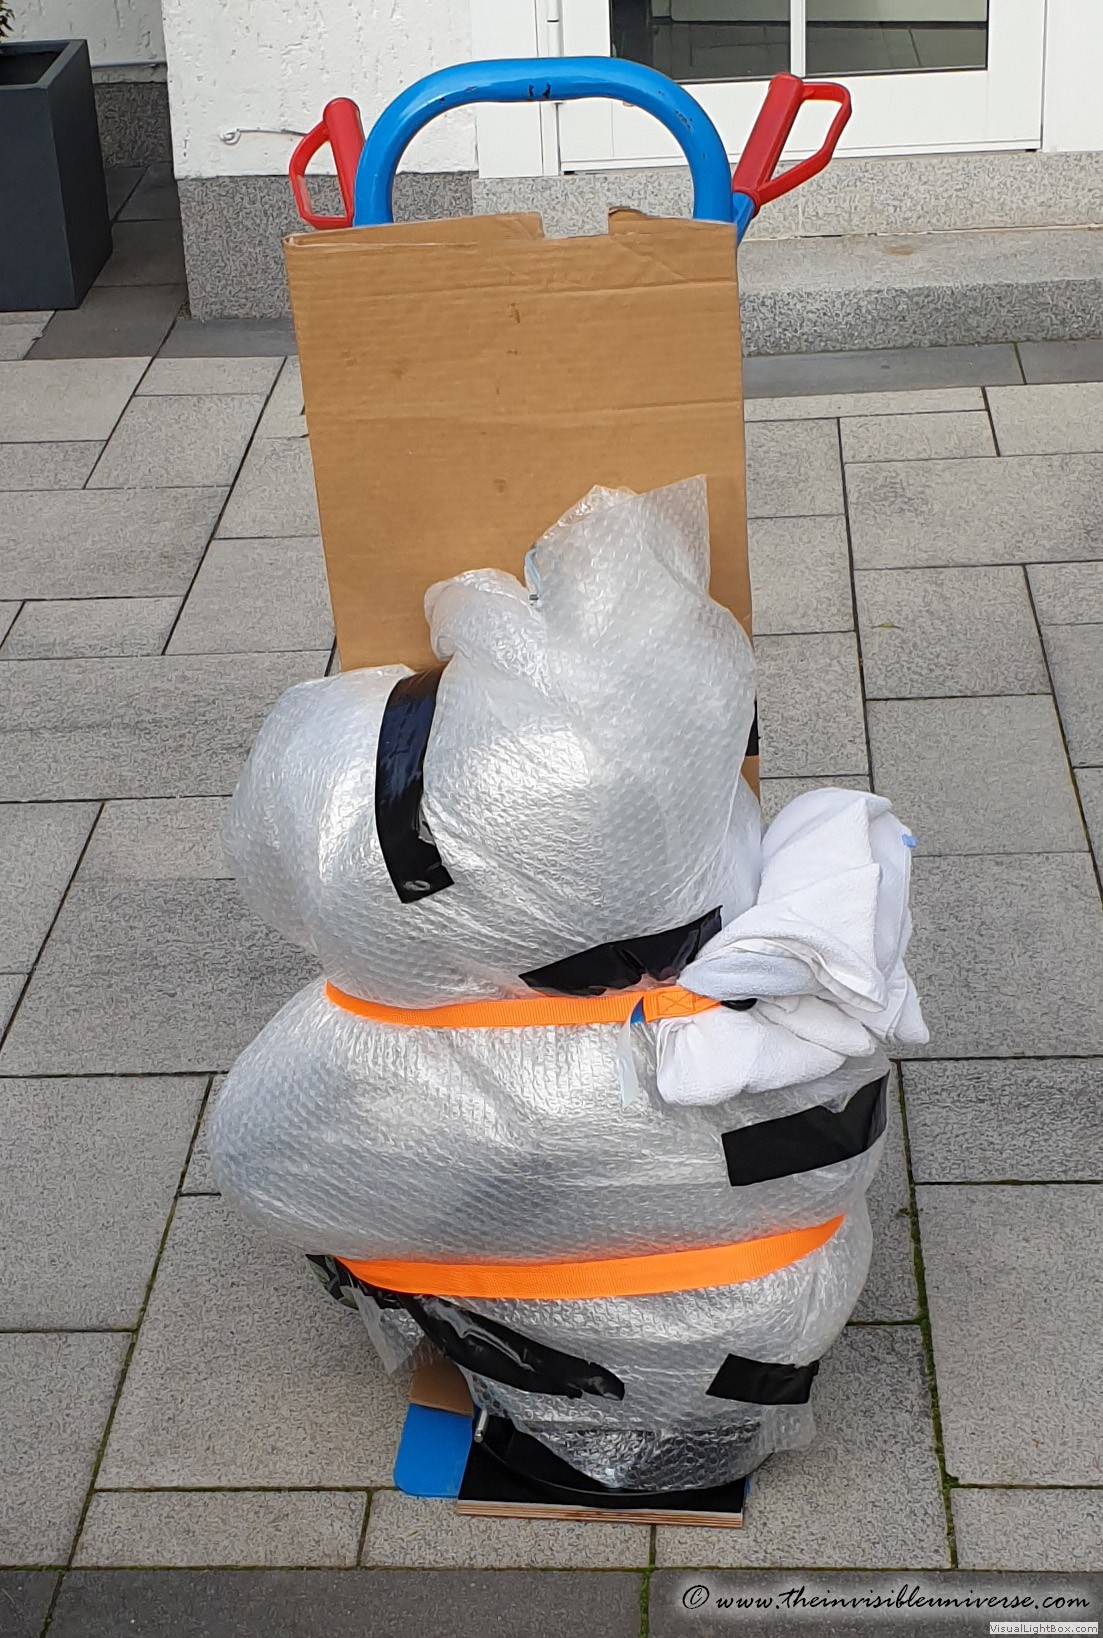 Mount on pushcart, well wrapped in bubble foil.
The monster has been unveiled. In reality, GM3000 is even more massive than it may appear in the picture! A whopping 65kg for the mount alone plus 8kg for the 50mm diameter counterweight rod. For an amateur astronomy mount this is really heavy and reminds me back to the time when an ALT 7AD mount was the measure of all things for a heavy mount - but without 12°/s Goto, Satellite Tracking and high precision encoders. Let's see what will be available in 20 years to make this sweetie look old....
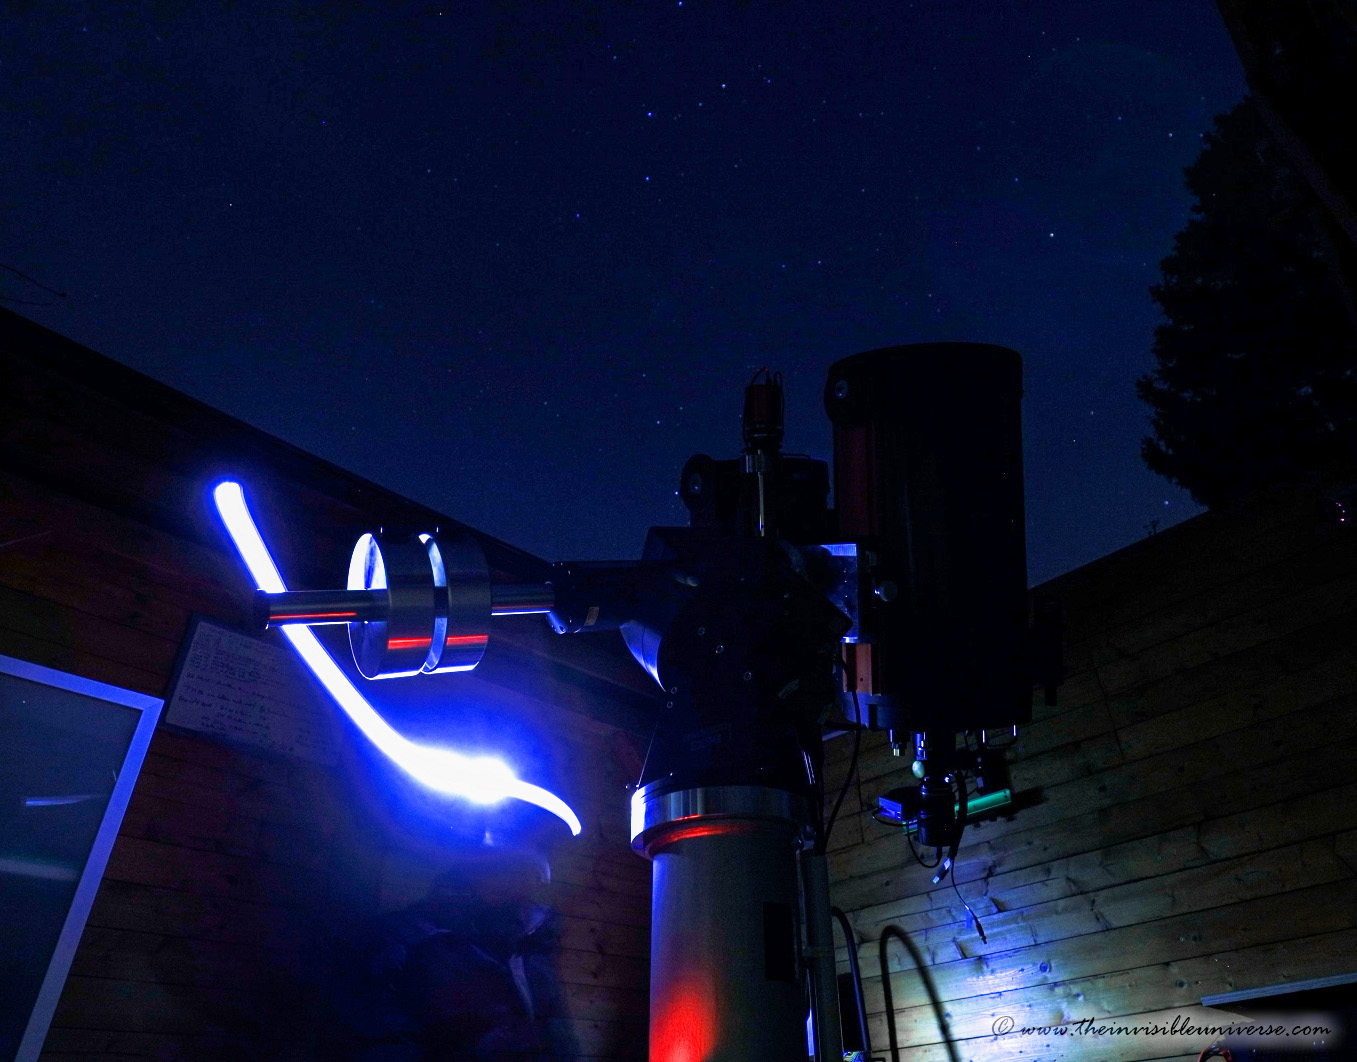
10micron GM3000HPS - welcome to its new home
Installation of the GM3000 in my backyard observatory. I attached the electric winch under the retractable roof to lift the GM3000 onto the 110cm pier. It was much easier than expected and I was able to install the mount completely by myself without help. The pier, with its massive 24cm tube of 8mm steel, now looks tiny with the GM3000's much larger 290mm pier adapter installed on it. It turned out that the pier, which is significantly oversized for the GM2000, is now not stable enough for the 170kg payload of the mount (65kg), the counterweight rod (8kg), the counterweights (2x20kg) and all instruments (60kg).
To be able to mount my Celestron C14 and the C11 Hyperstar in parallel on the mount, I needed a new double mounting plate, which should be stable enough to support the weight for the self-guided system. But paying another 1000+ Euro extra for such a system from 10micron or Baader was too much for me at the moment. So I decided to use my small tabletop mill, an Optimum BF20, to add a 75° dovetail and mounting screw holes to a 560x180x15 aluminum plate, plus two additional slotted holes for screws to prevent the plate from slipping. A 220mm aluminum round was used to mill the counterpart to the 75° dovetail and drill the necessary mounting holes for the GM3000 top plate. This was quite a struggle as my small mill and lathe were definitely at the limit of their capabilities.
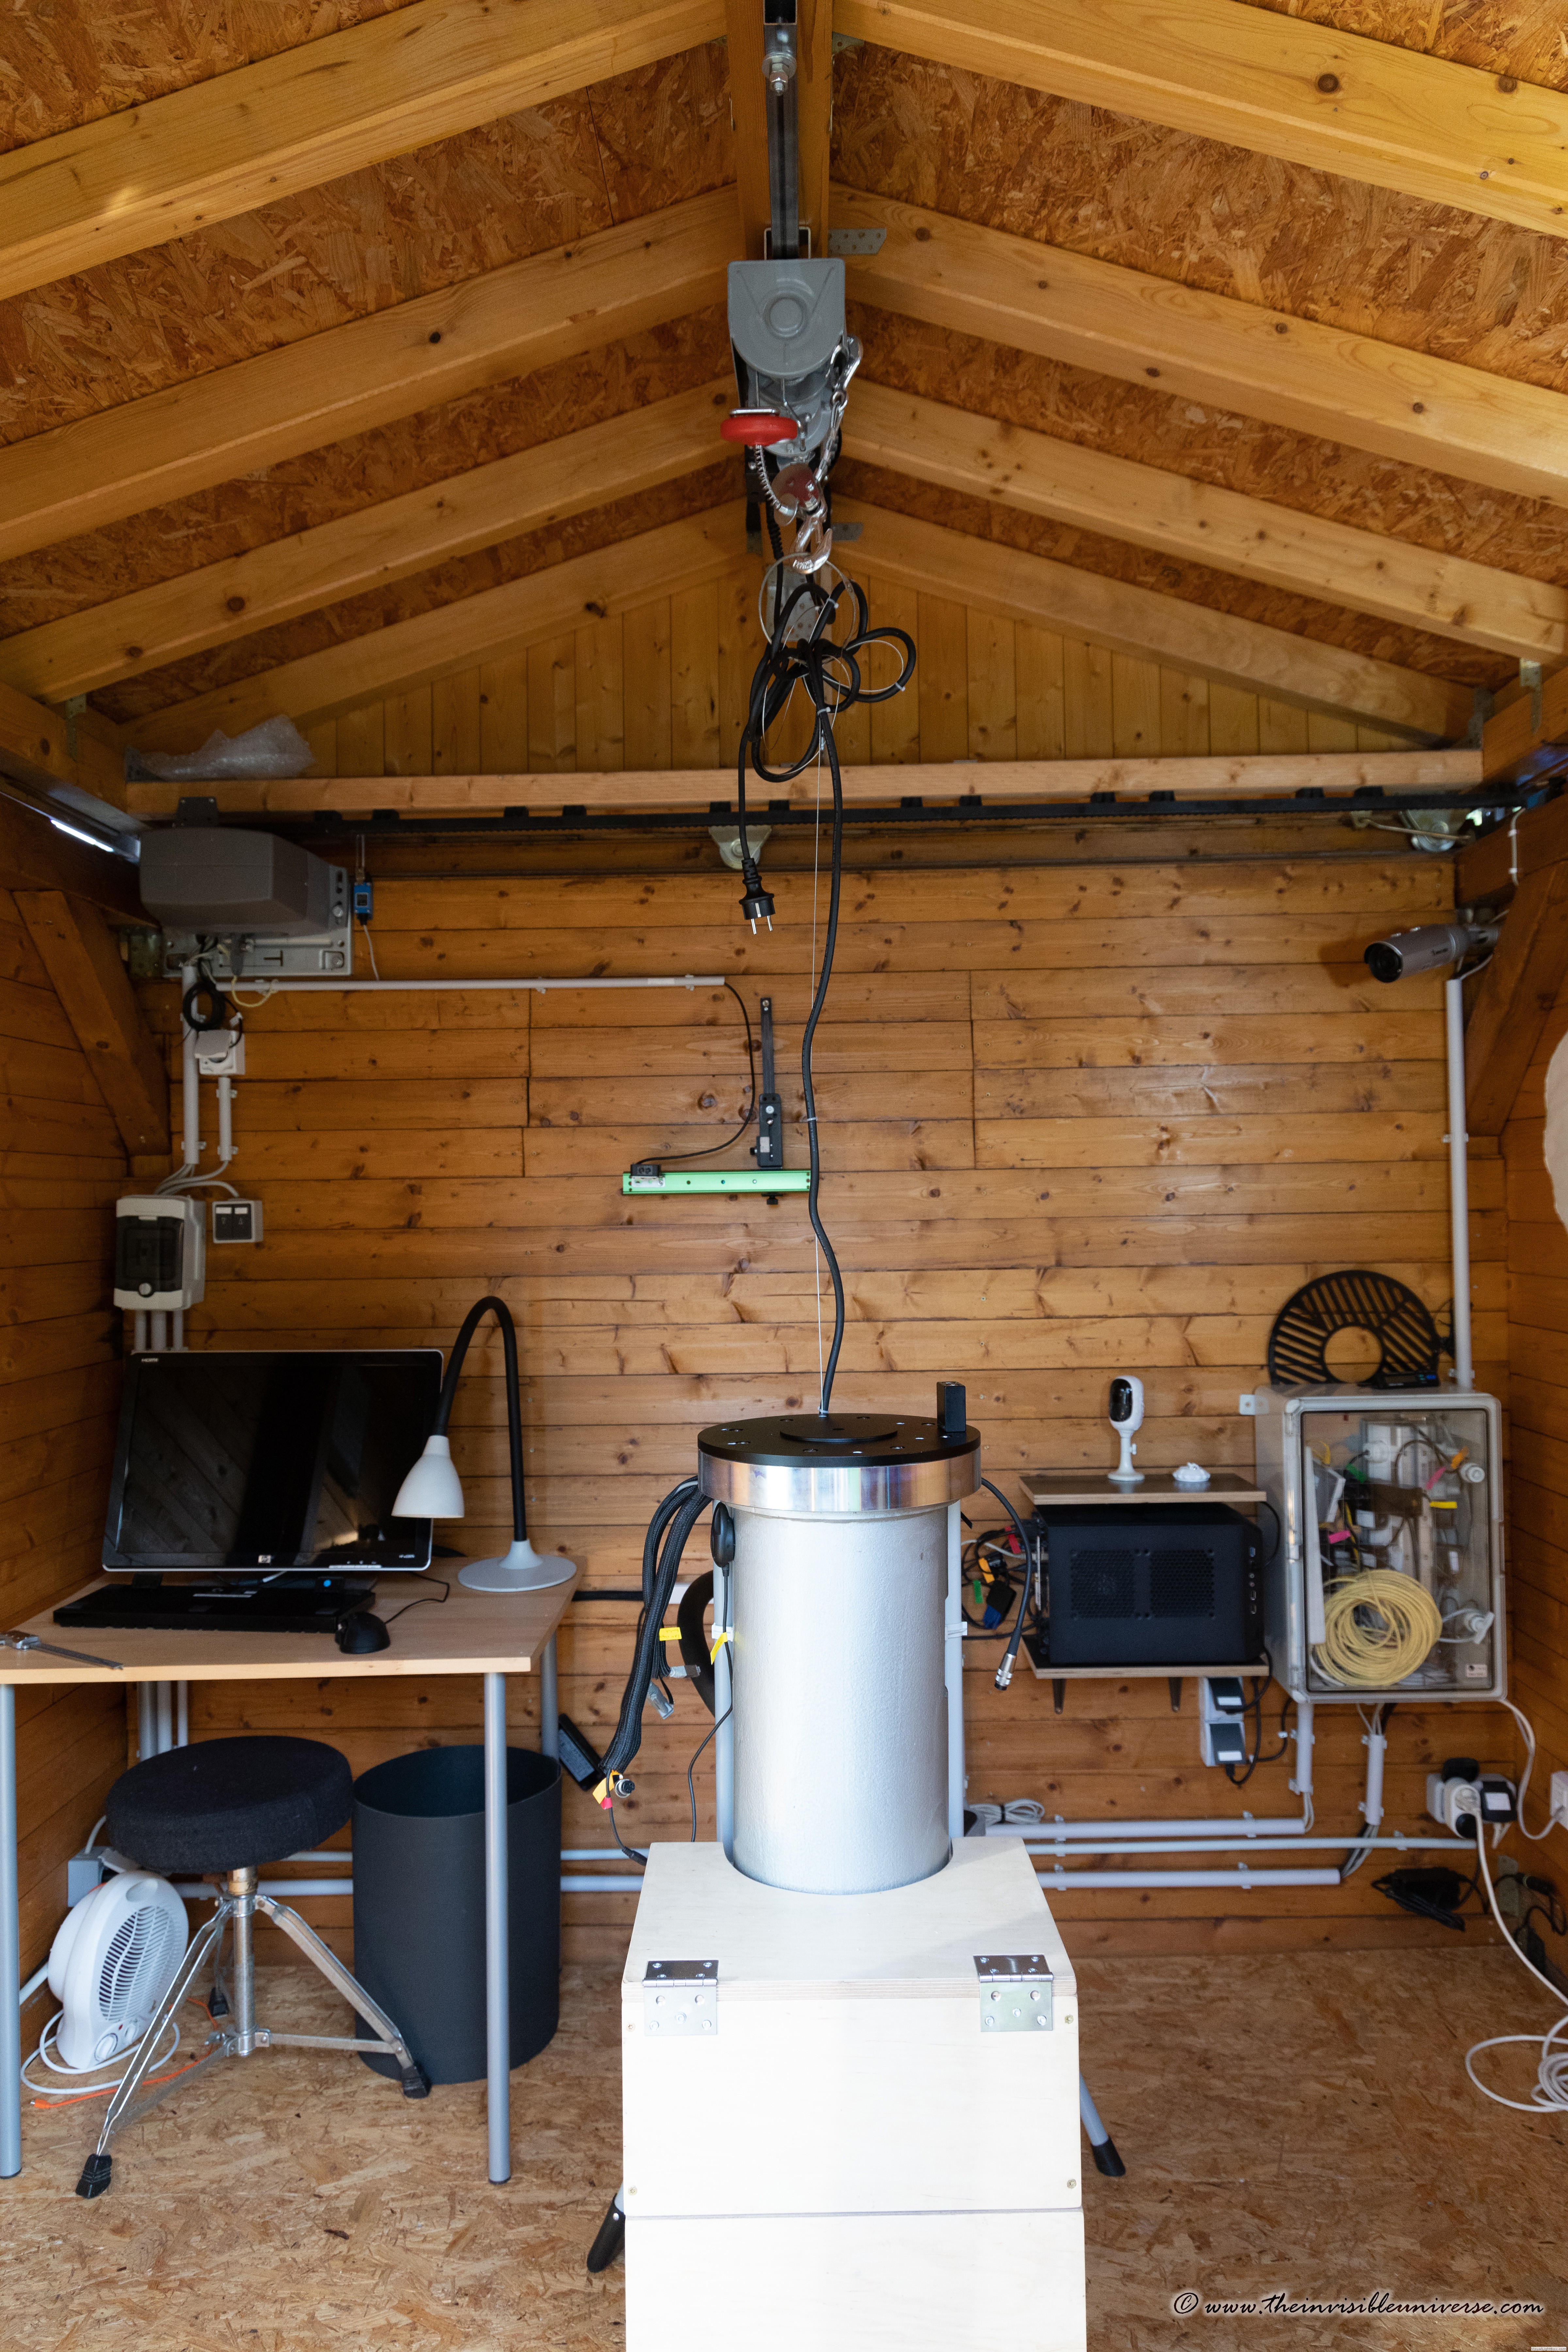 Observatory roof with electric winch above the pier
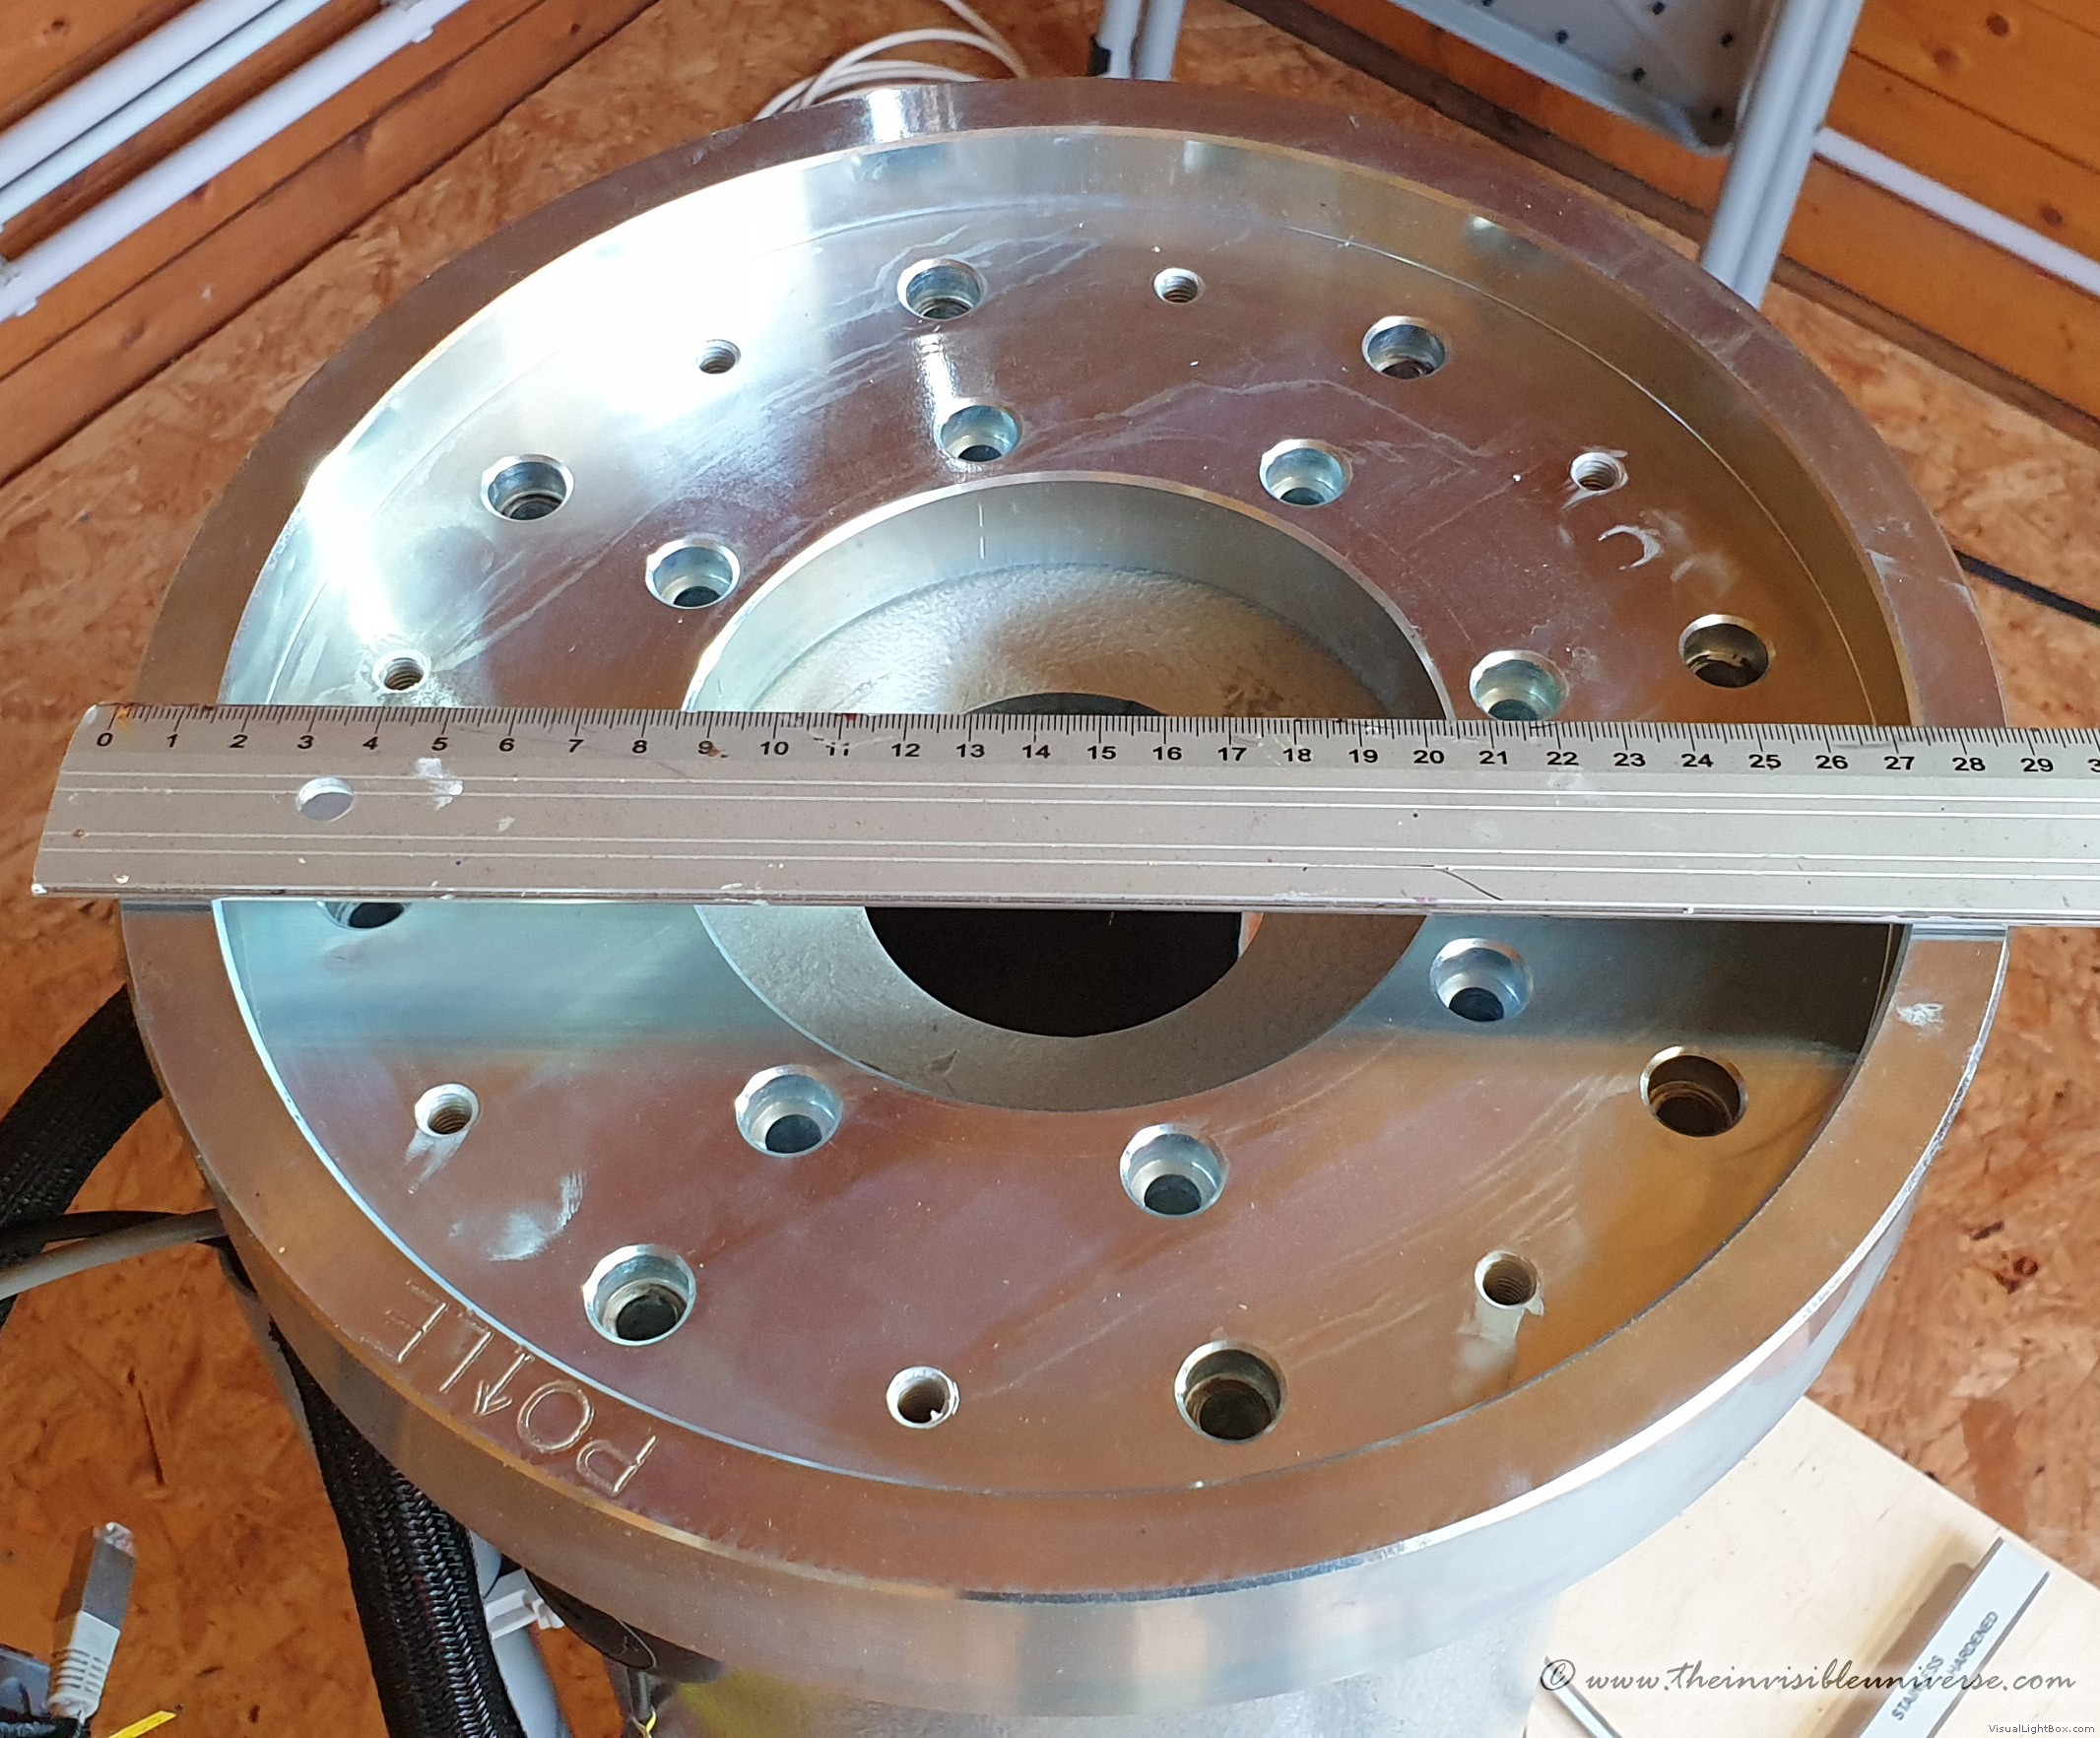 10micron GM3000 massive steel pier adapter with 290mm diameter
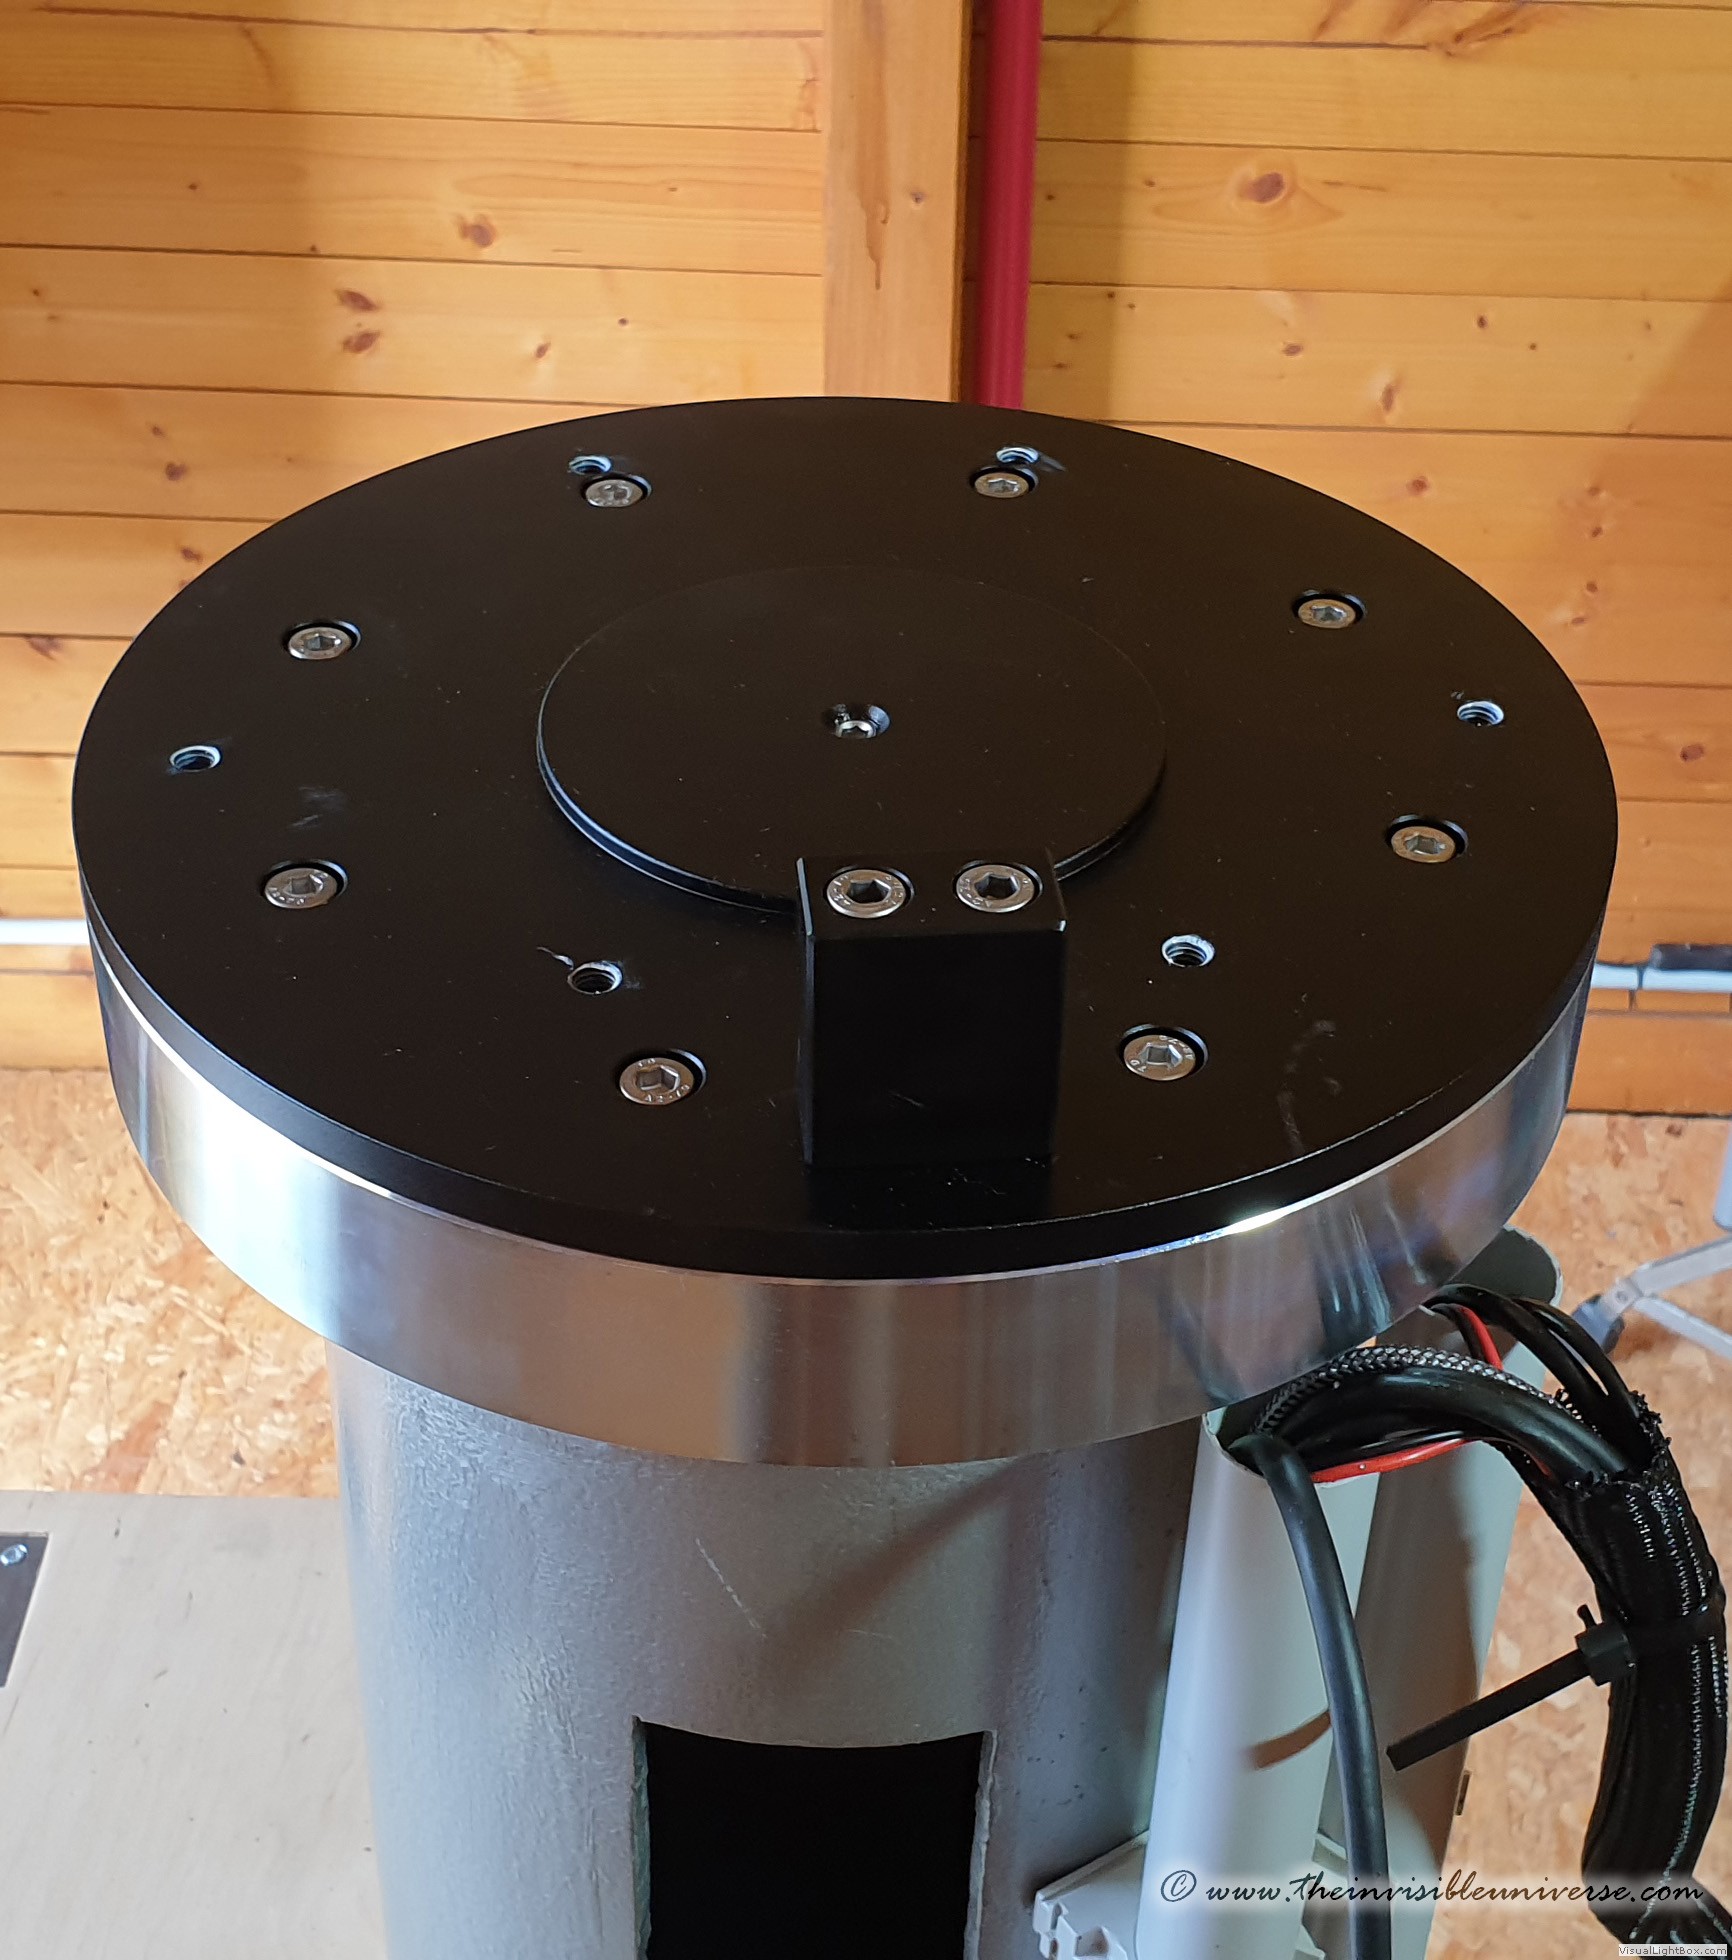 The base plate adapter of the GM3000, mounted on the pier adapter
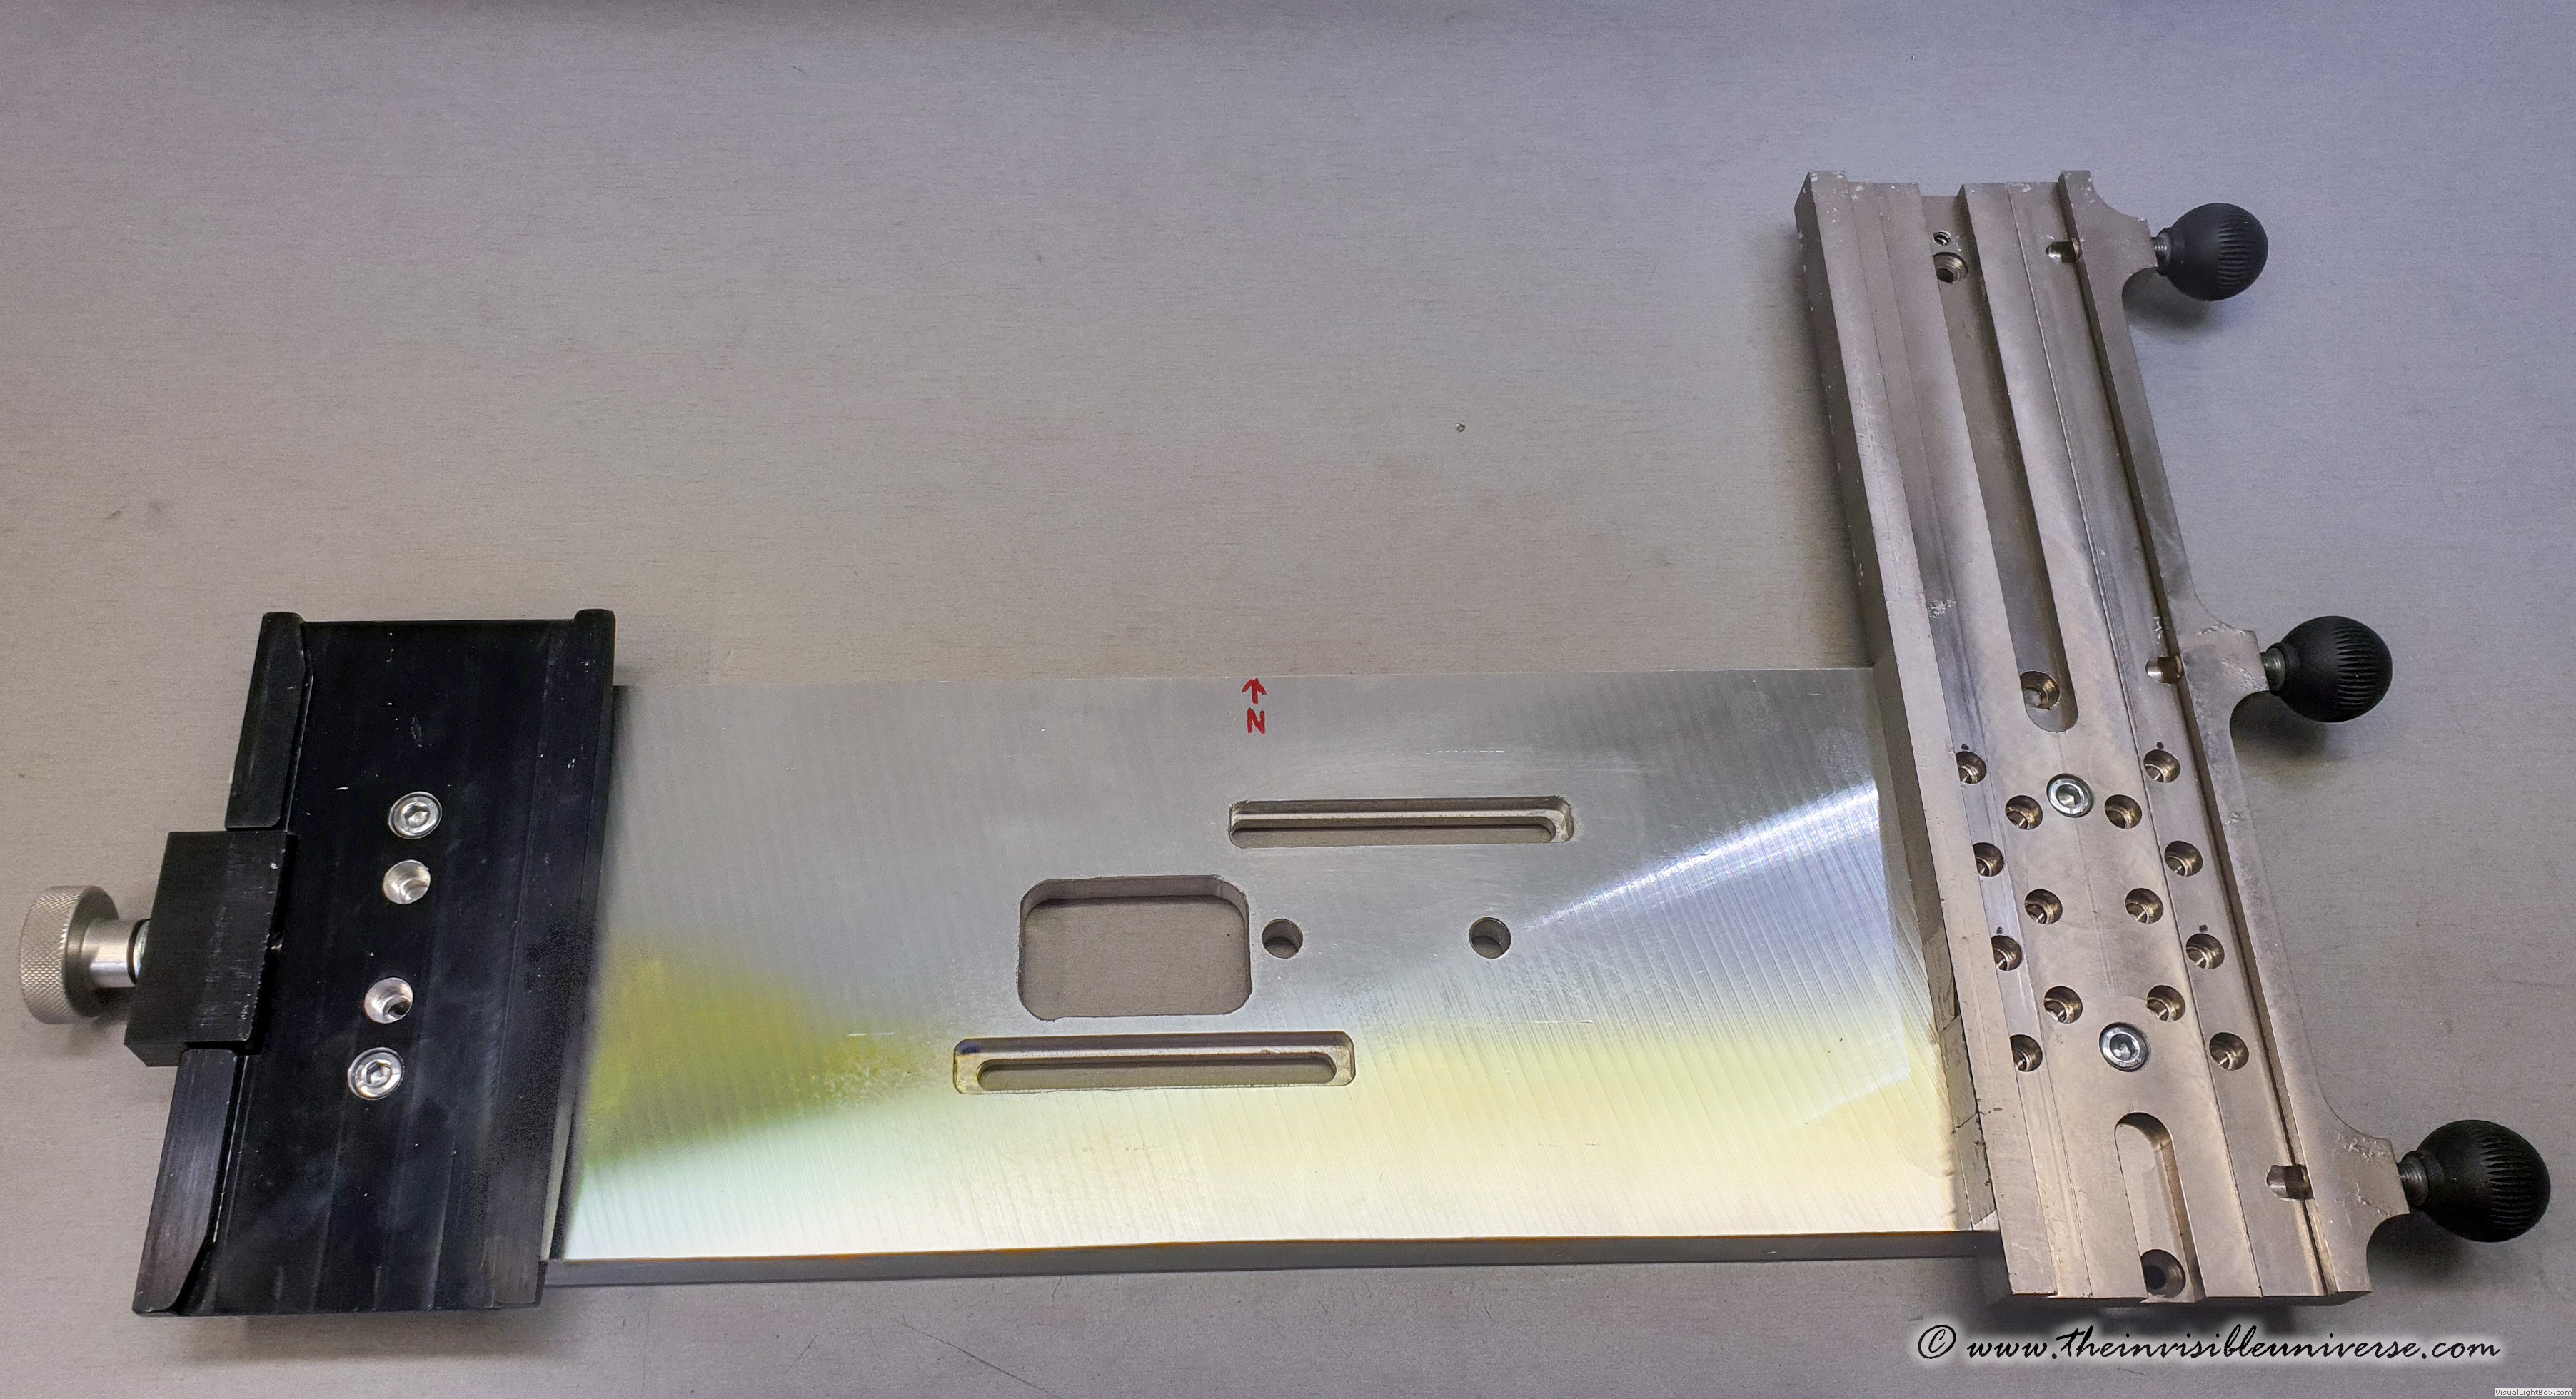 Self-made double-mounting-plate with 75° dovetail and slotted screw holes
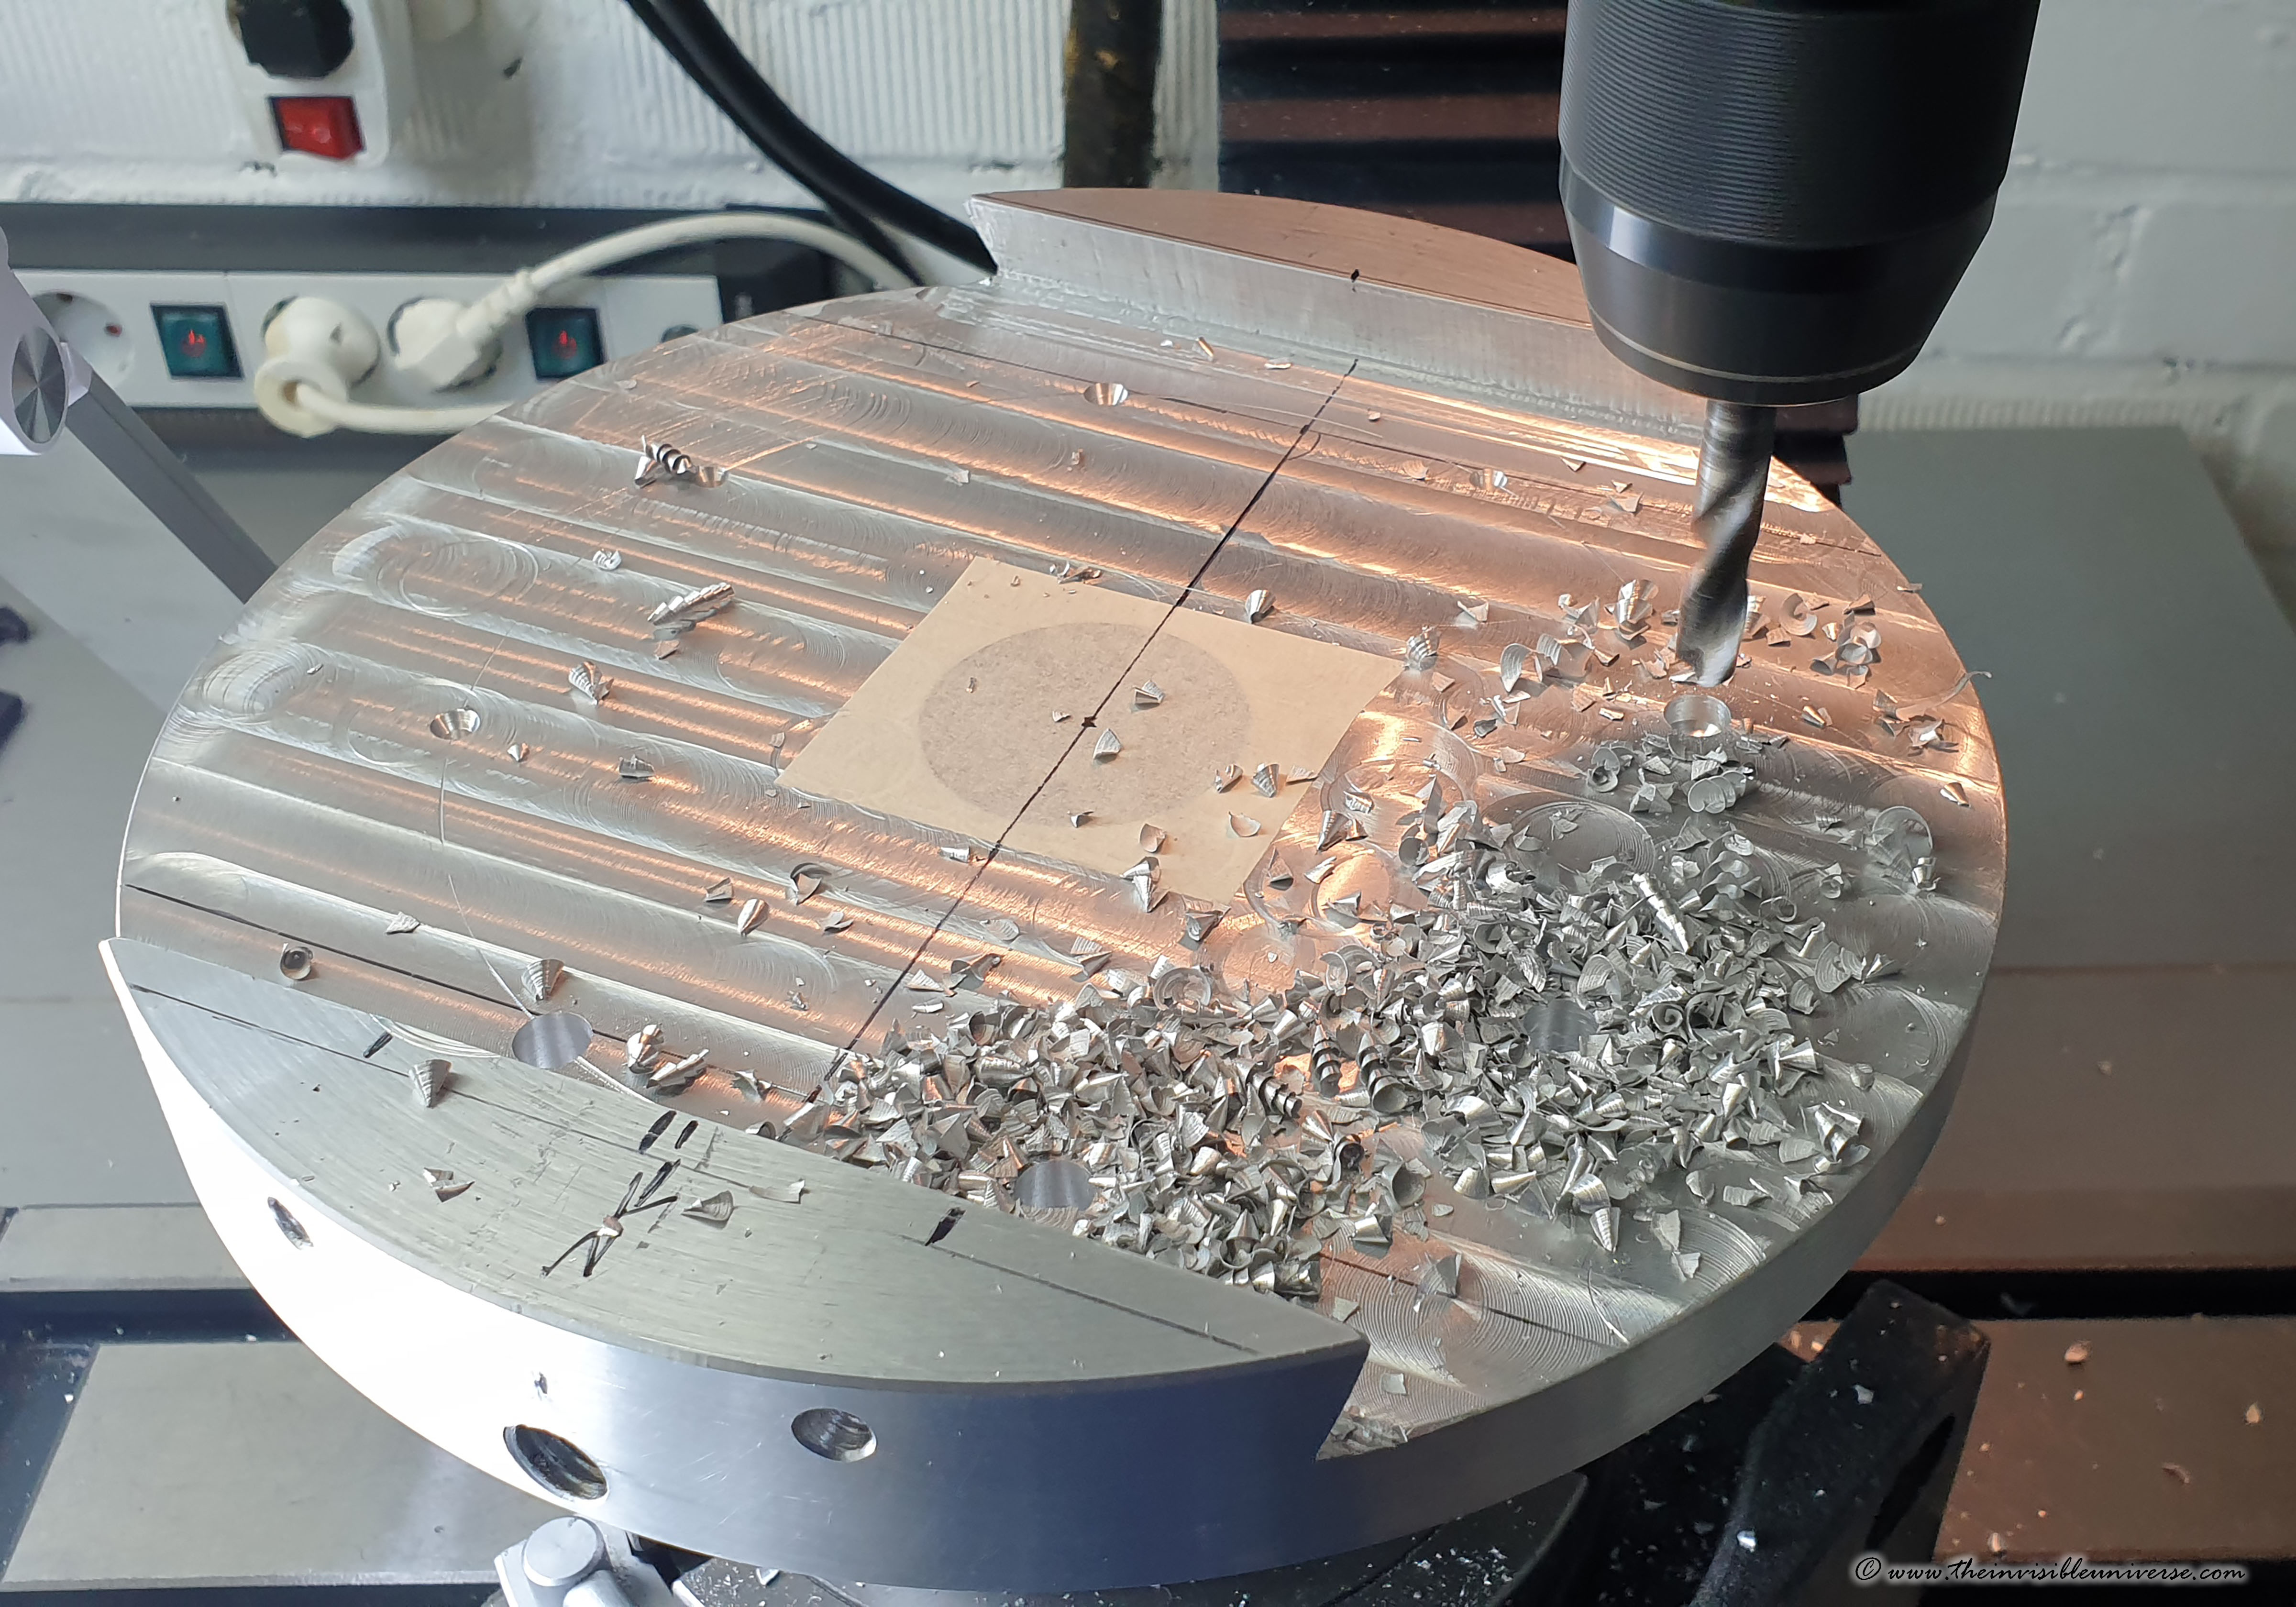 Manufacturing of the large dovetail clamp for the GM3000 top plate 218mm o.d. telescope flange.
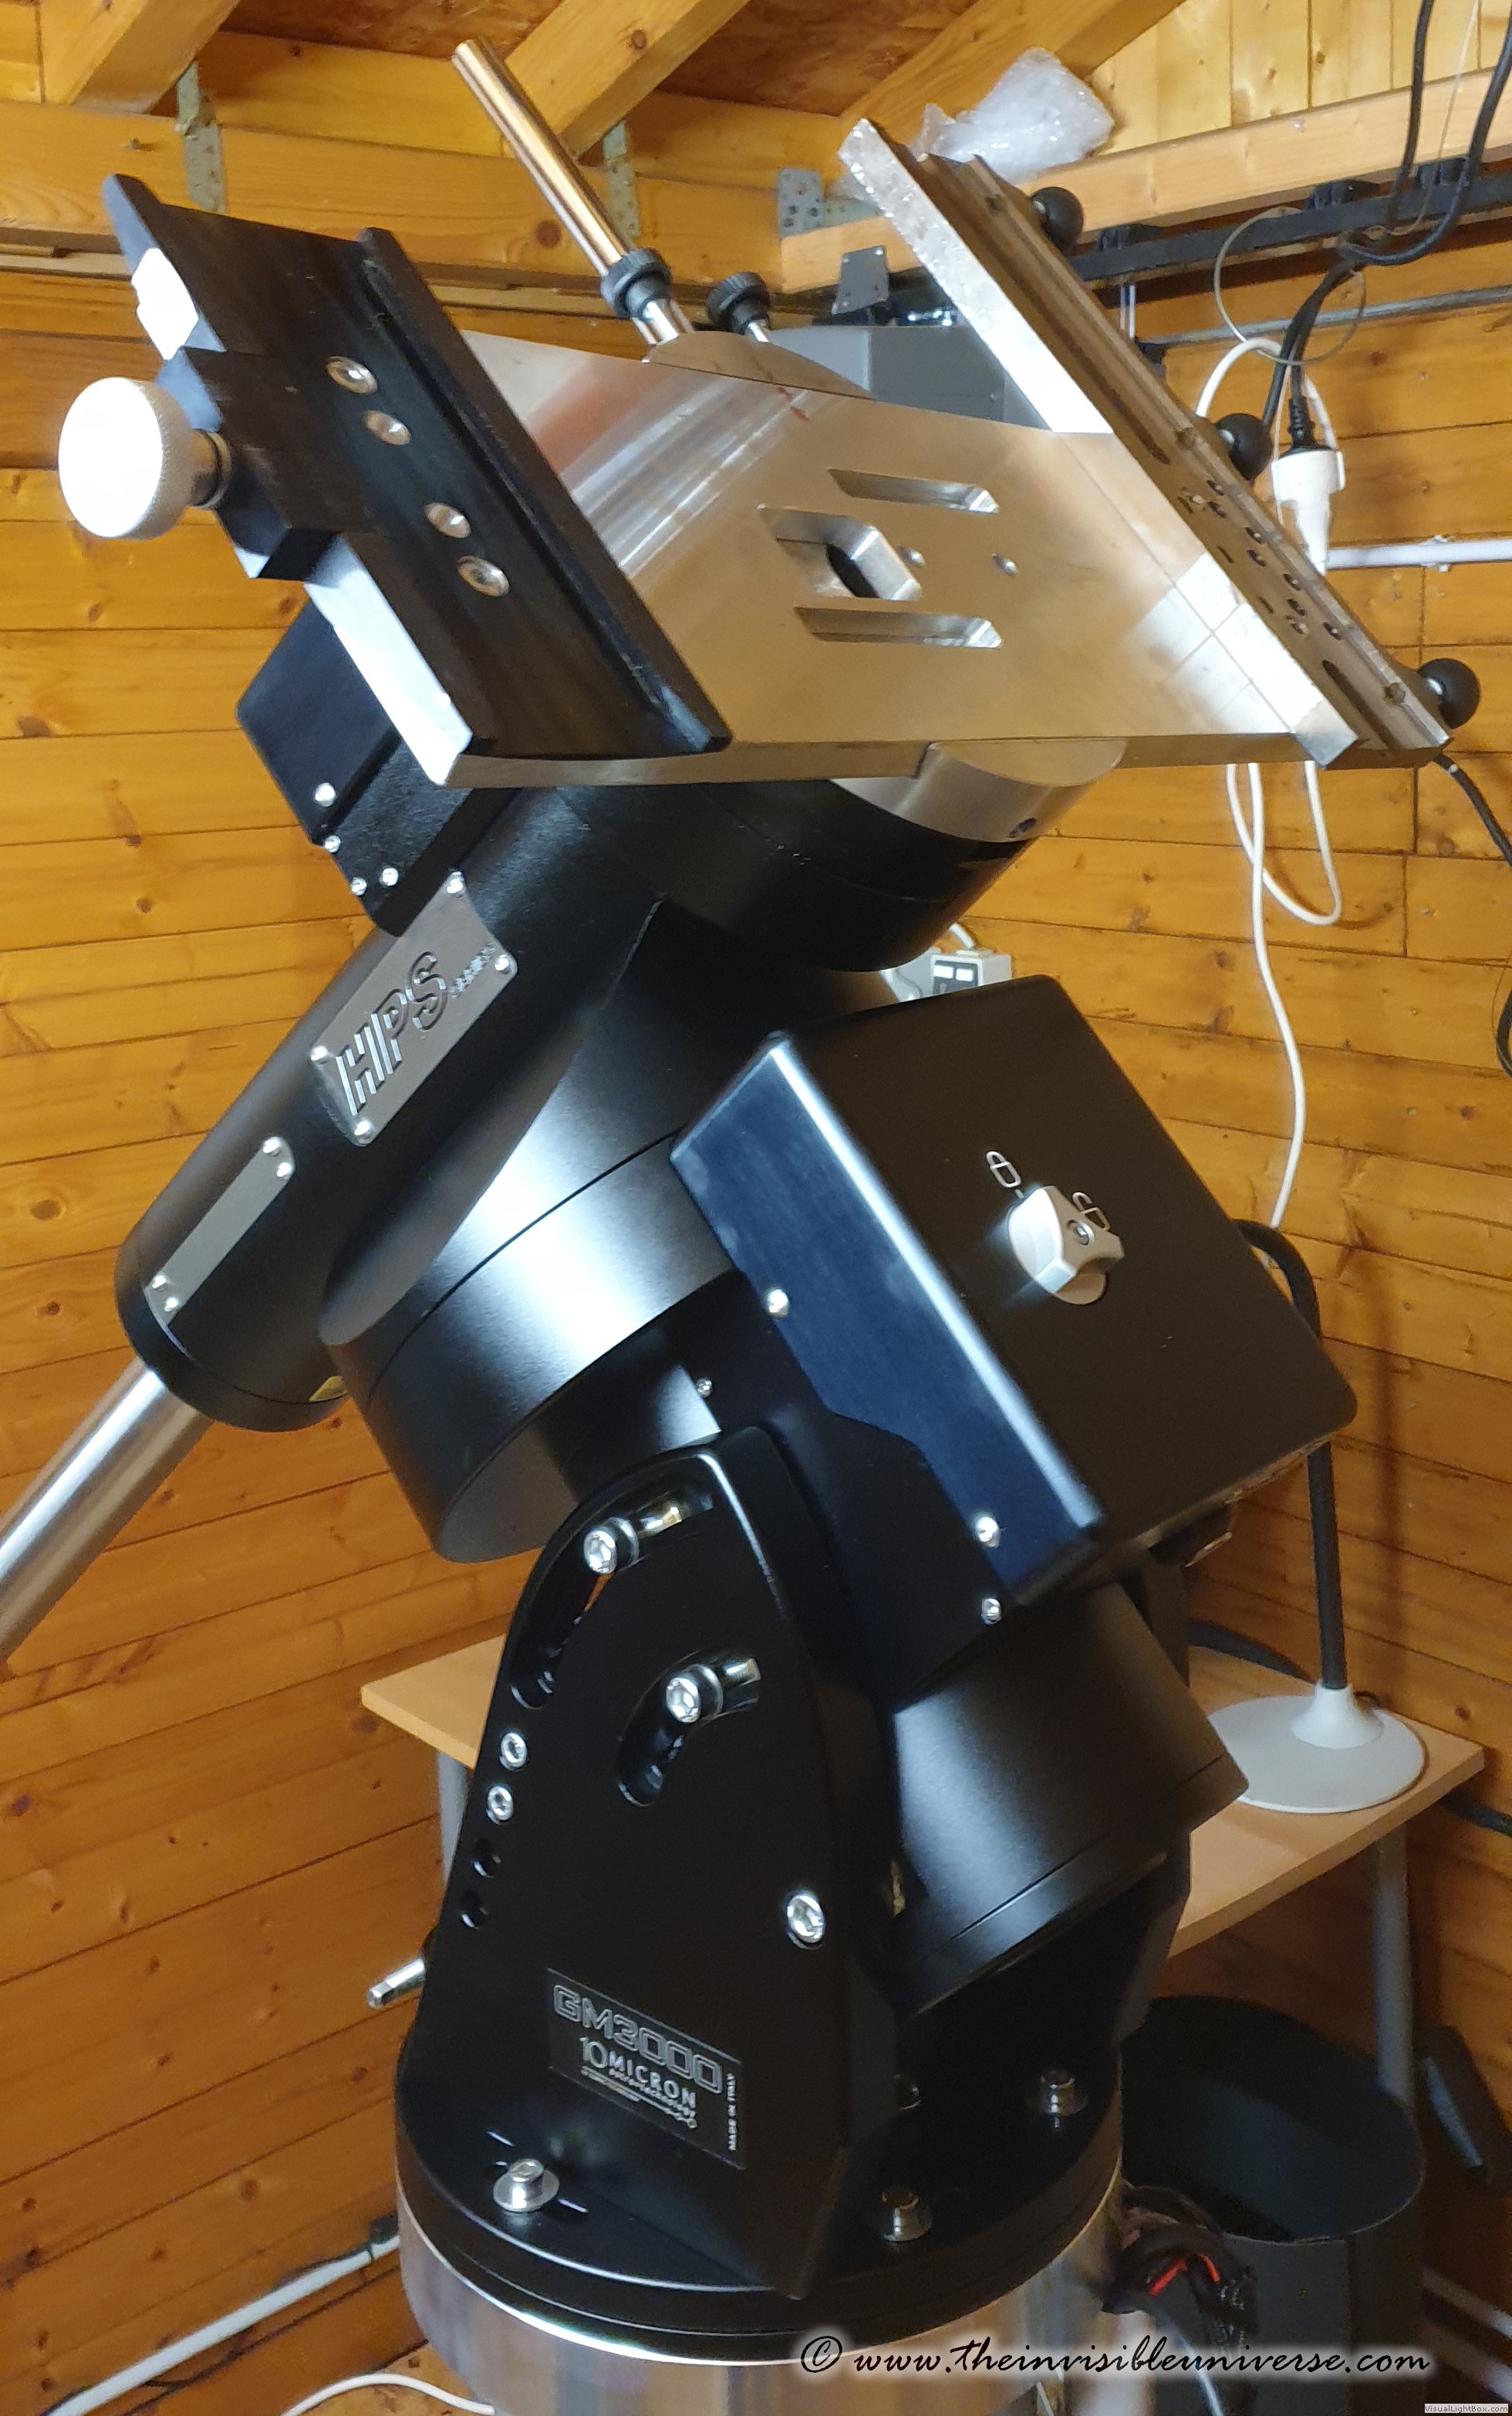 The self-made dovetail system mounted on top of the GM3000, safety screws included.
A big plus compared to the GM2000 mounts is the possibility of internal cable routing through the RA and DEC axes. A lot of cables are needed for all instruments - several separately switchable 12V power supplies and USB ports. There is not much room in the axes and time will tell if the cables will get tangled.
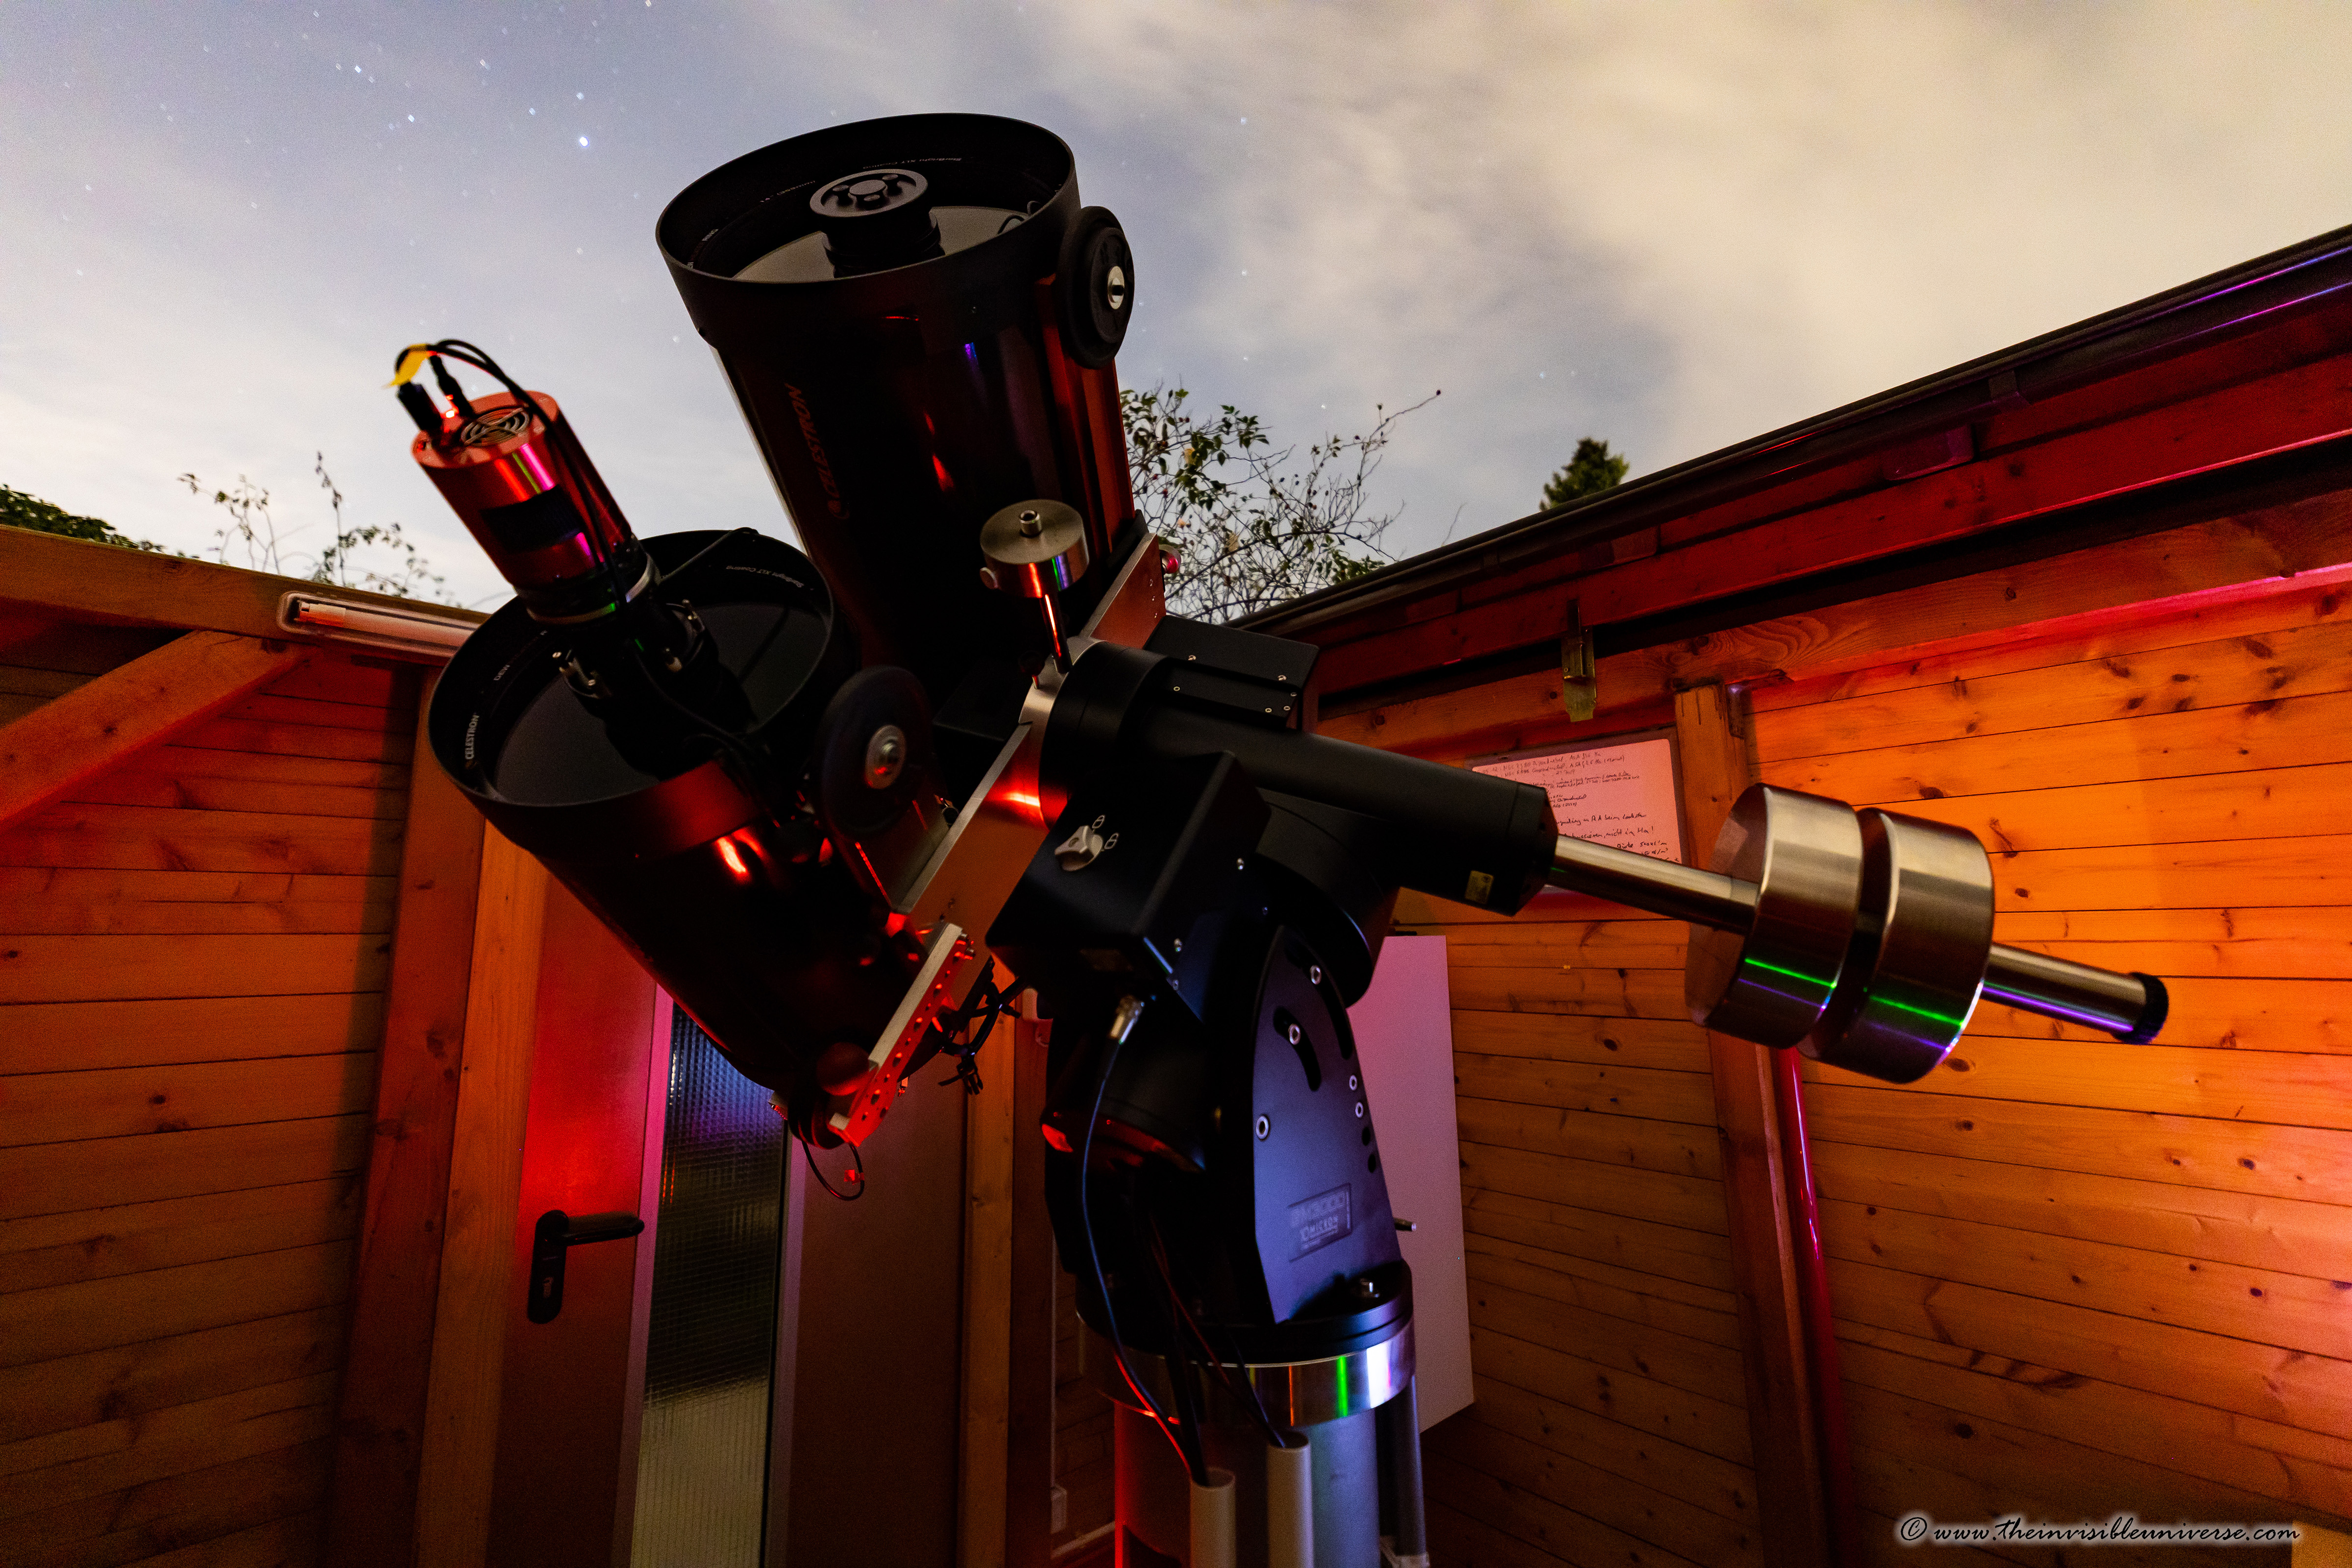
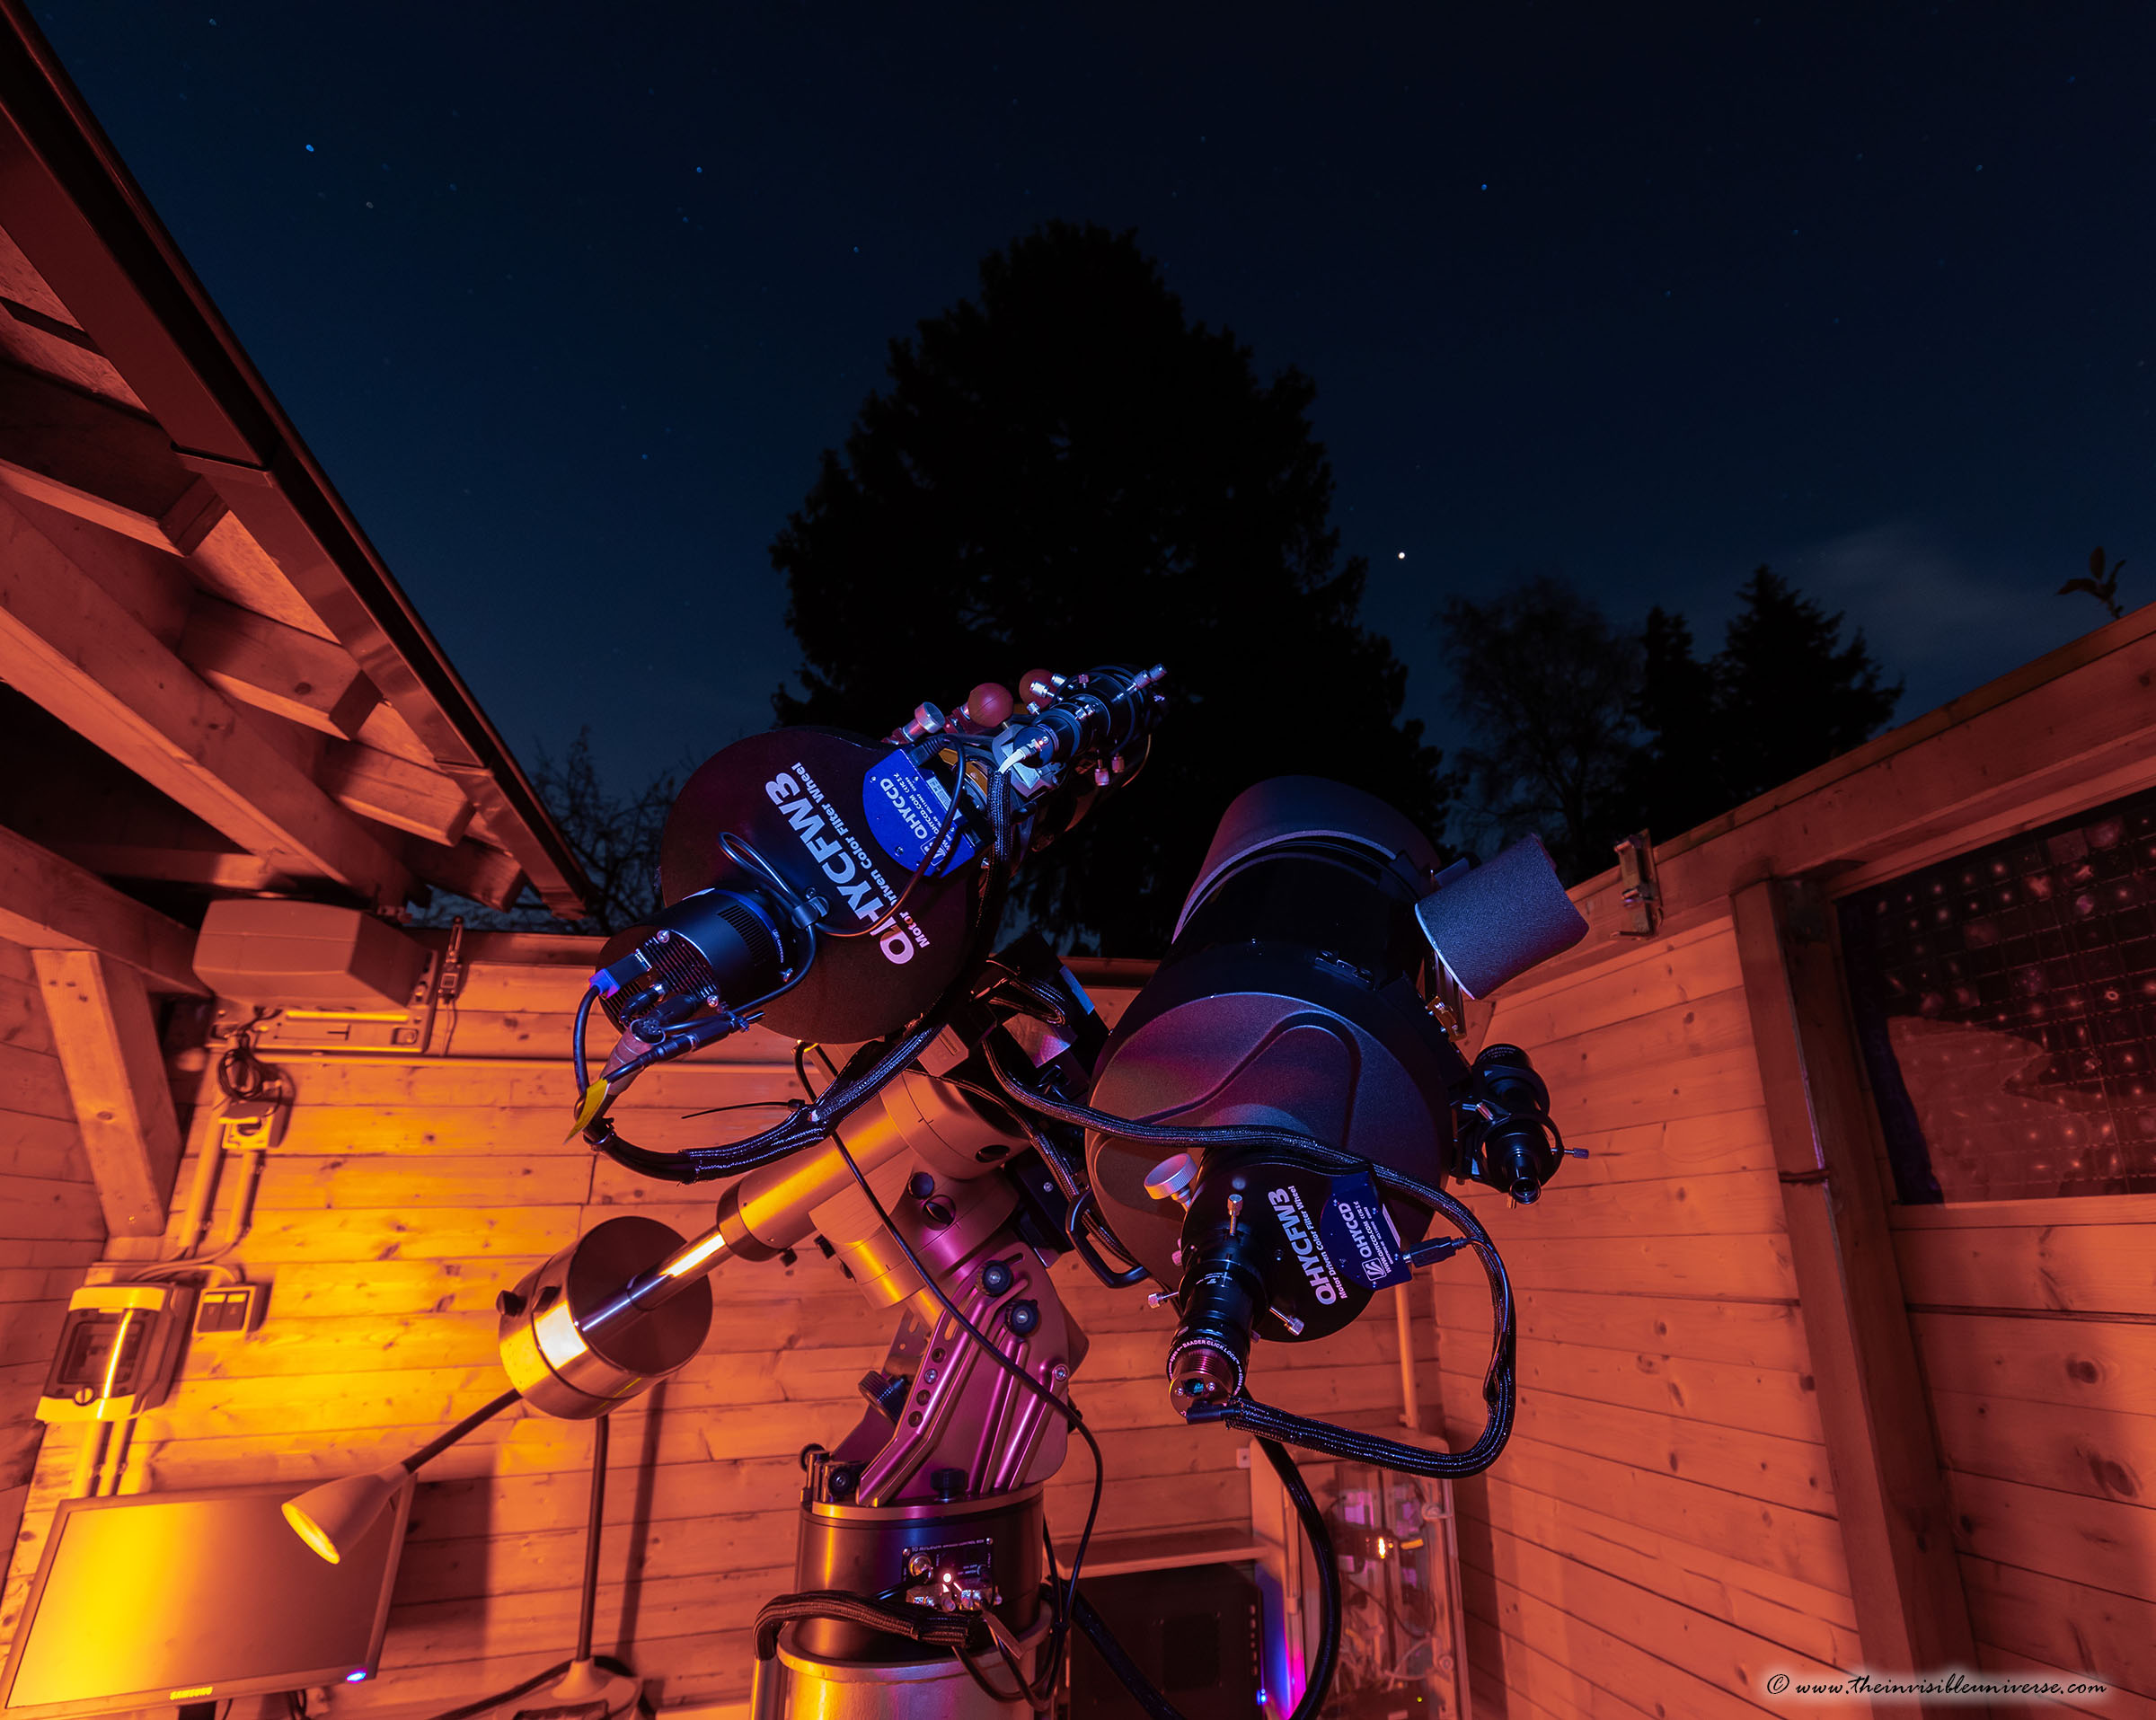
In the end, I was able to install the whole setup in my small backyard observatory: the GM3000 with two 20kg counterweights, the double mounting plate, the big Celestron C14 with accessories, the Celestron C11 with the Starizona Hyperstar v4 installed, the ASI62000MM camera, filter changer, focusing motor and all the accessories, the guide scope and some other stuff. The GM3000 can easily handle all the weight.
I would also like to add my 4.5" TMBO APO to the setu-up. But the length of the mounting plate is unfortunately not sufficient. In addition, depending on whether the telescope is east or west of the meridian, the lower telescope can no longer look sufficiently above the wall of the observatory. Maybe I will find a solution later.
 Internal cabel routing through the axes of the GM3000.
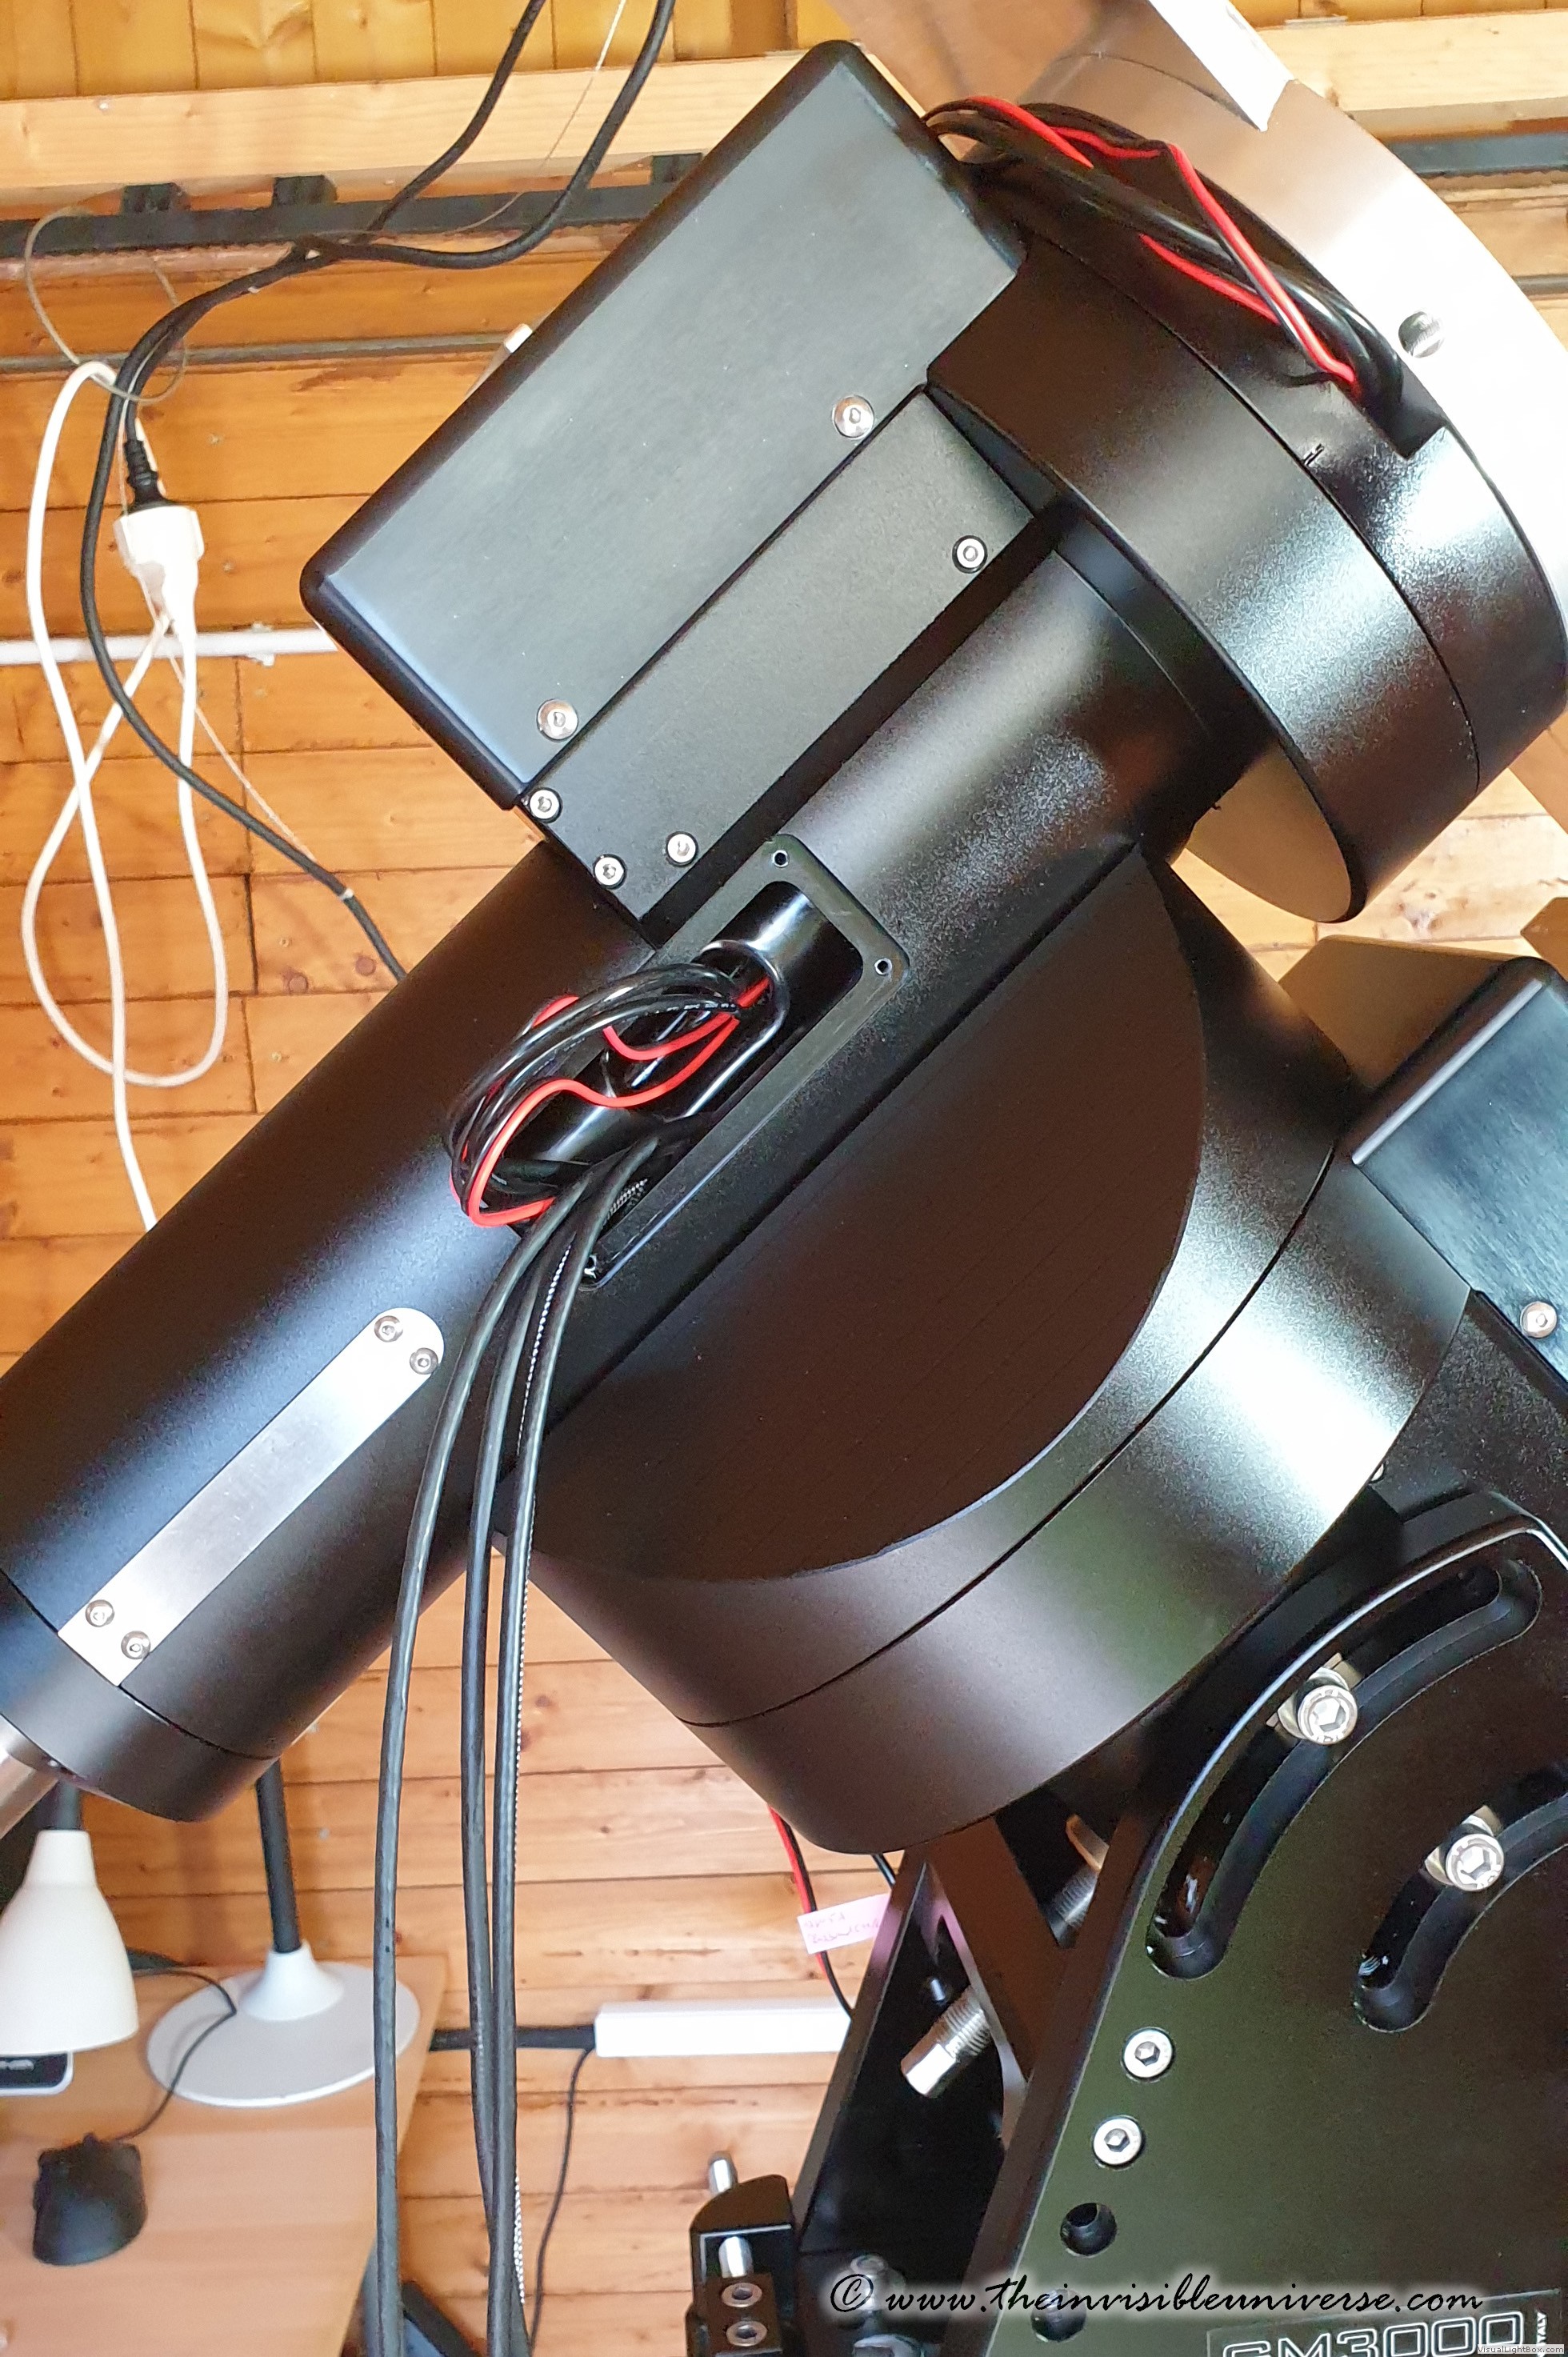 Cable routing is a little fiddly - there is not much space for all the cables.
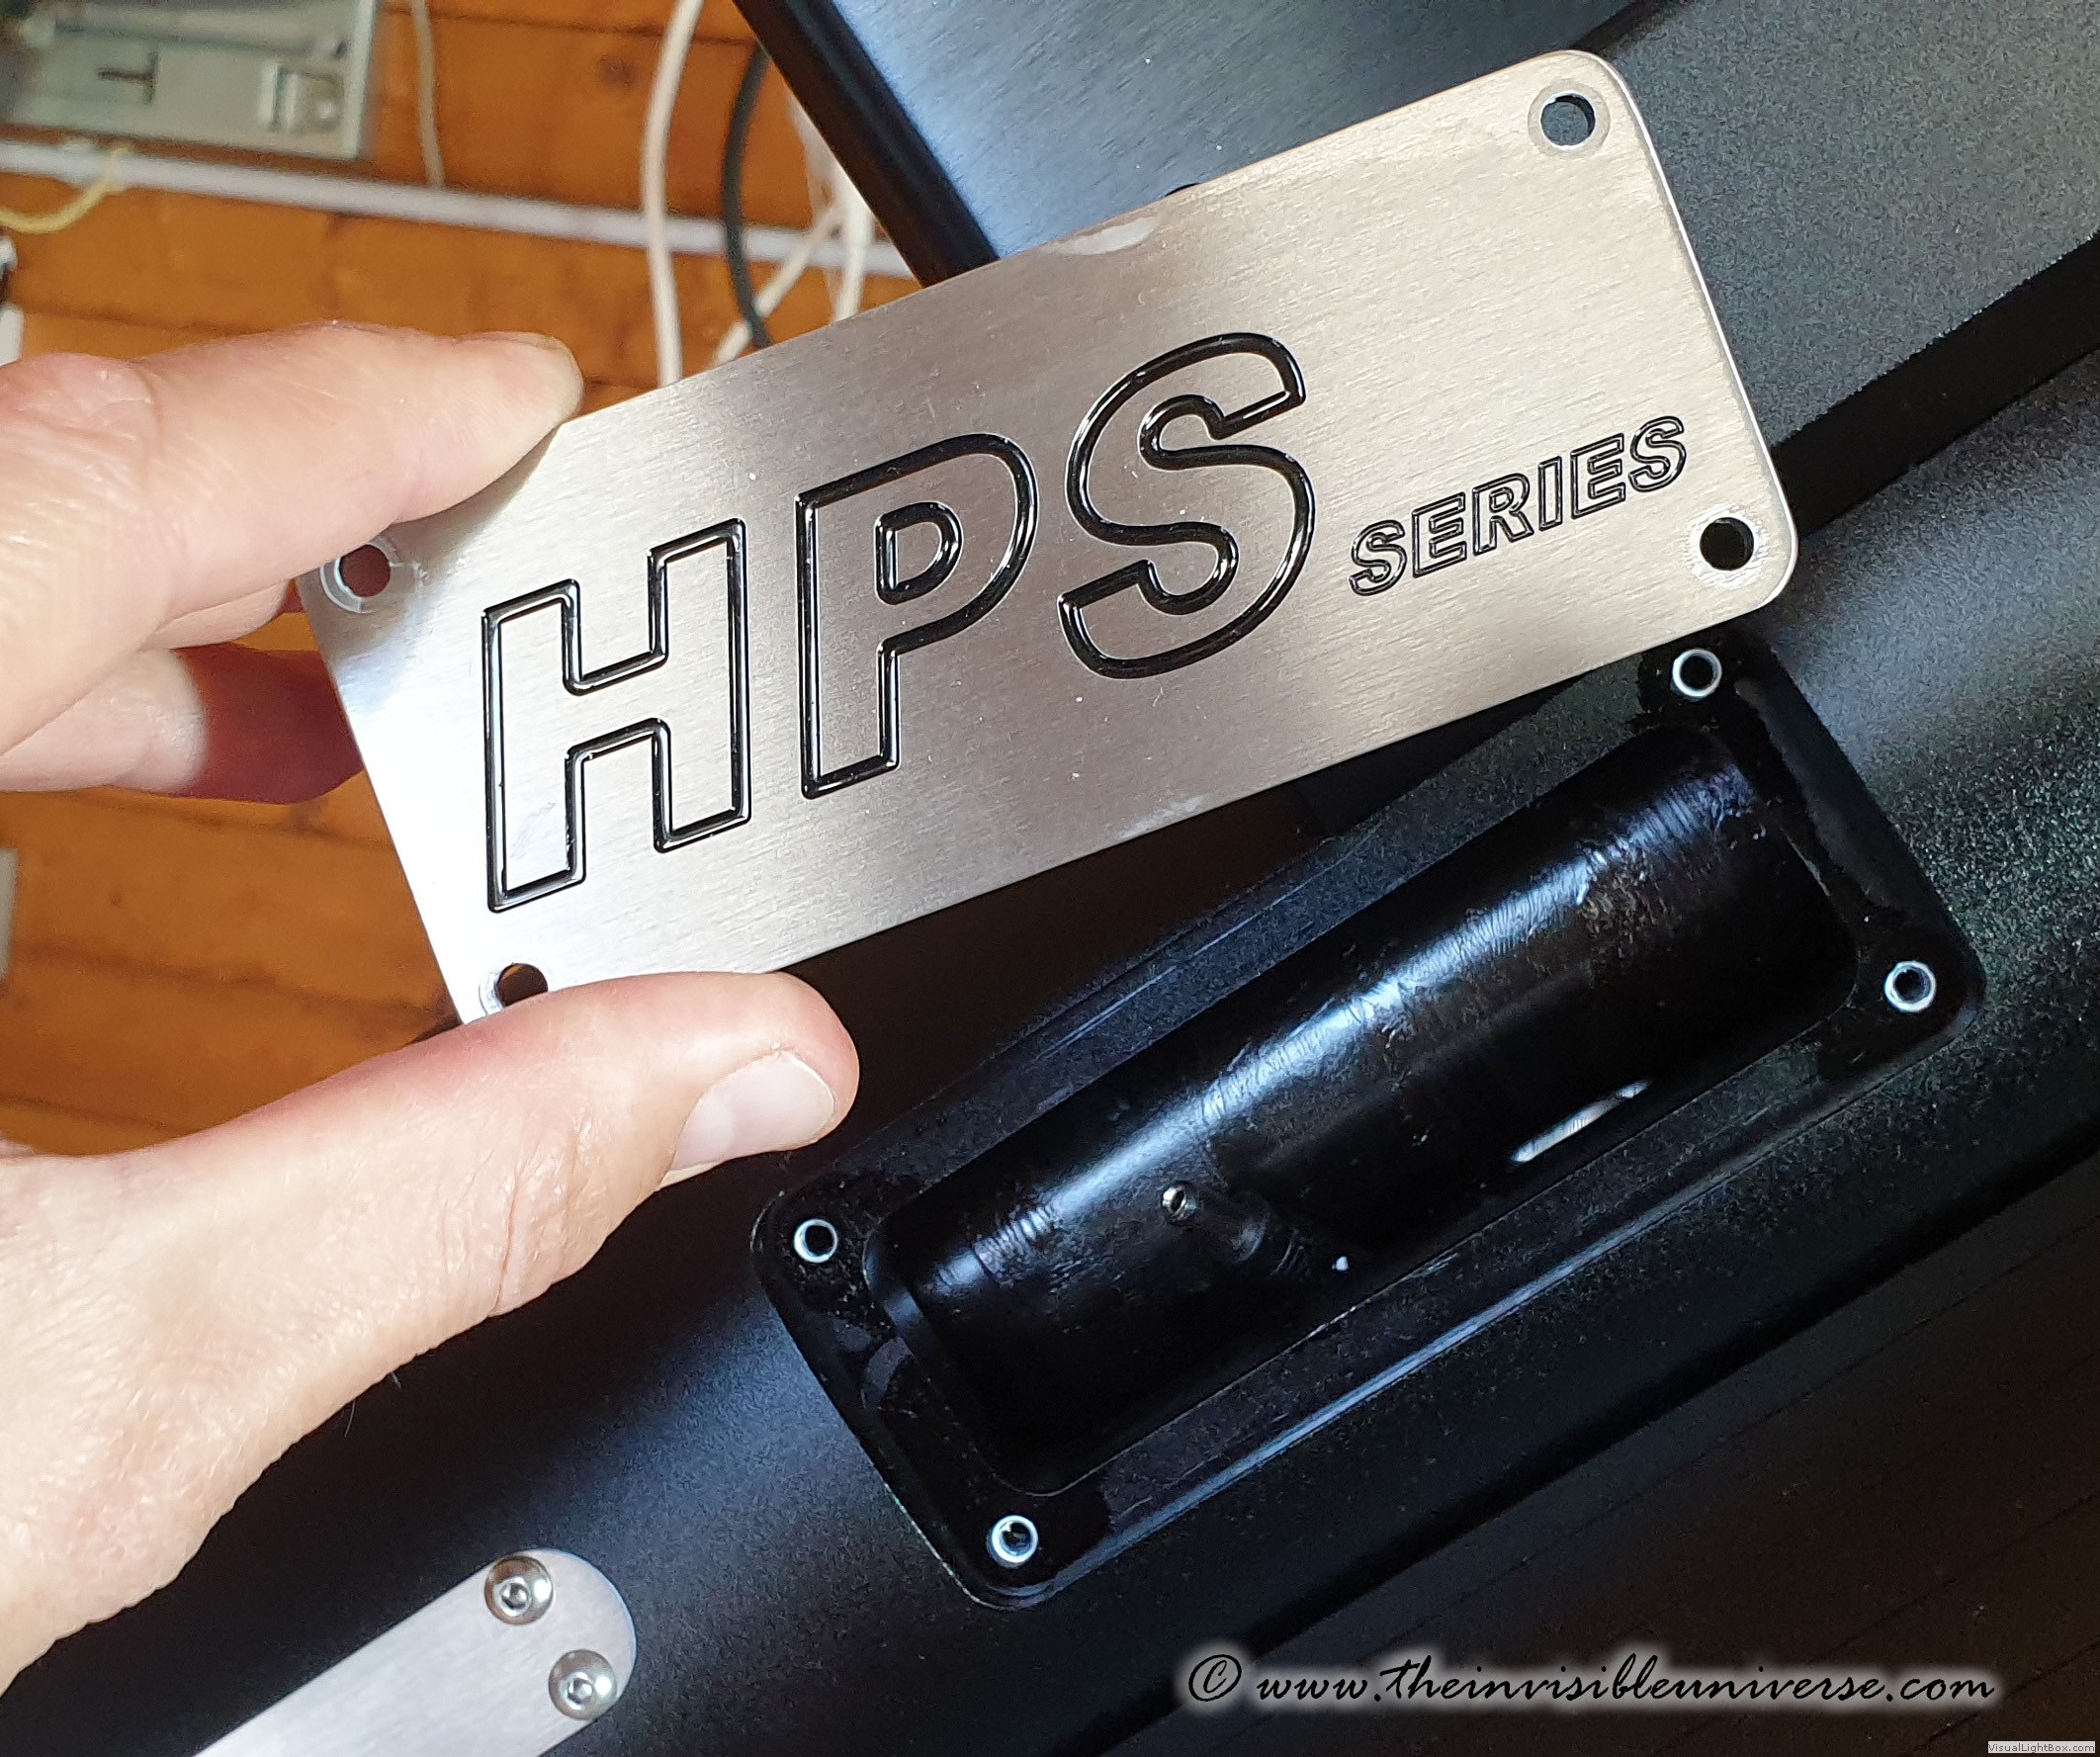 Even the cover plate is custom CNC-machined and engraved.
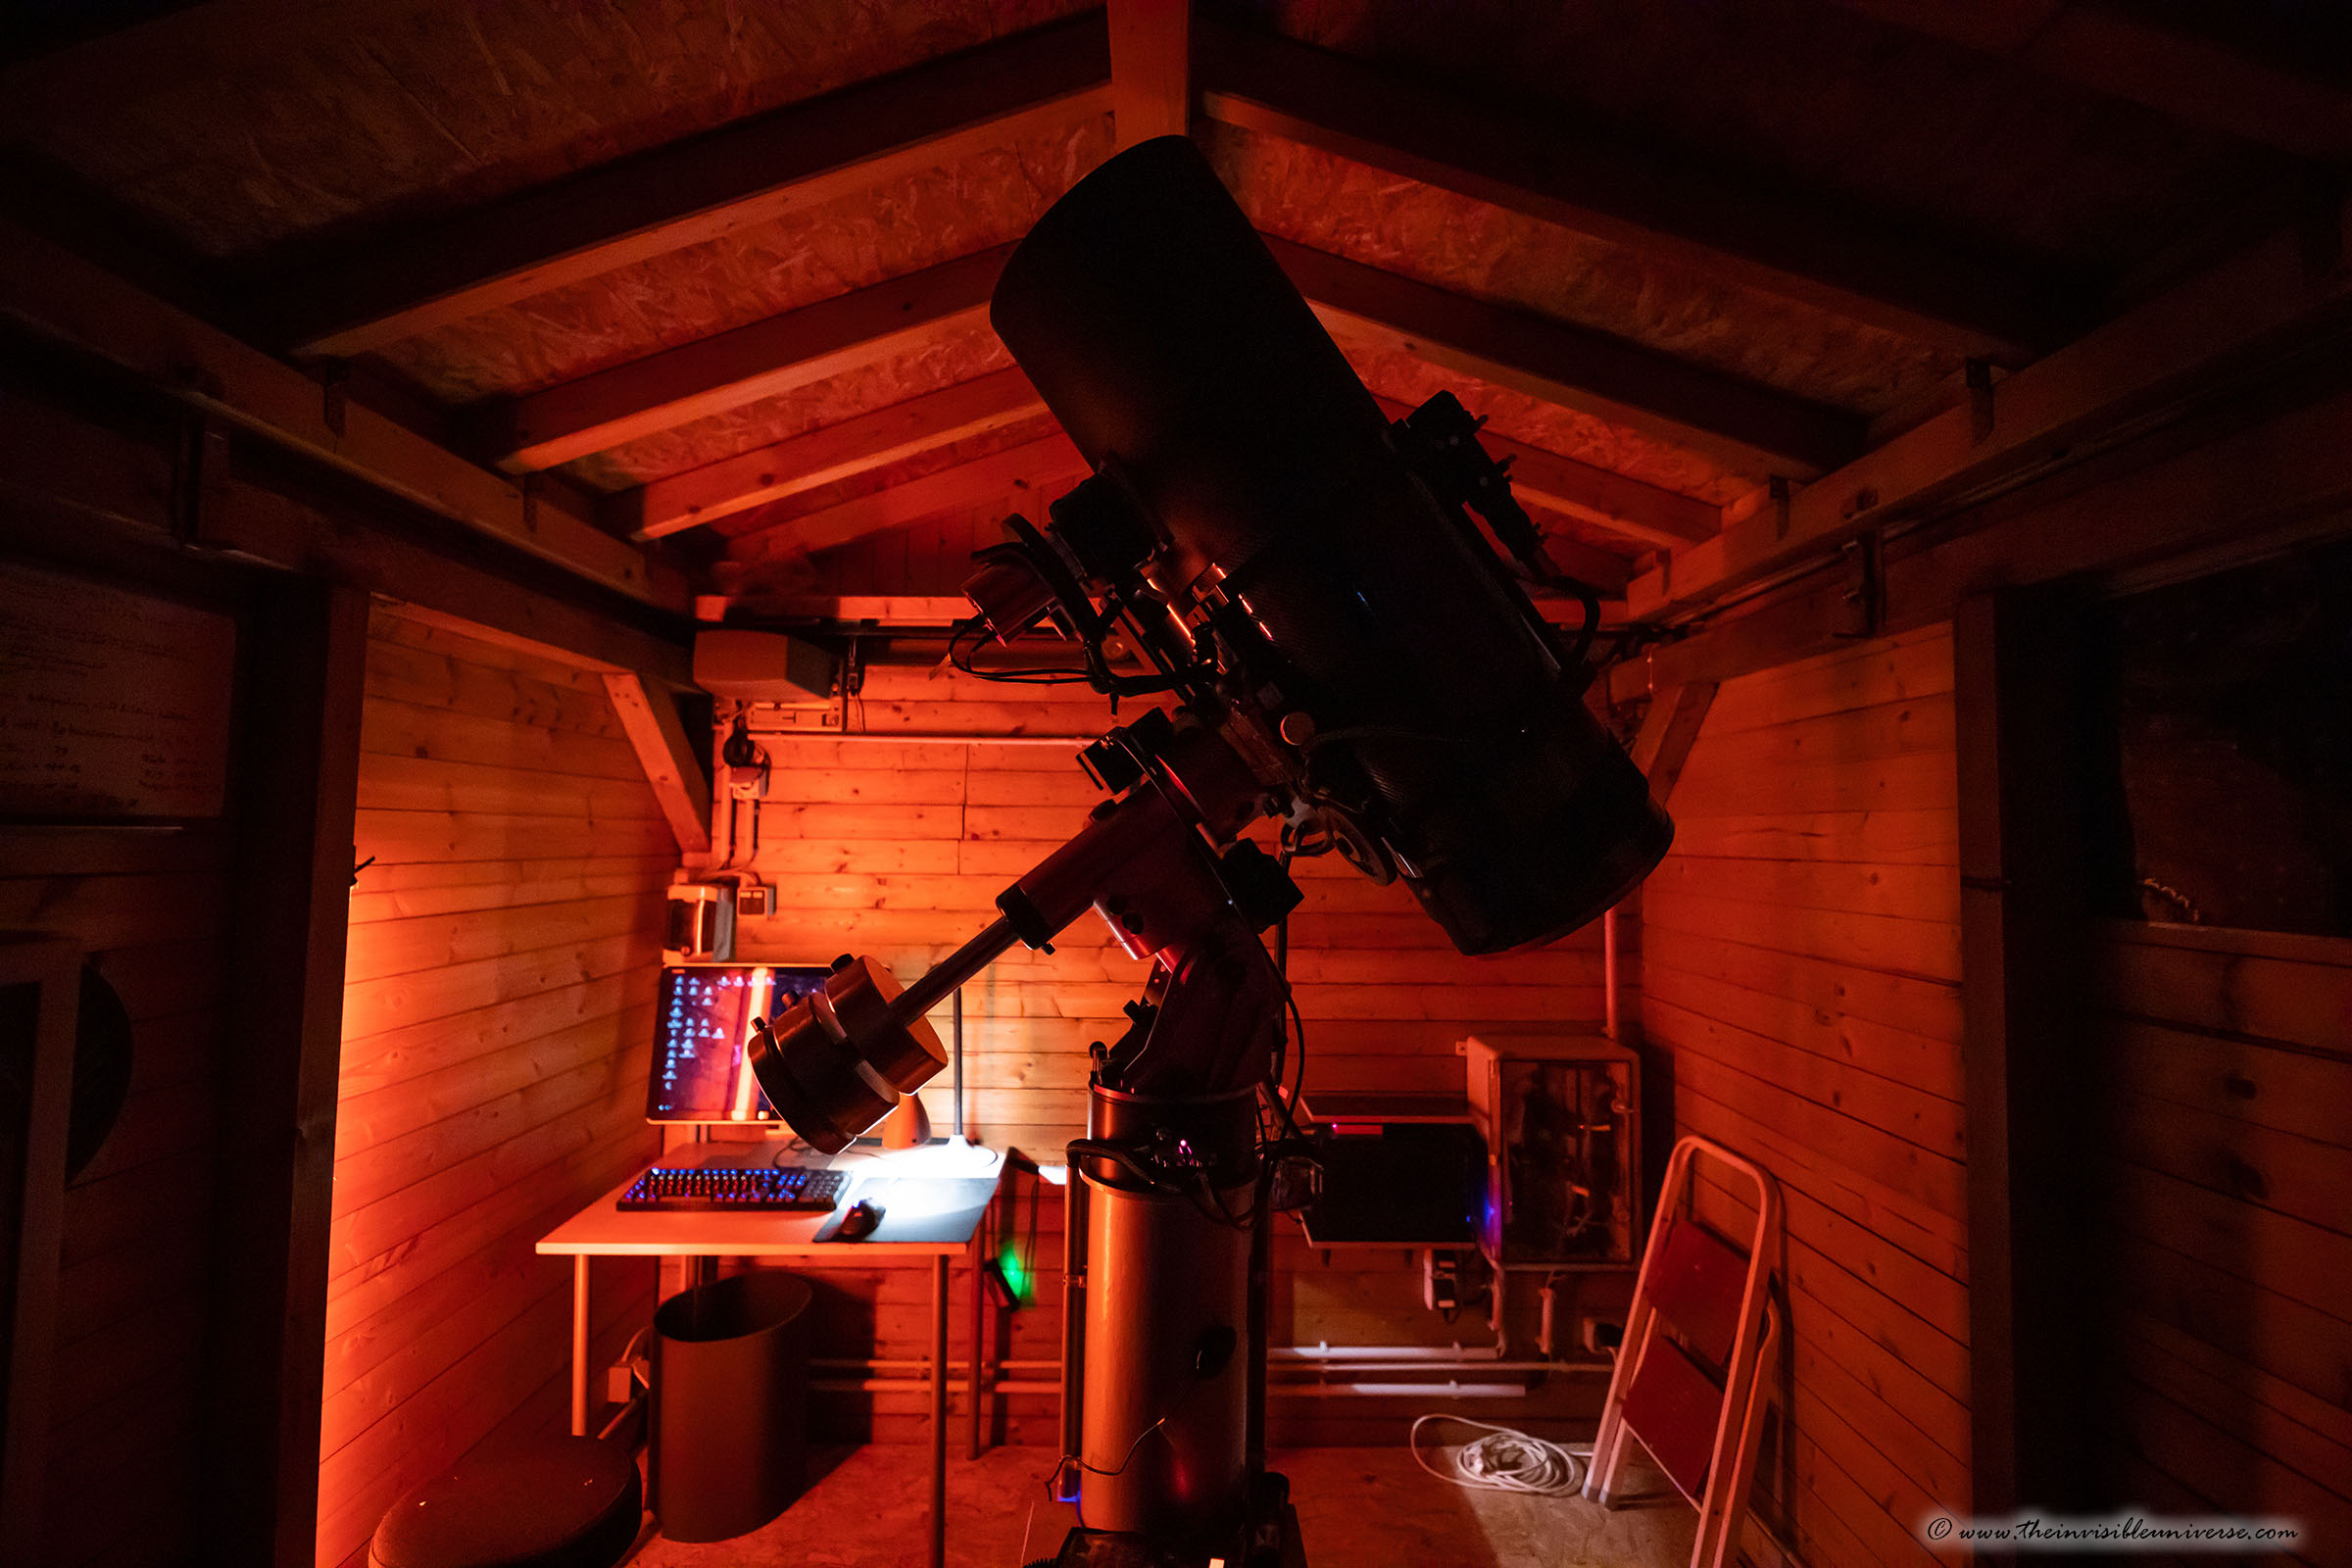
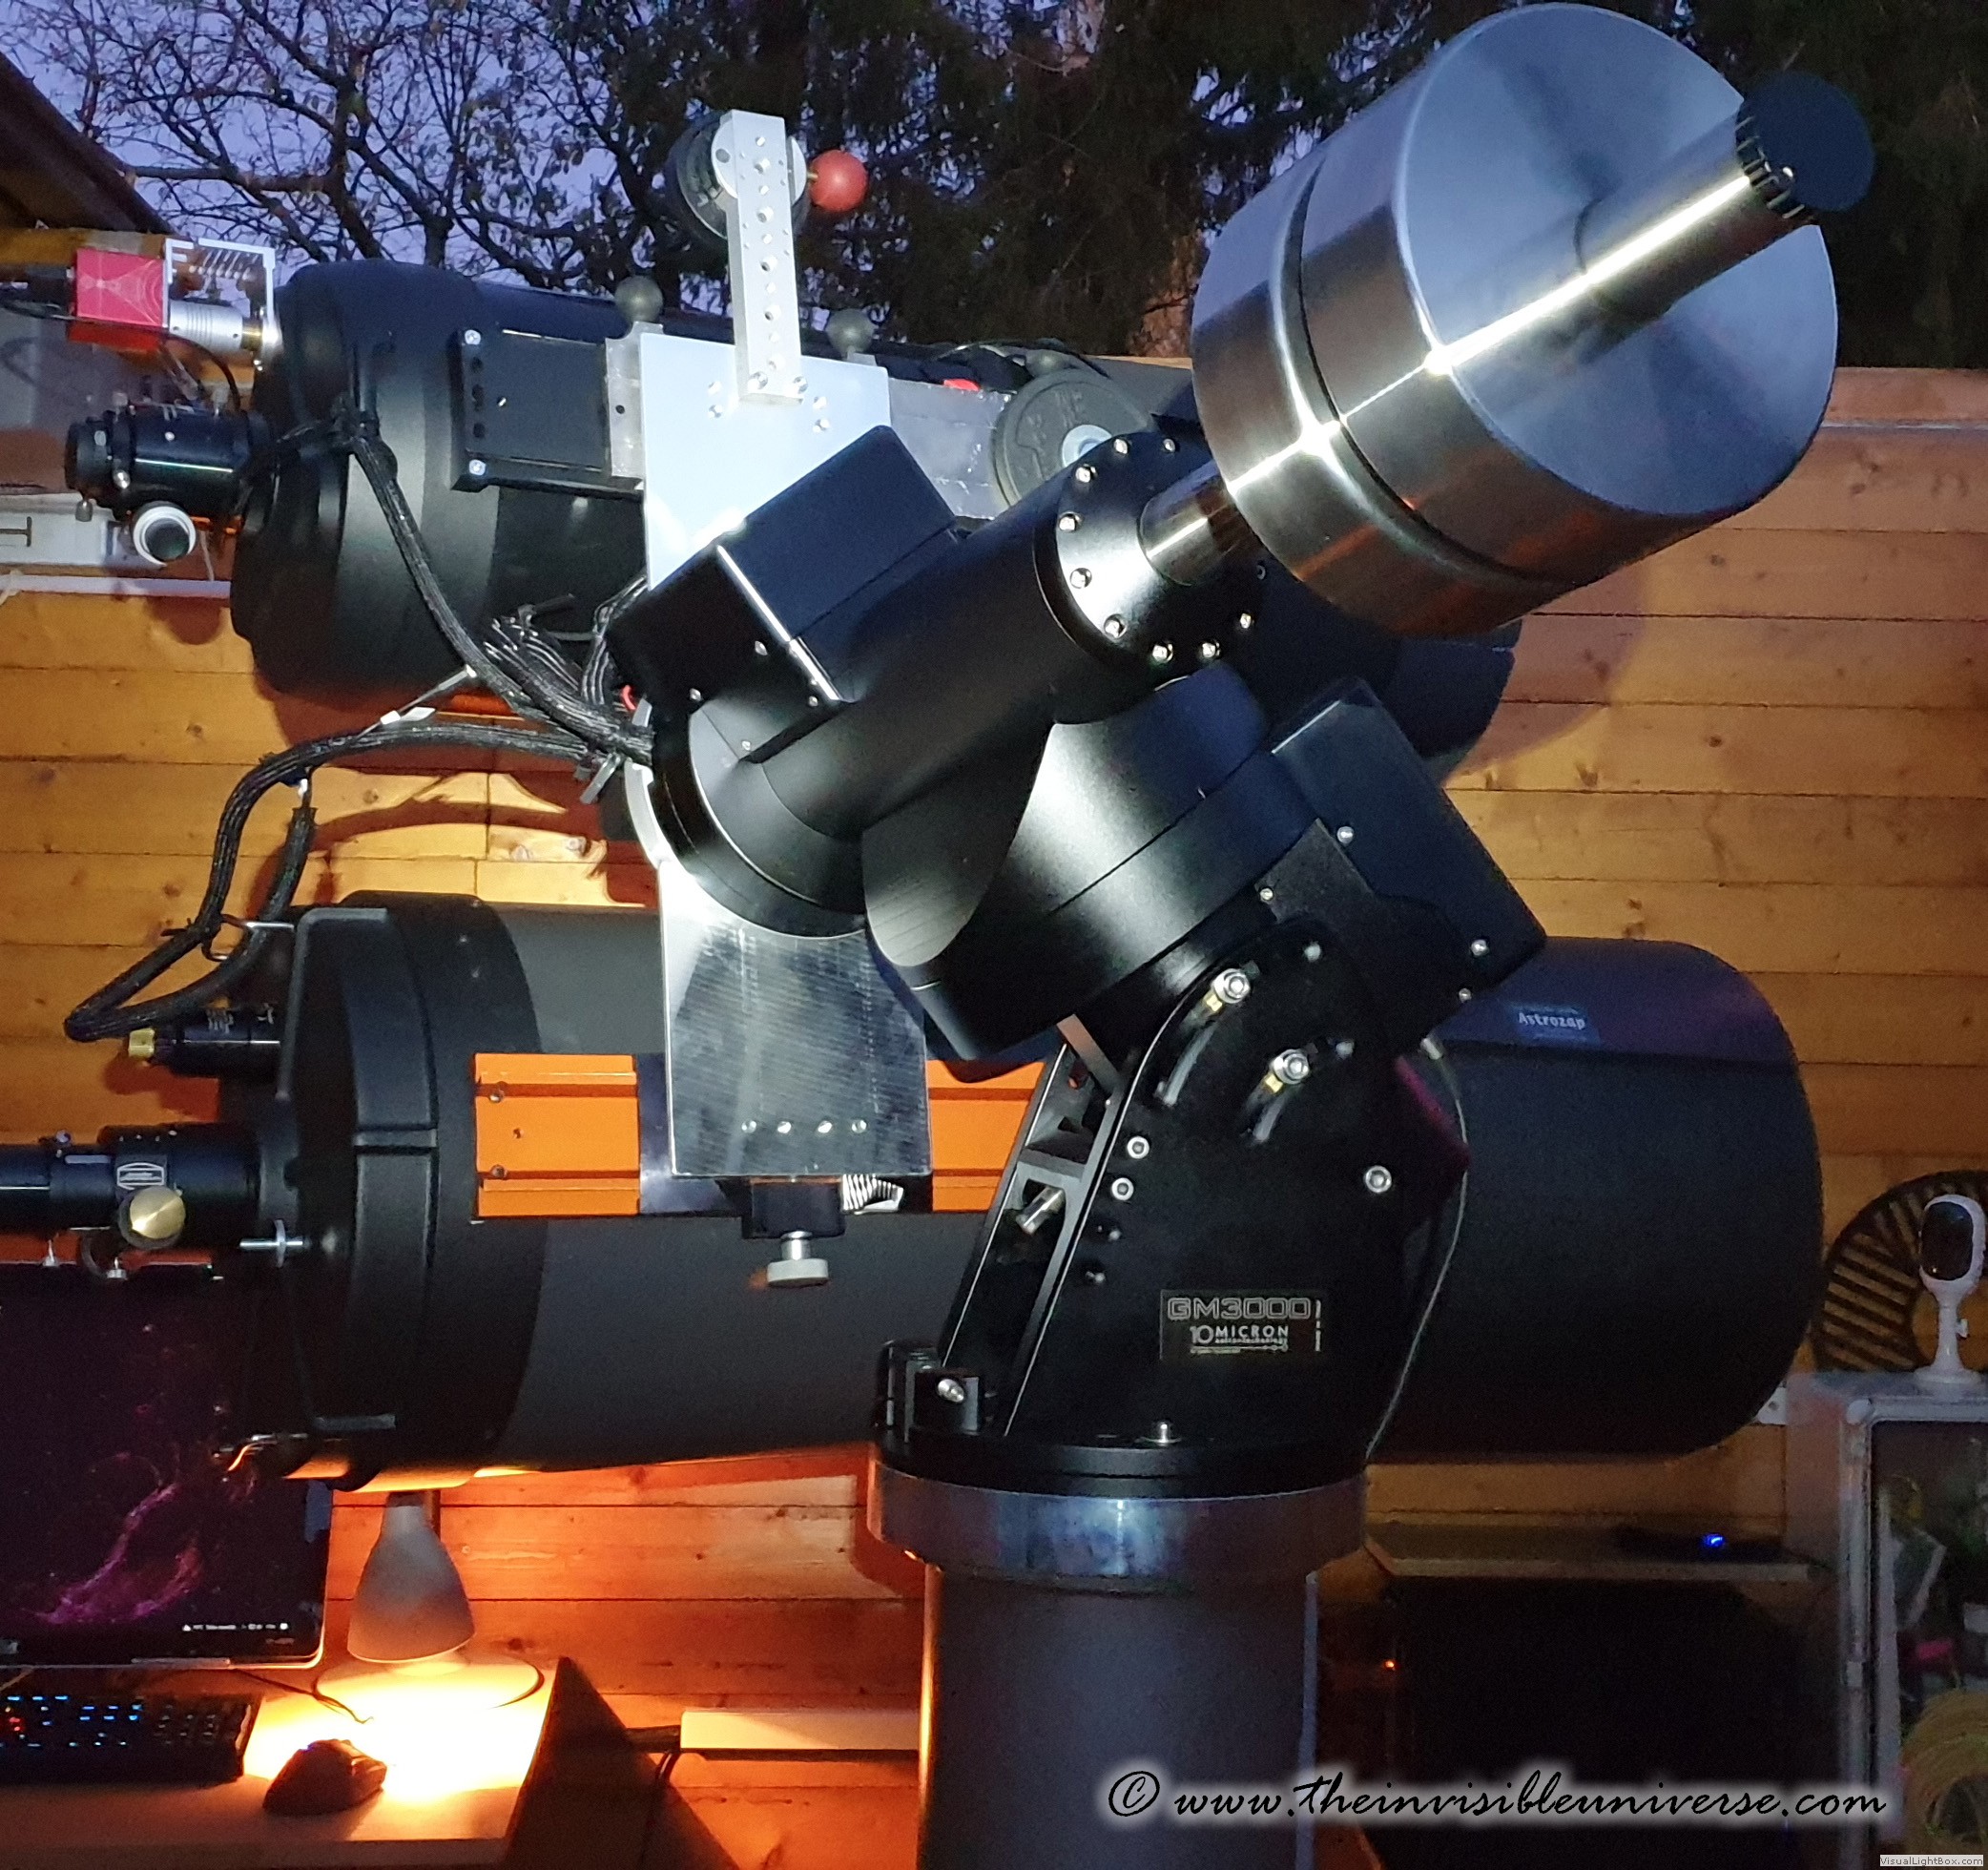 GM3000 with all the instruments installed and in park position.
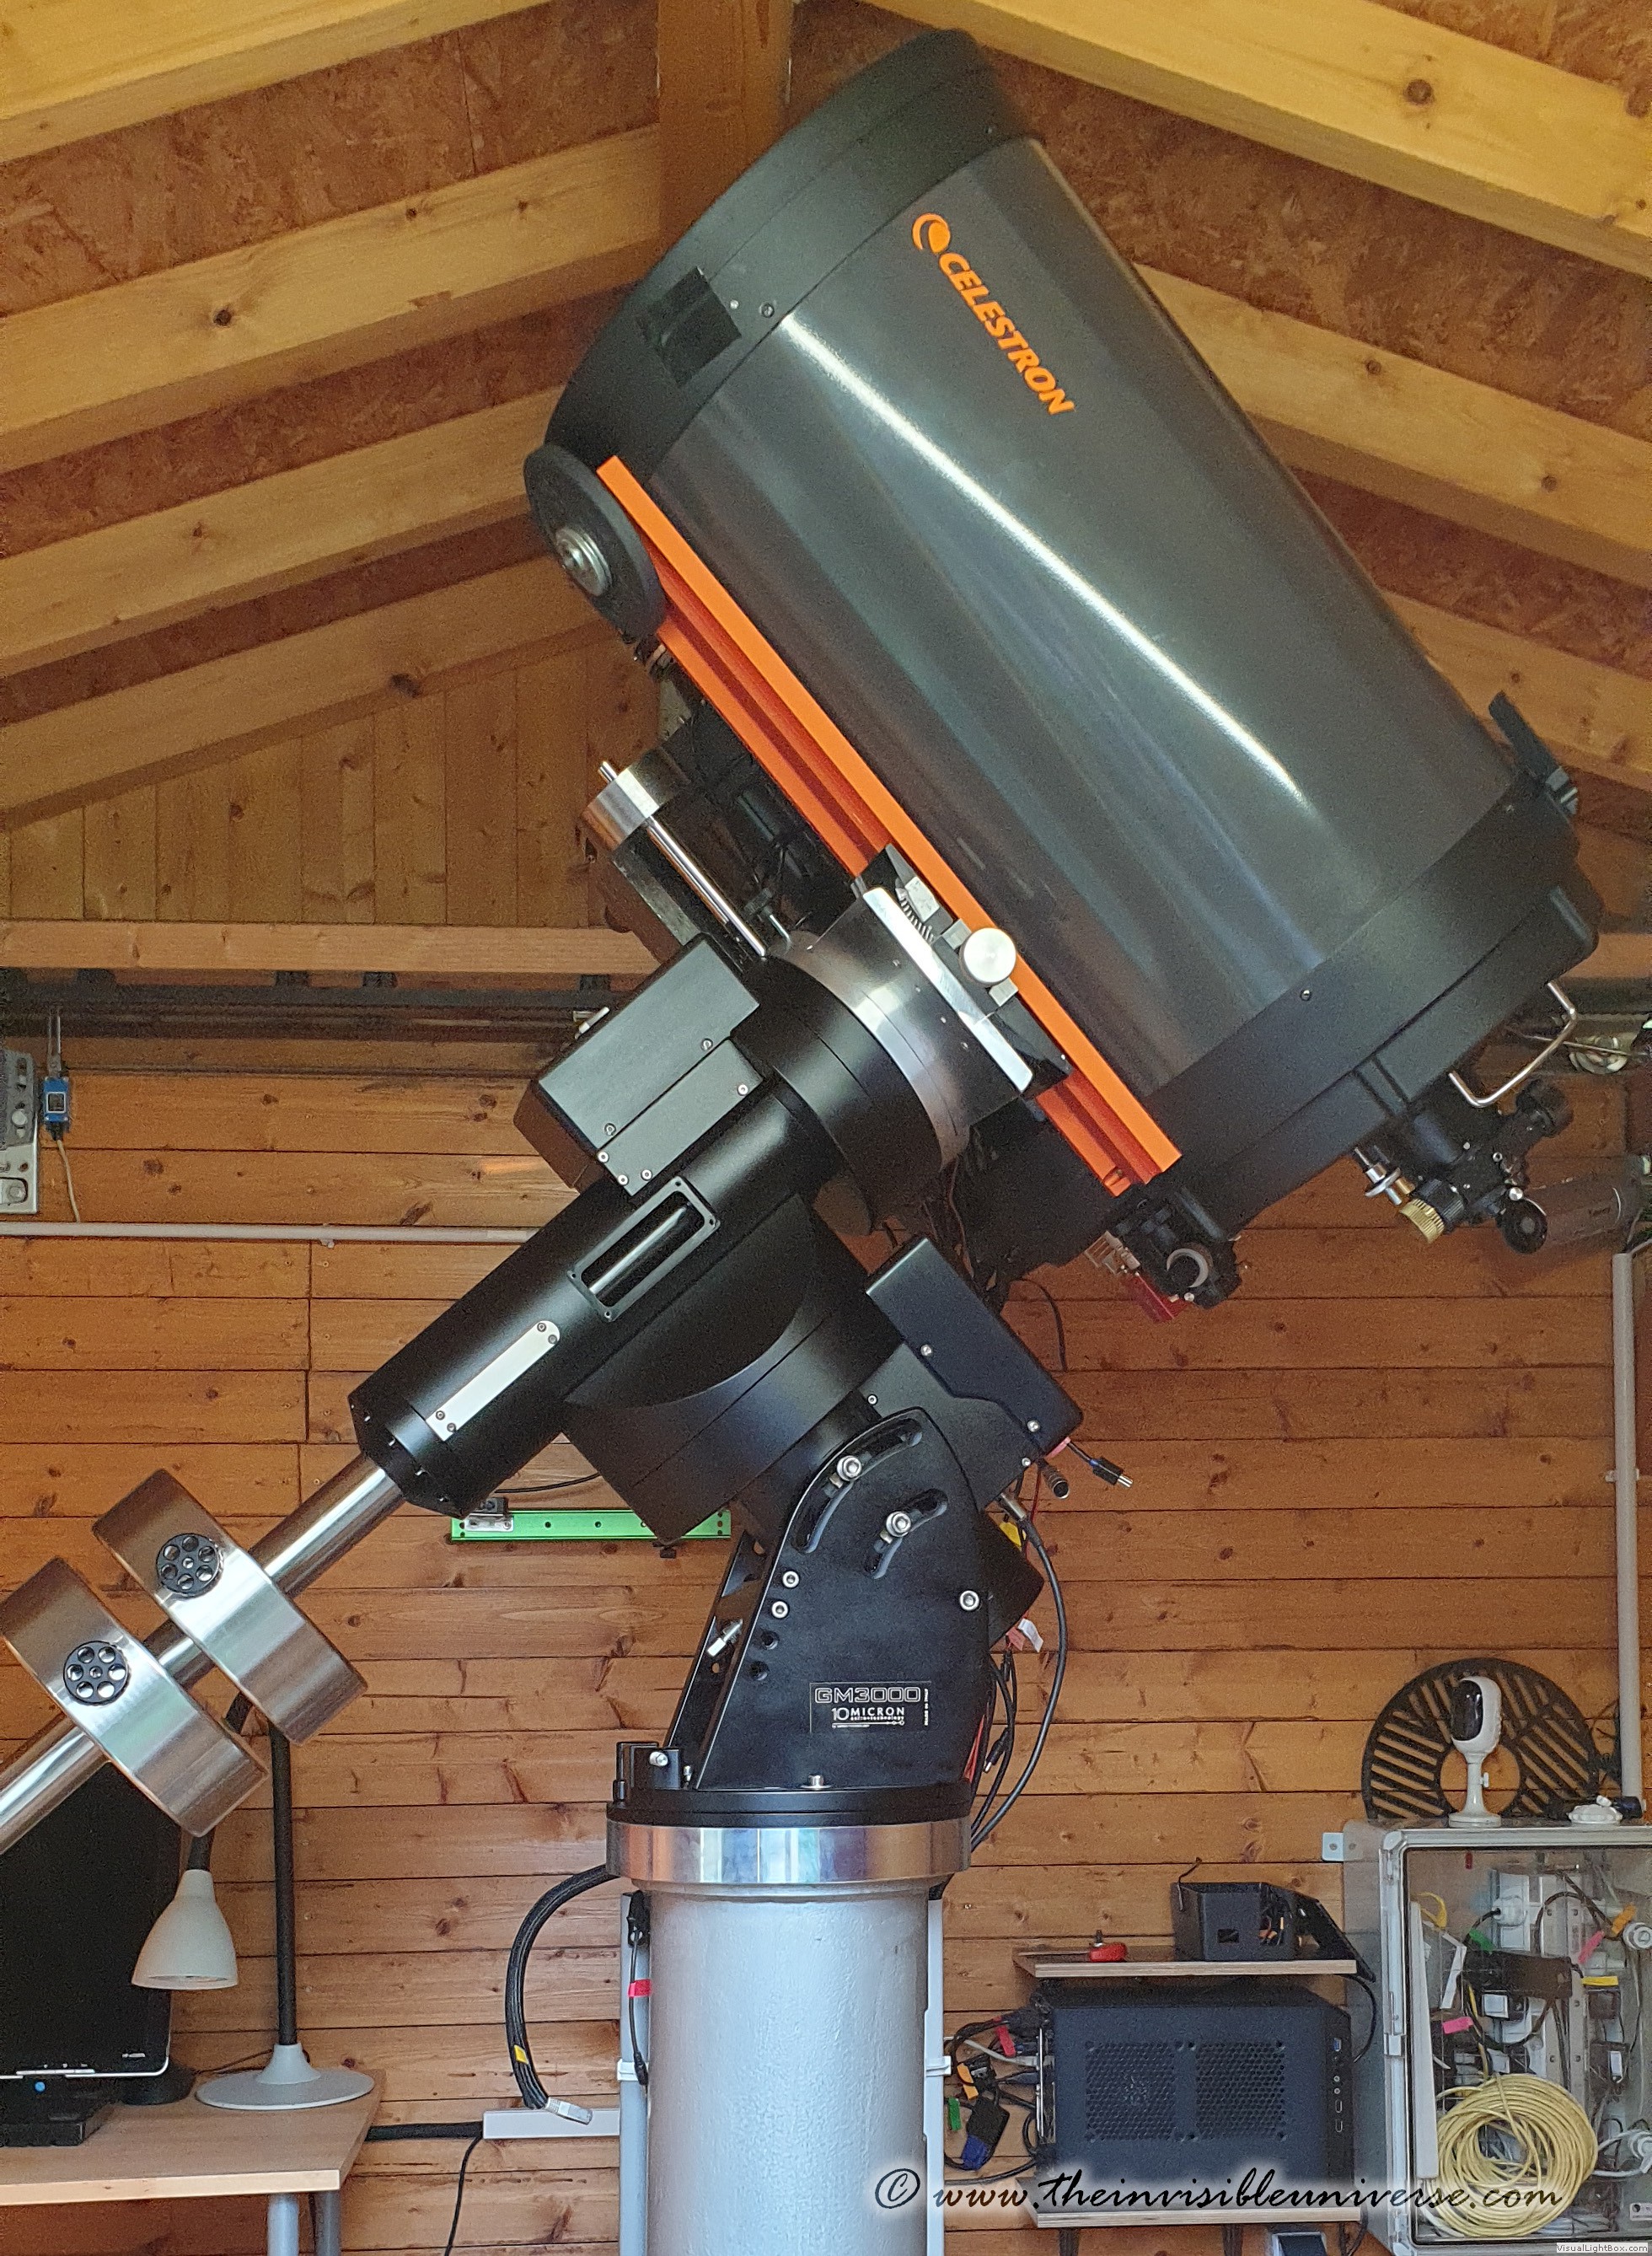 The telscopes are now almost touching the observatory roof.
Finally, monster black has arrived in my little observatory. And yes, it is a small observatory now that this behemoth has taken up its space in the room. The longer counterweight rod and much chunkier declination section mean that the mount takes up quite a bit of space when positioned east-west.
Was it worth all the money and effort? Time will tell....
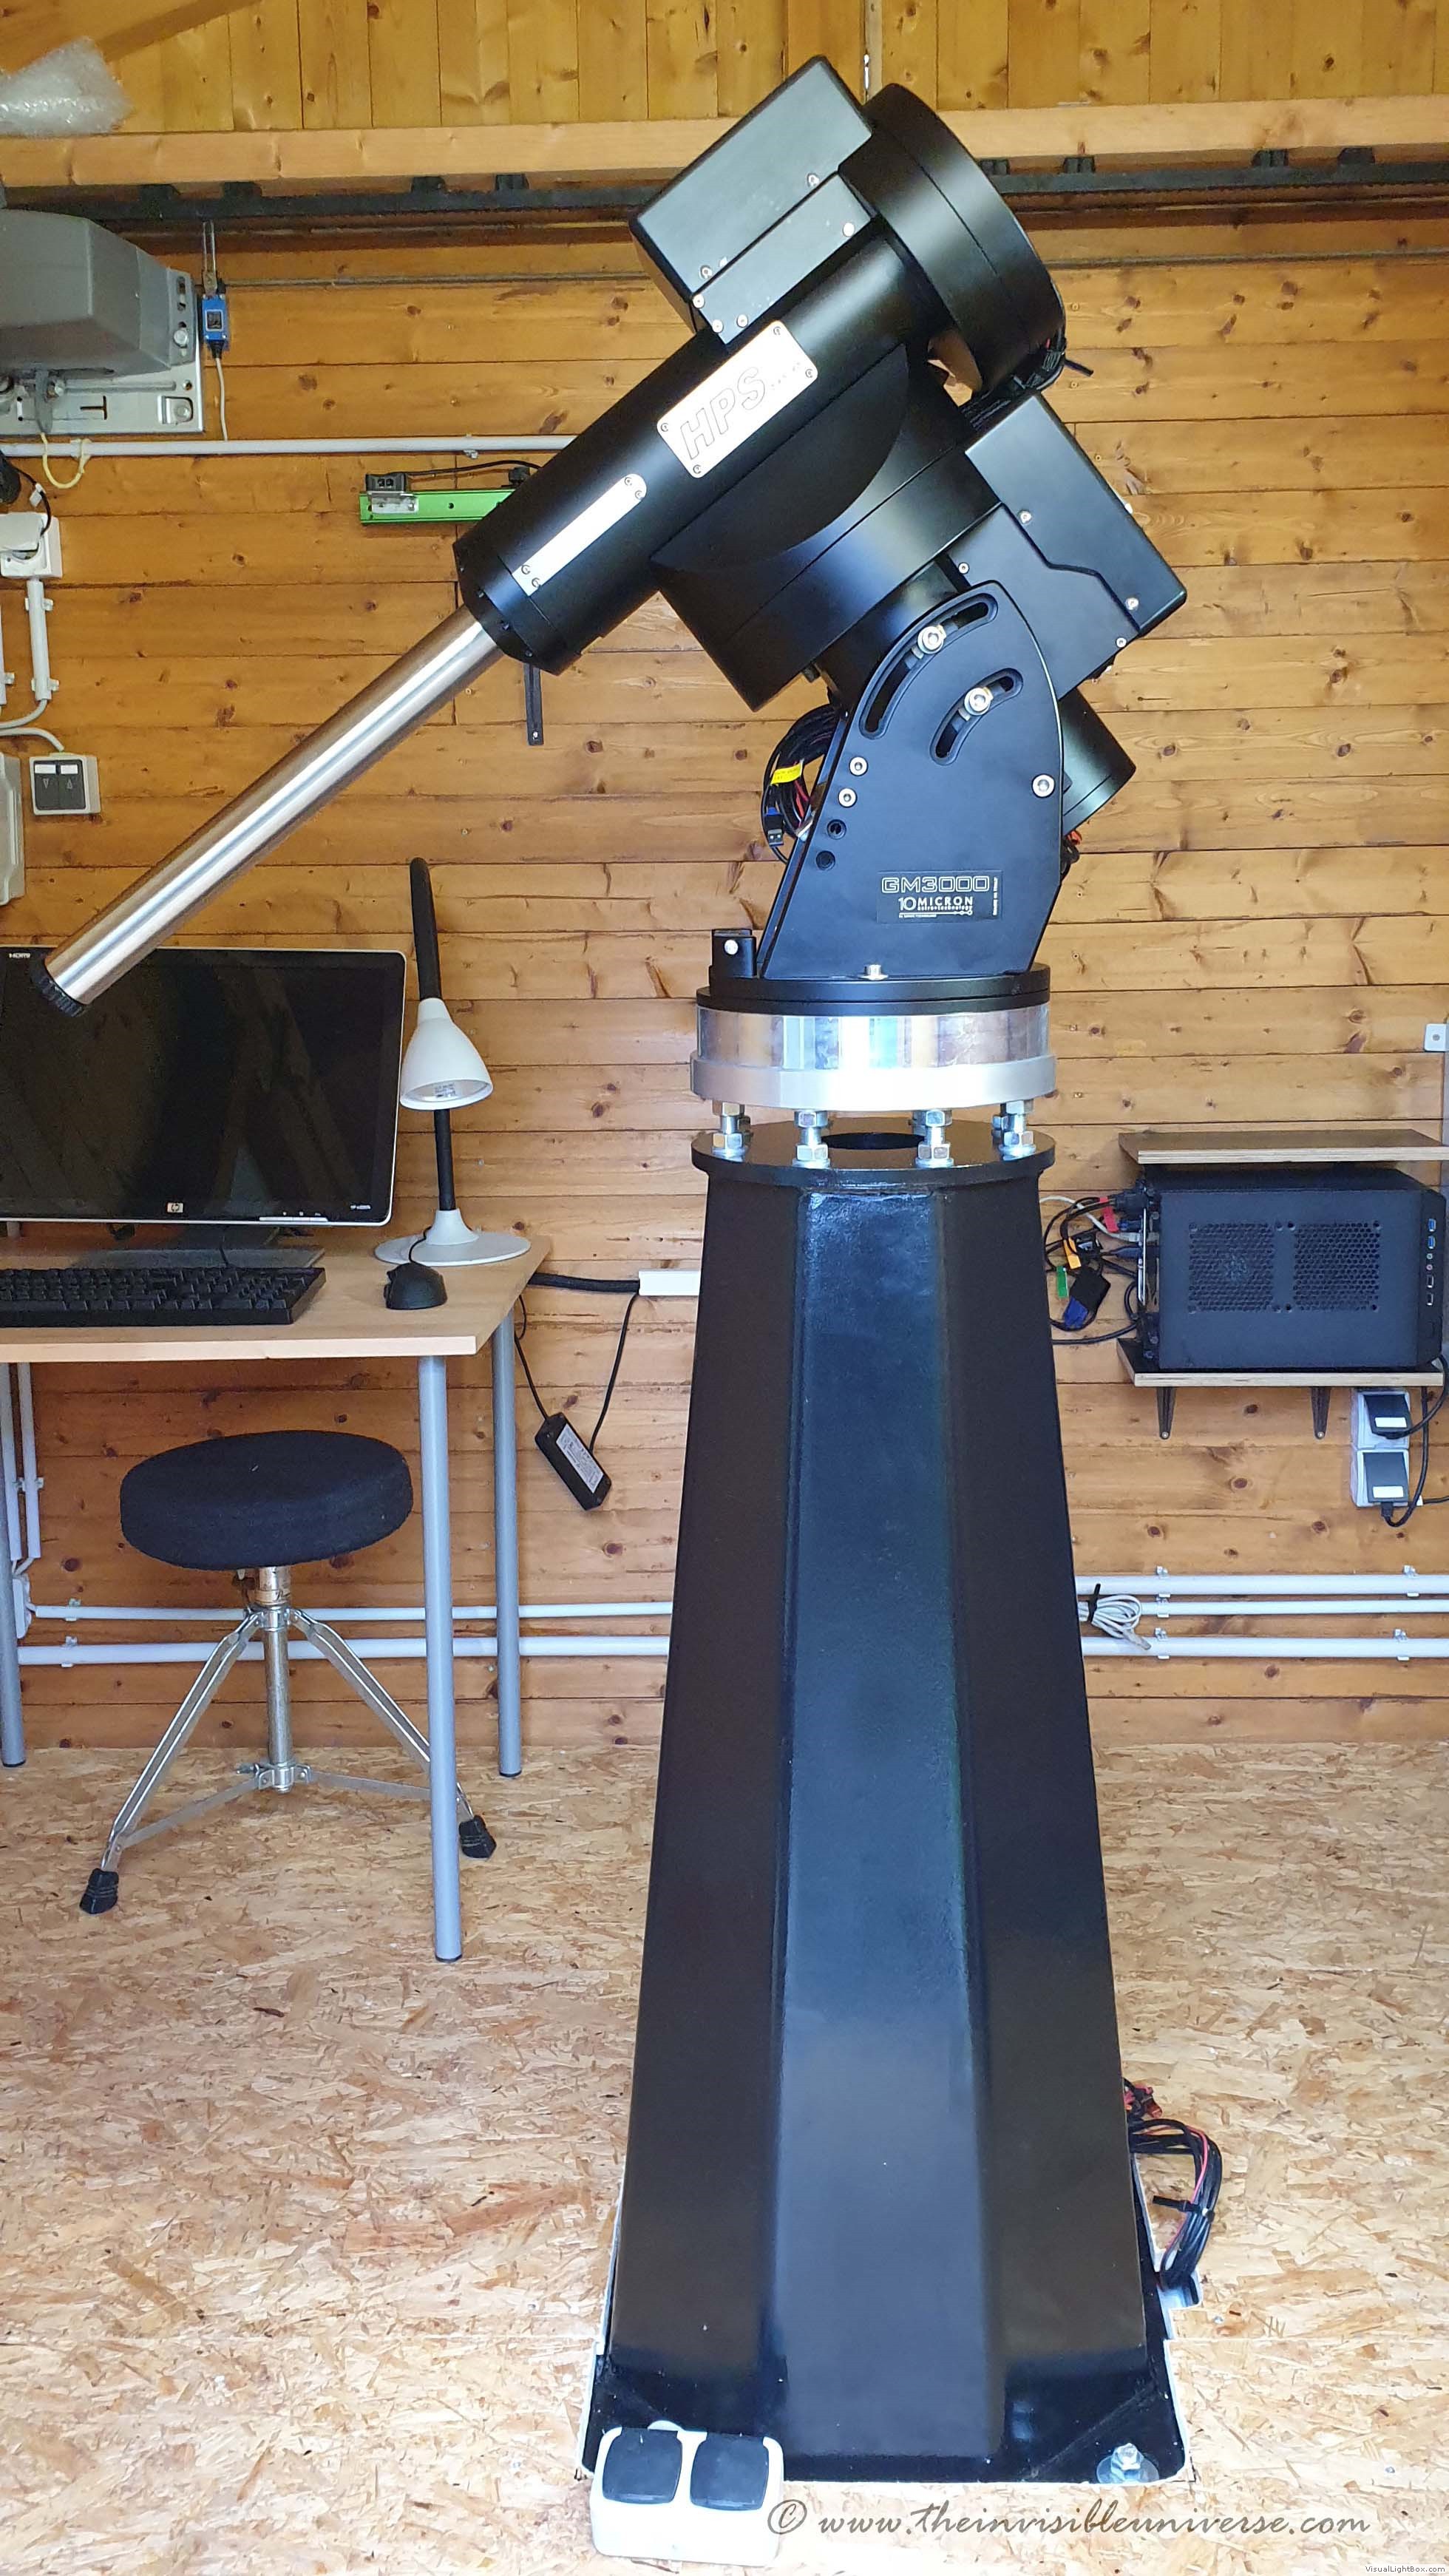
Oktagonal Steel Pier
The heavy GM3000 required a much more solid steel pier than the one I had made for my old GM2000QCI. The total weight of the GM3000, all its counterweights and the instruments is a good 170 kg. My old "small" round steel pier with a steel tube of 20 cm diameter and 8 mm wall thickness was not stable enough, and vibrations were the result. I decided to hire a well known metal construction company for astro equipment here in Germany to weld an octagonal steel pier made of 8mm steel plates with a massive 50cmx50cm base plate with 15mm thickness. The octagonal design is well known from Zeiss, Alt and Baader piers, which are common in "small" professional observatories. However, I opted for an adapted design and size that fits the GM3000 perfectly. The company did a perfect job at a reasonable price. The result is a 120 kg steel monster with a height of 110 cm and a diameter of the top plate of 30 cm. I made a custom aluminium levelling plate in my own workshop with eight M16 bolts that attaches to the pier. The 10micron pier adapter and bracket could be attached to this structure. The pier is extremely stable and has greatly reduced vibration compared to my old pier. In addition, the size and color of the pillar perfectly matches the geometry of the GM3000.
 10micron GM3000+octagonal Steel Pier+Levelling Adapter b
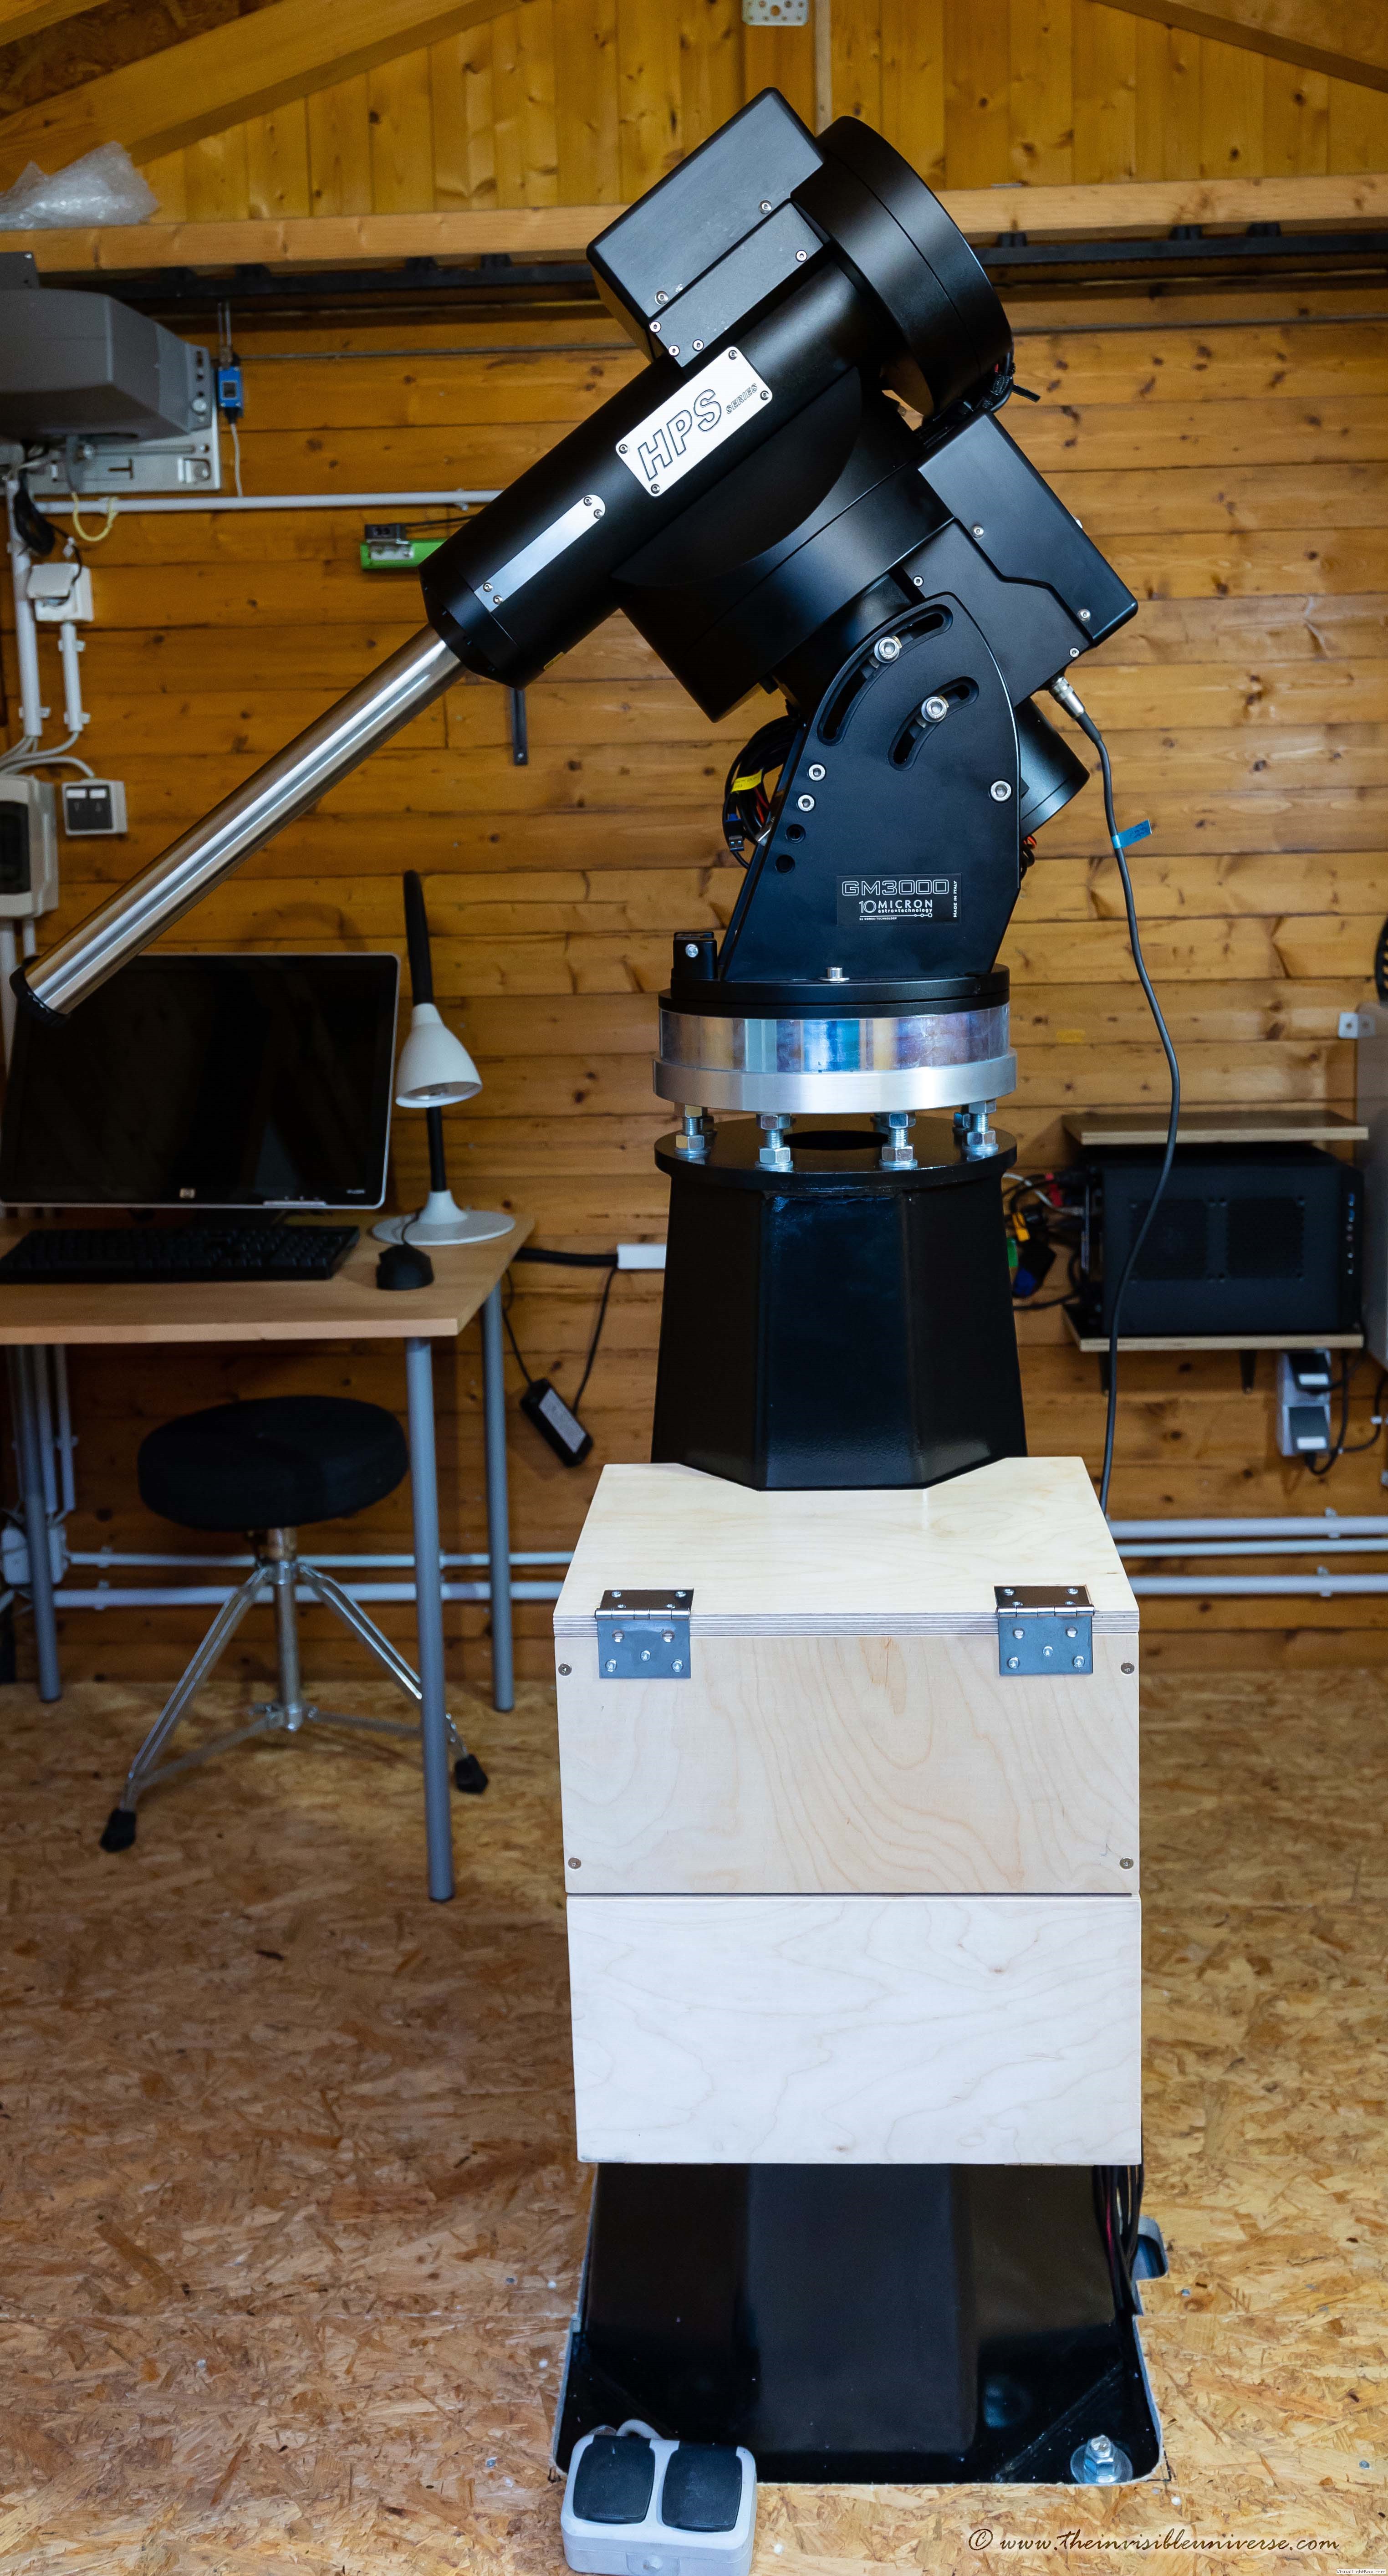 10micron GM3000+octagonal Steel Pier+Cableingbox
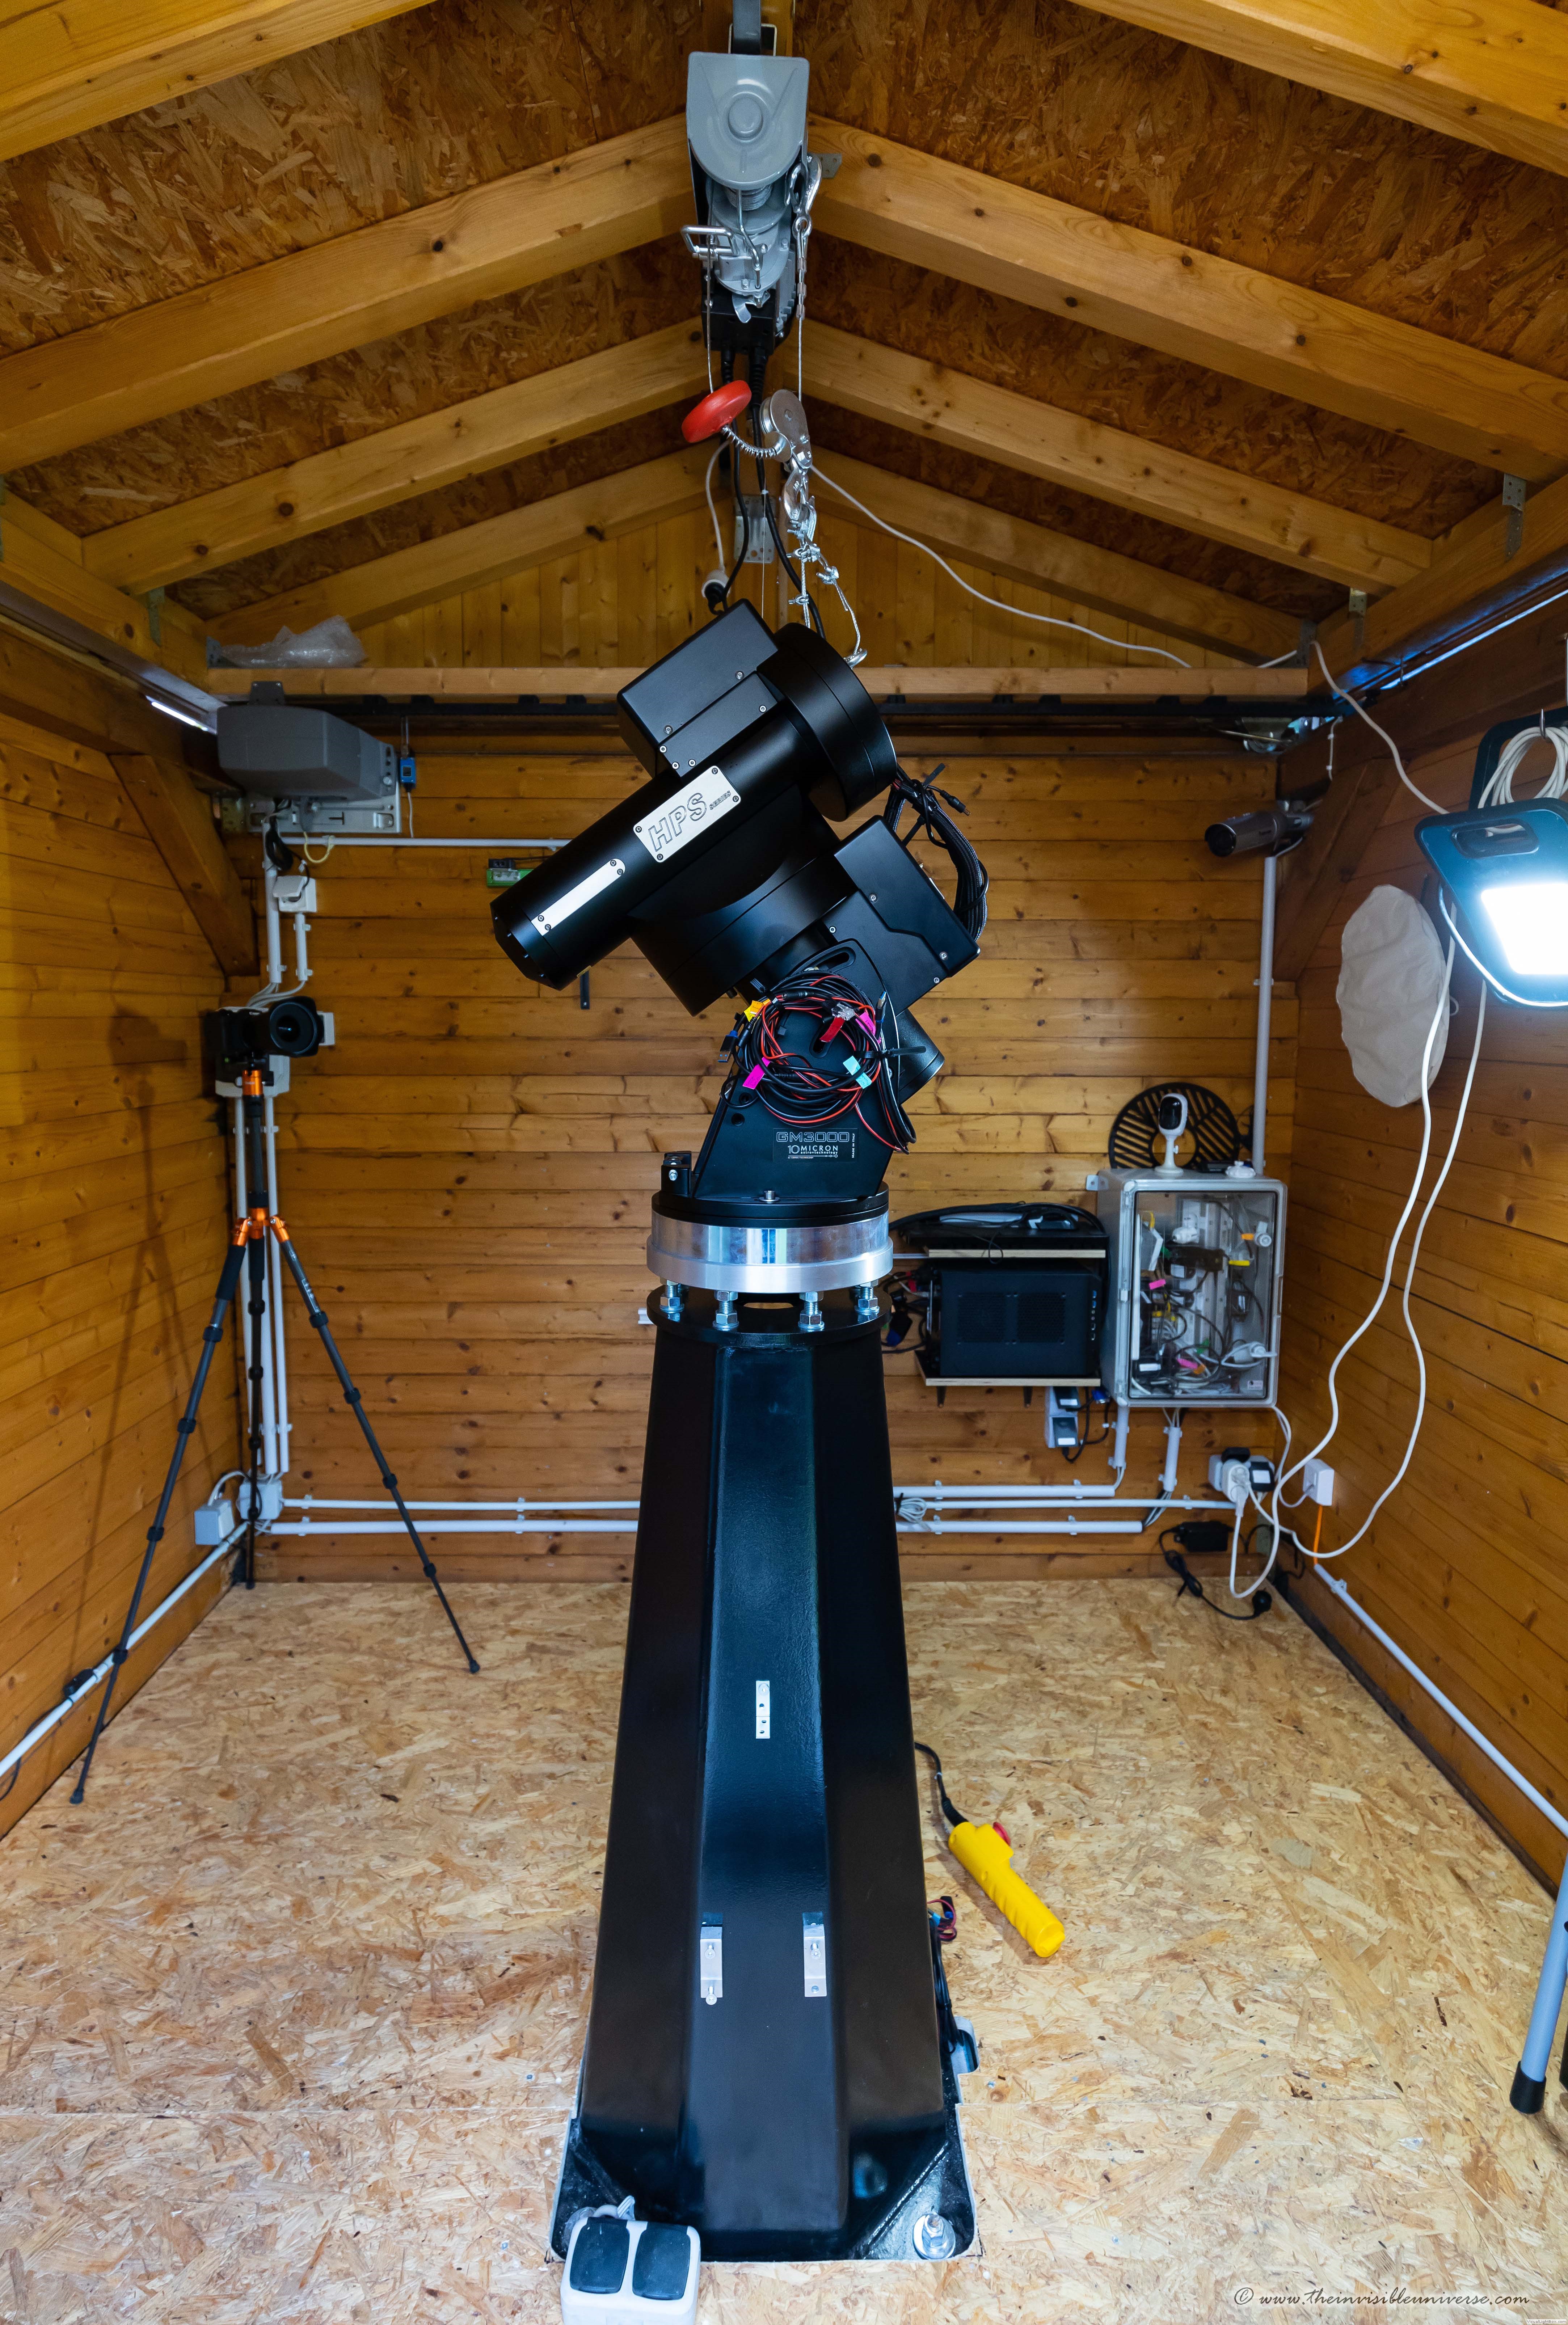 10micron GM3000+octagonal Steel Pier+Levelling Adapter
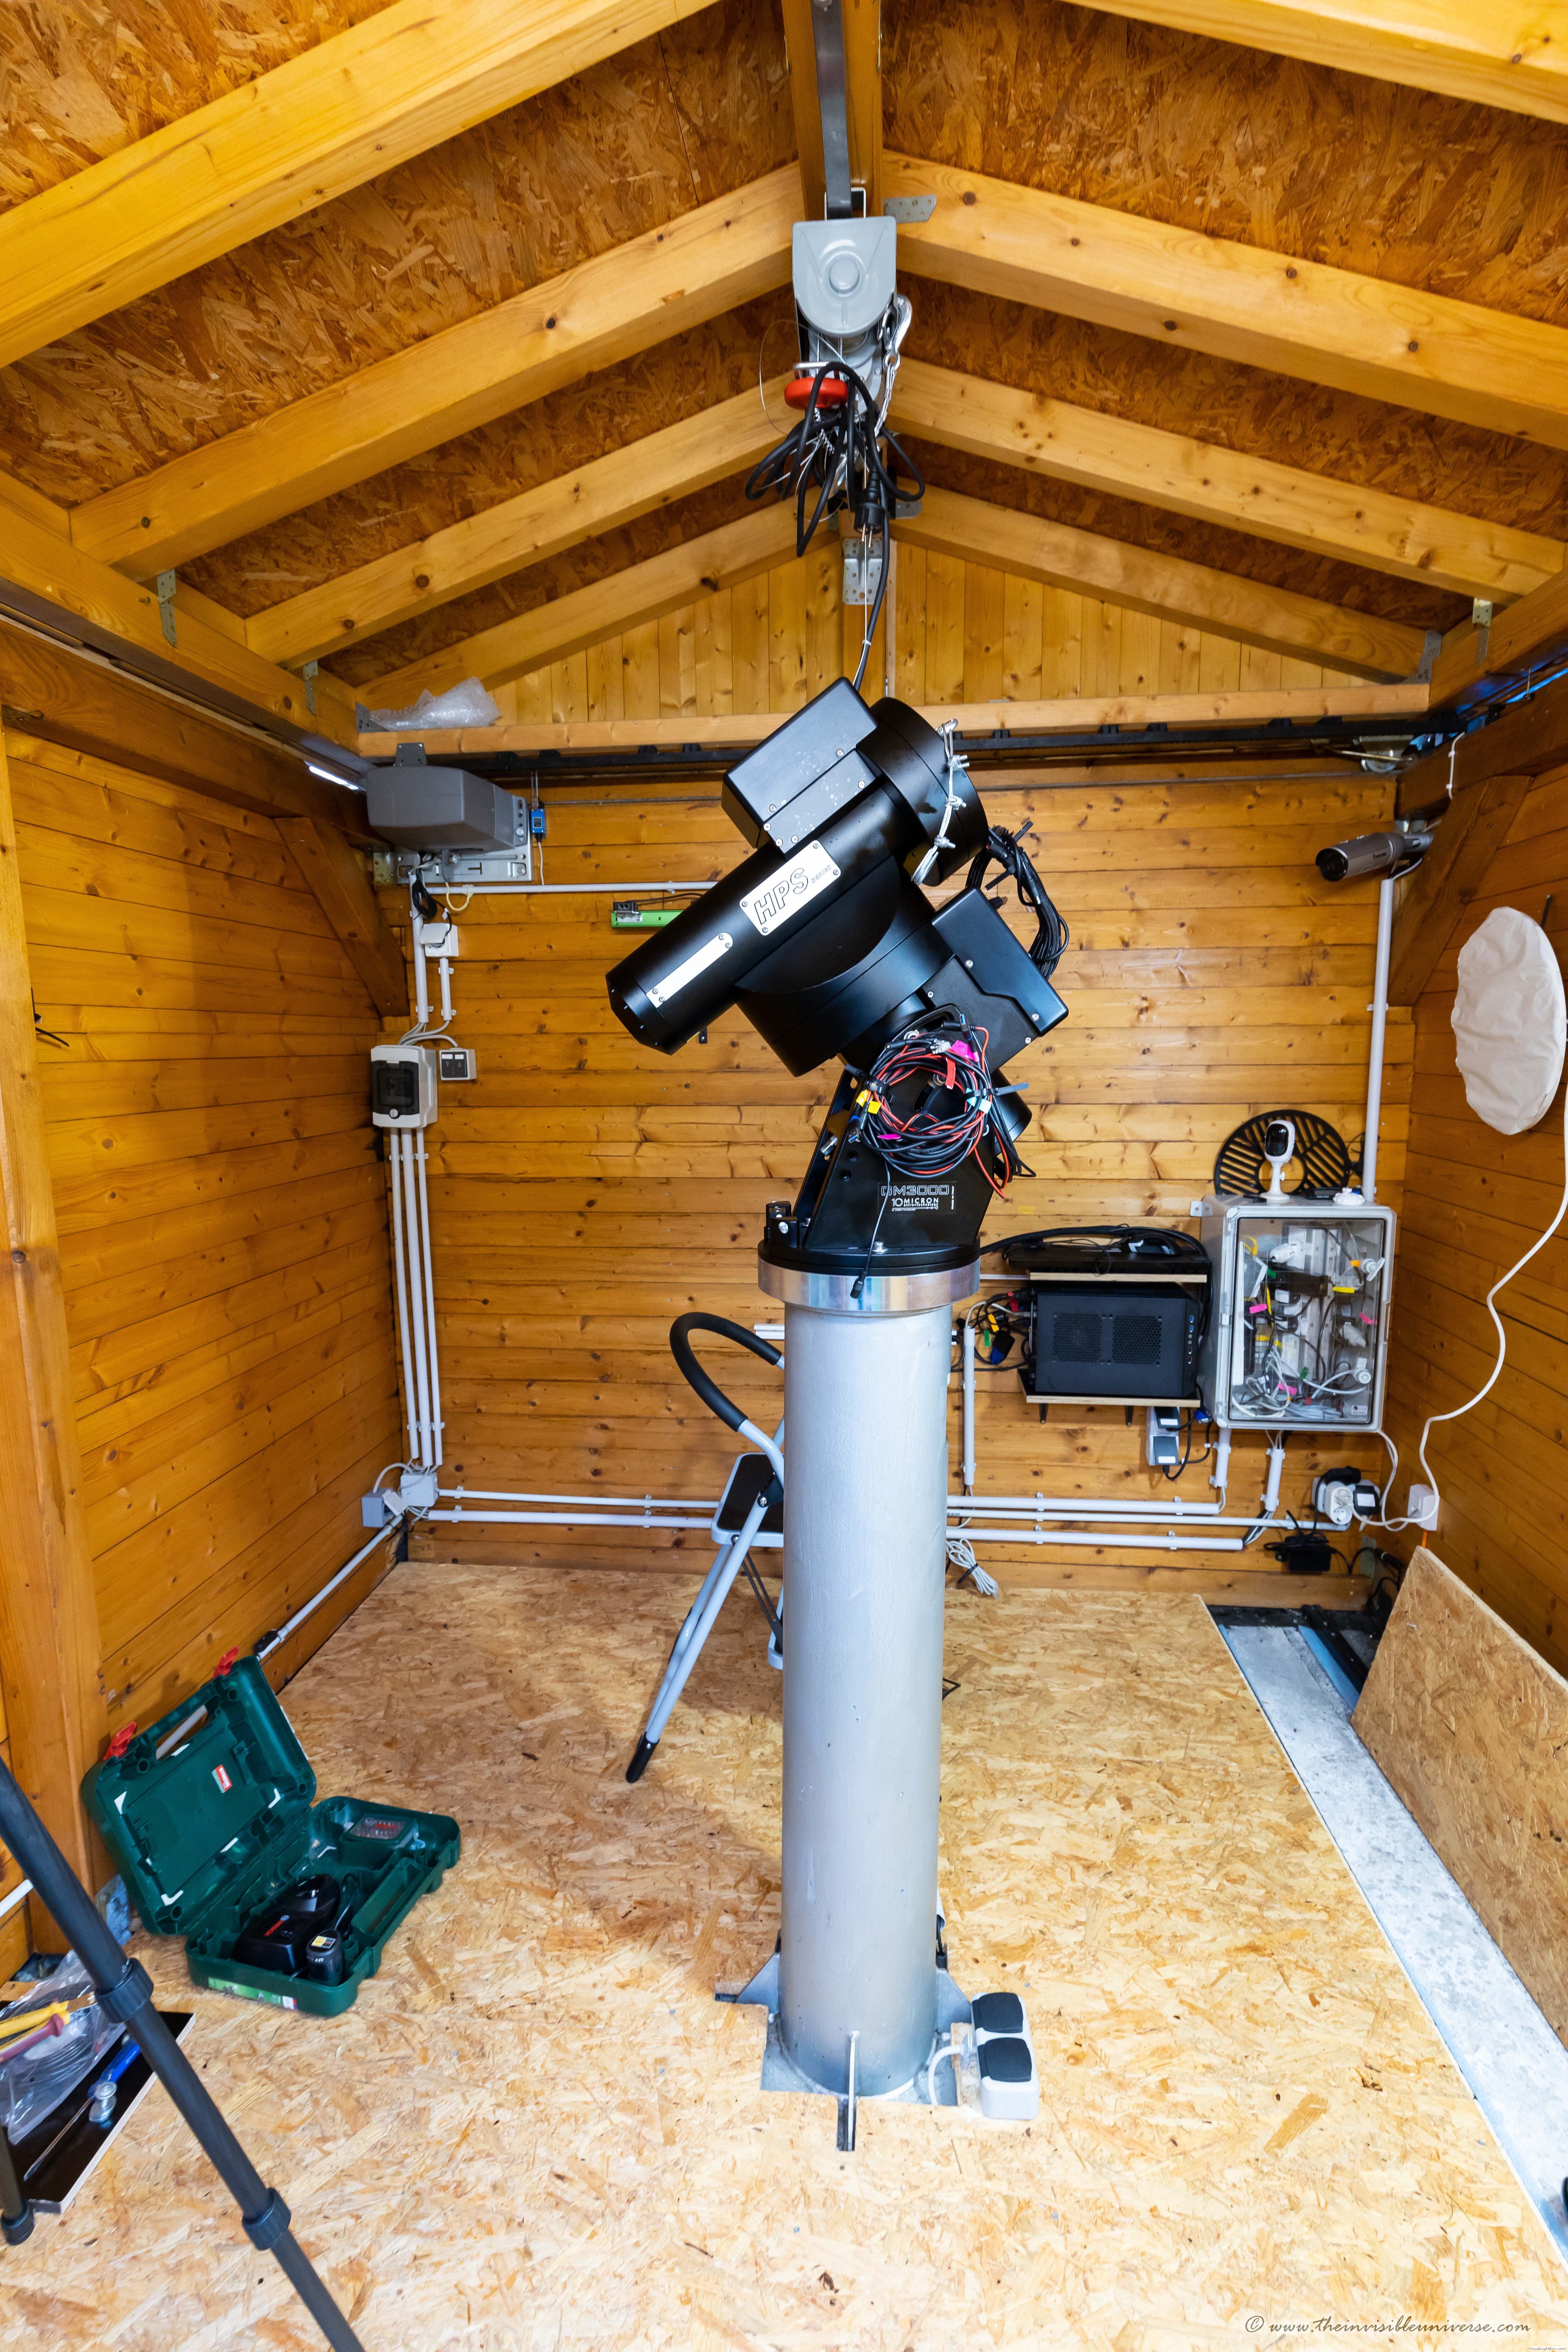 10micron GM3000+round Steel Pier
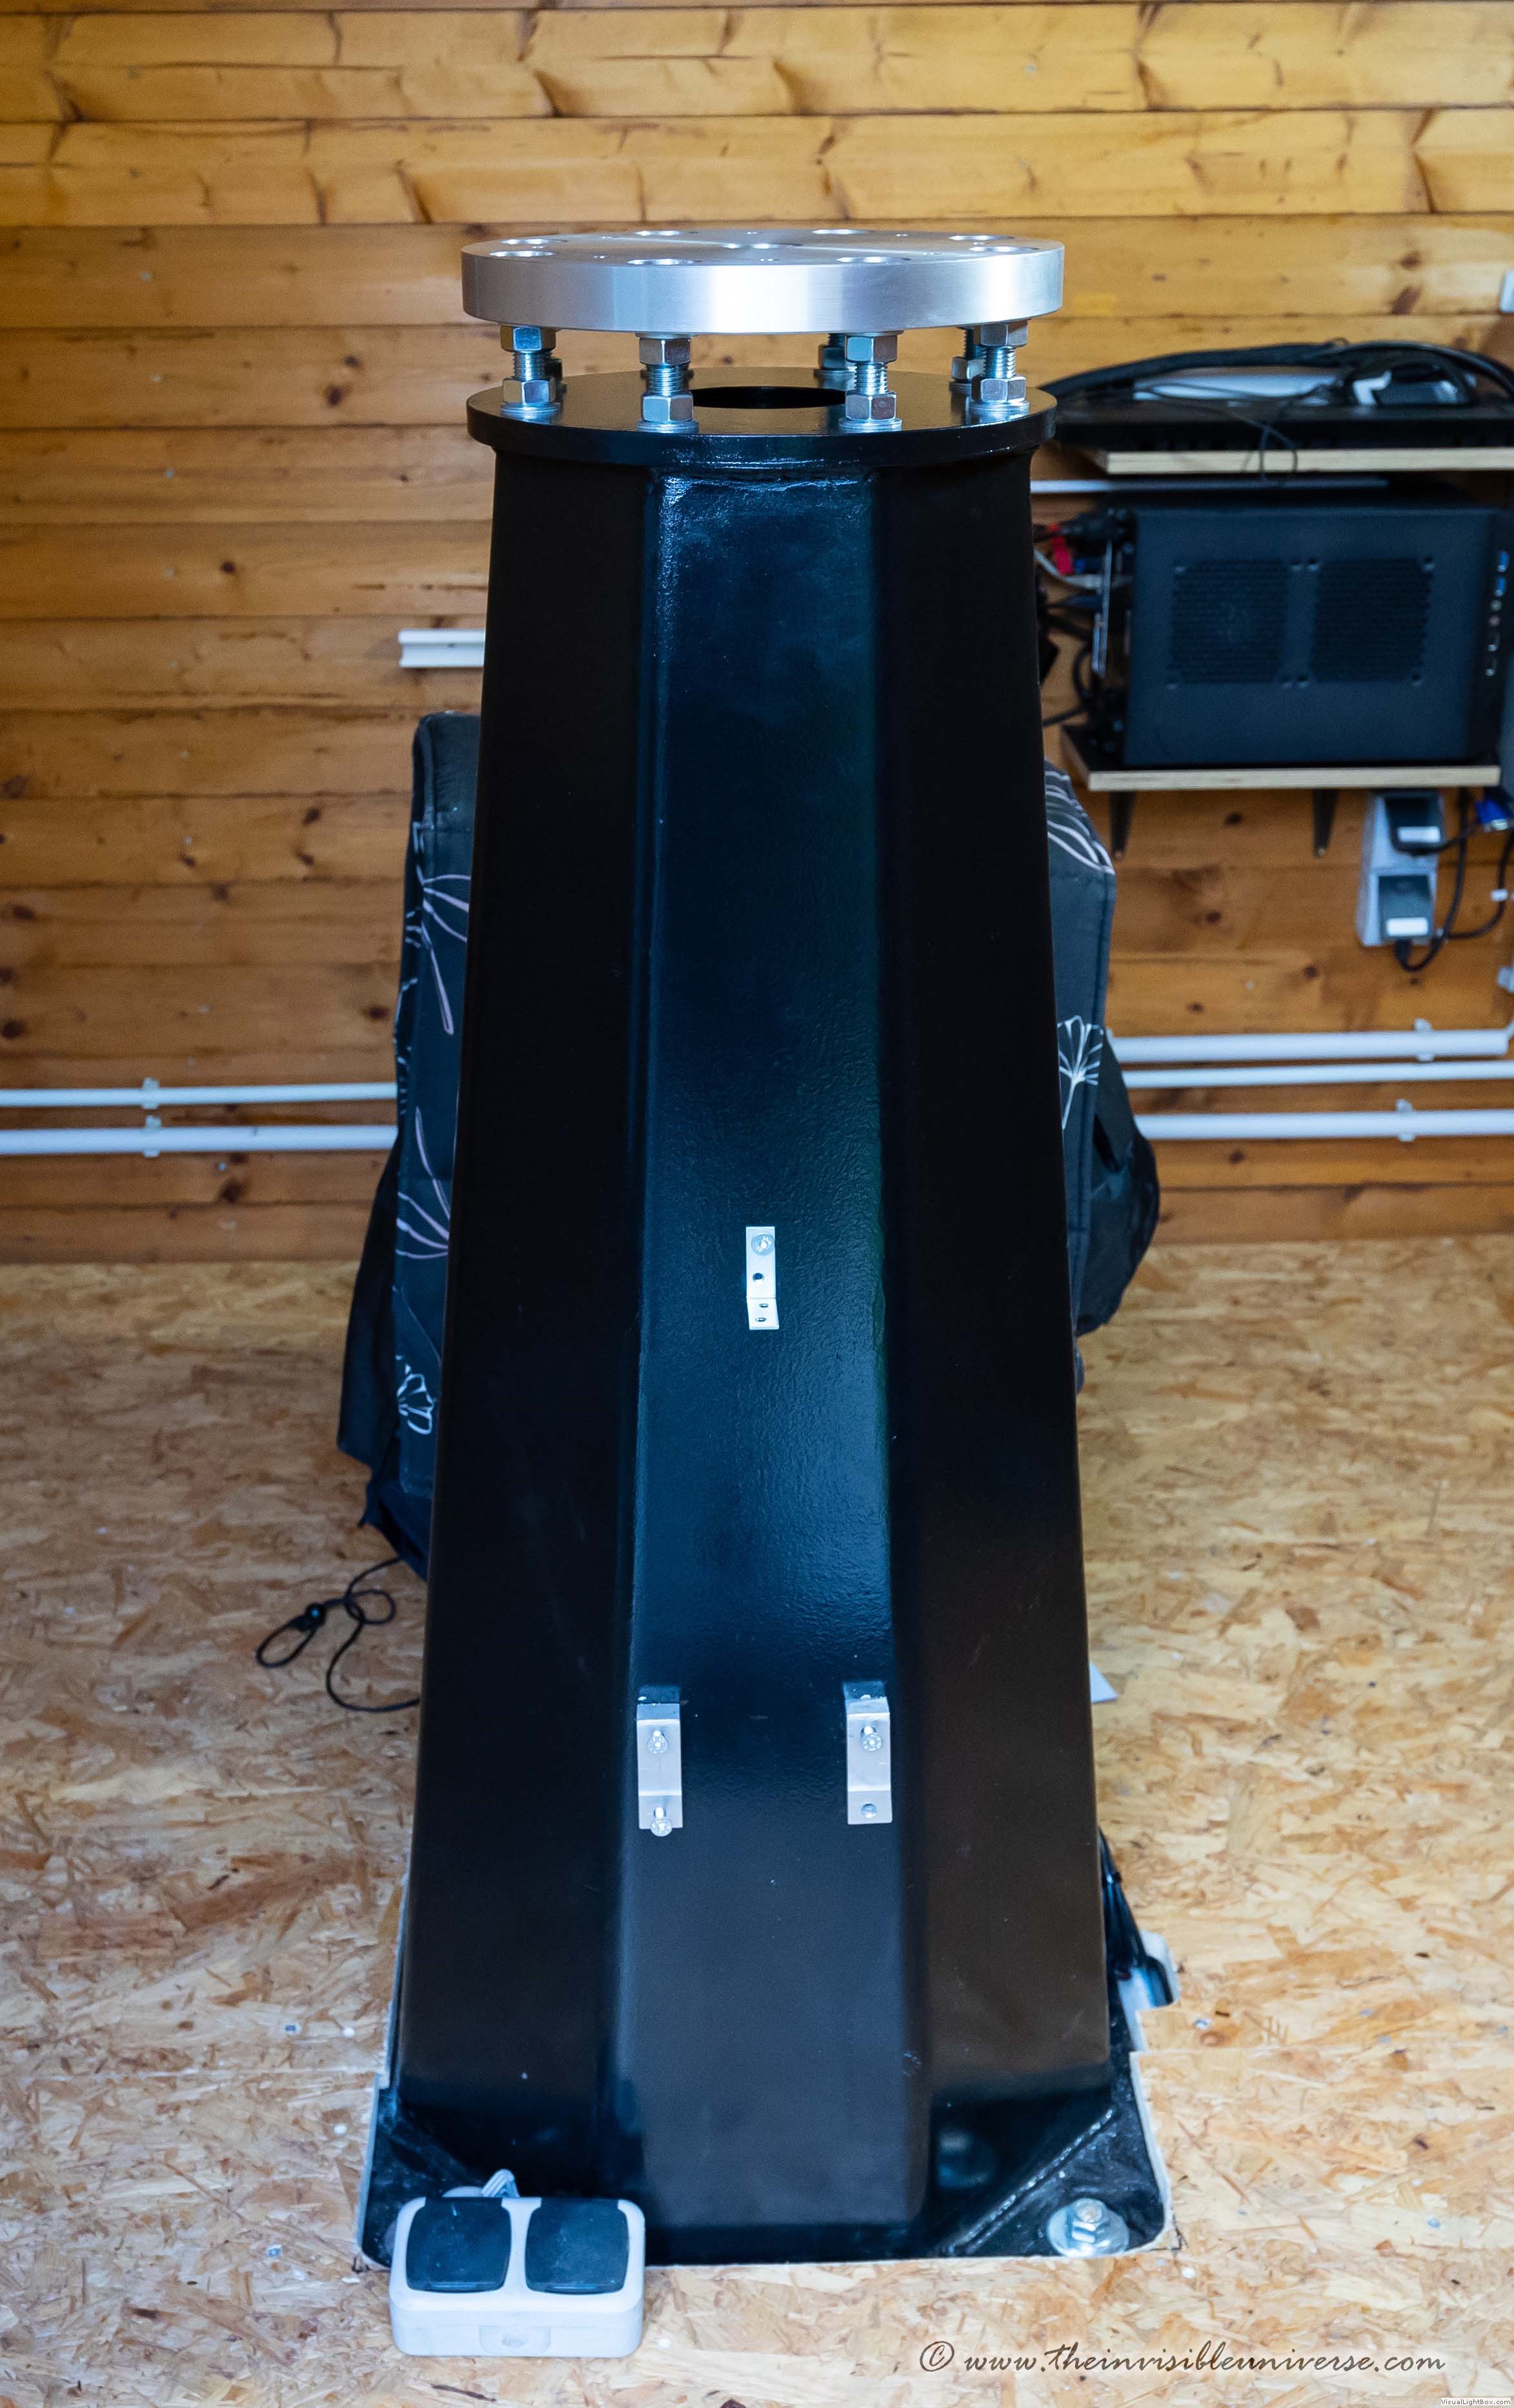 Octagonal Steel Pier+Levelling Adapter
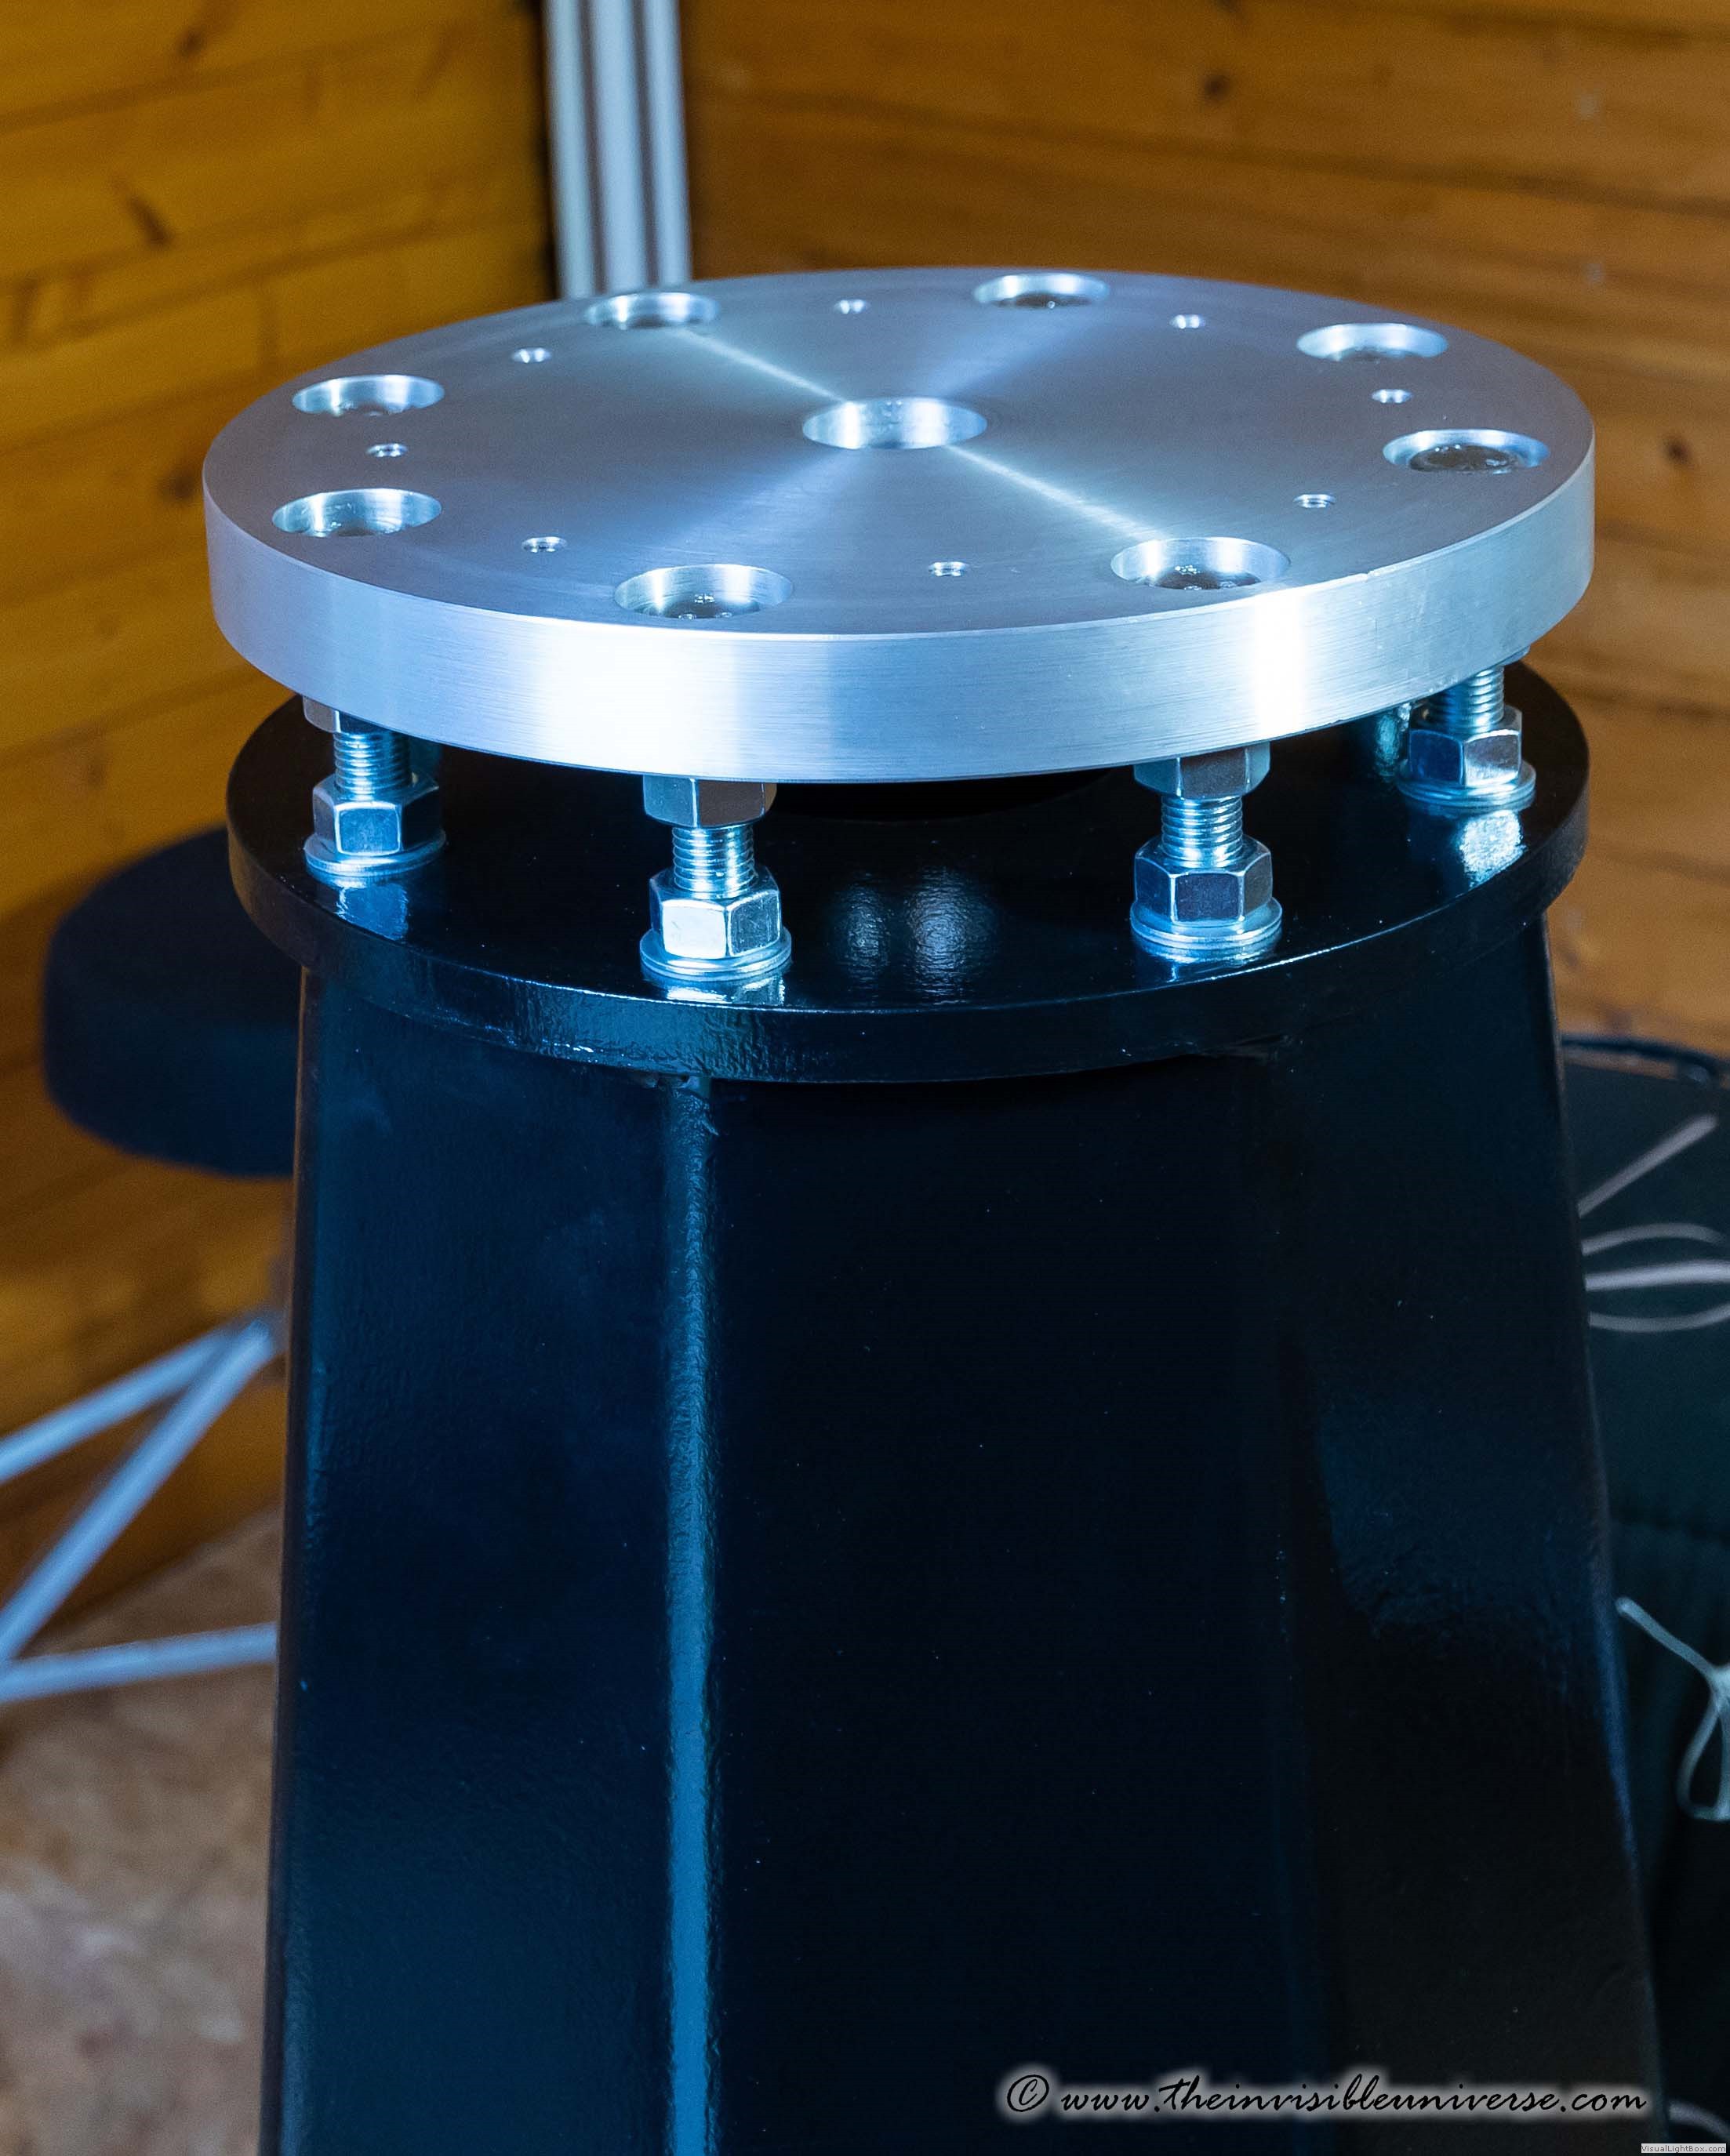 Octagonal Steel Pier+Levelling Adapter_detailview
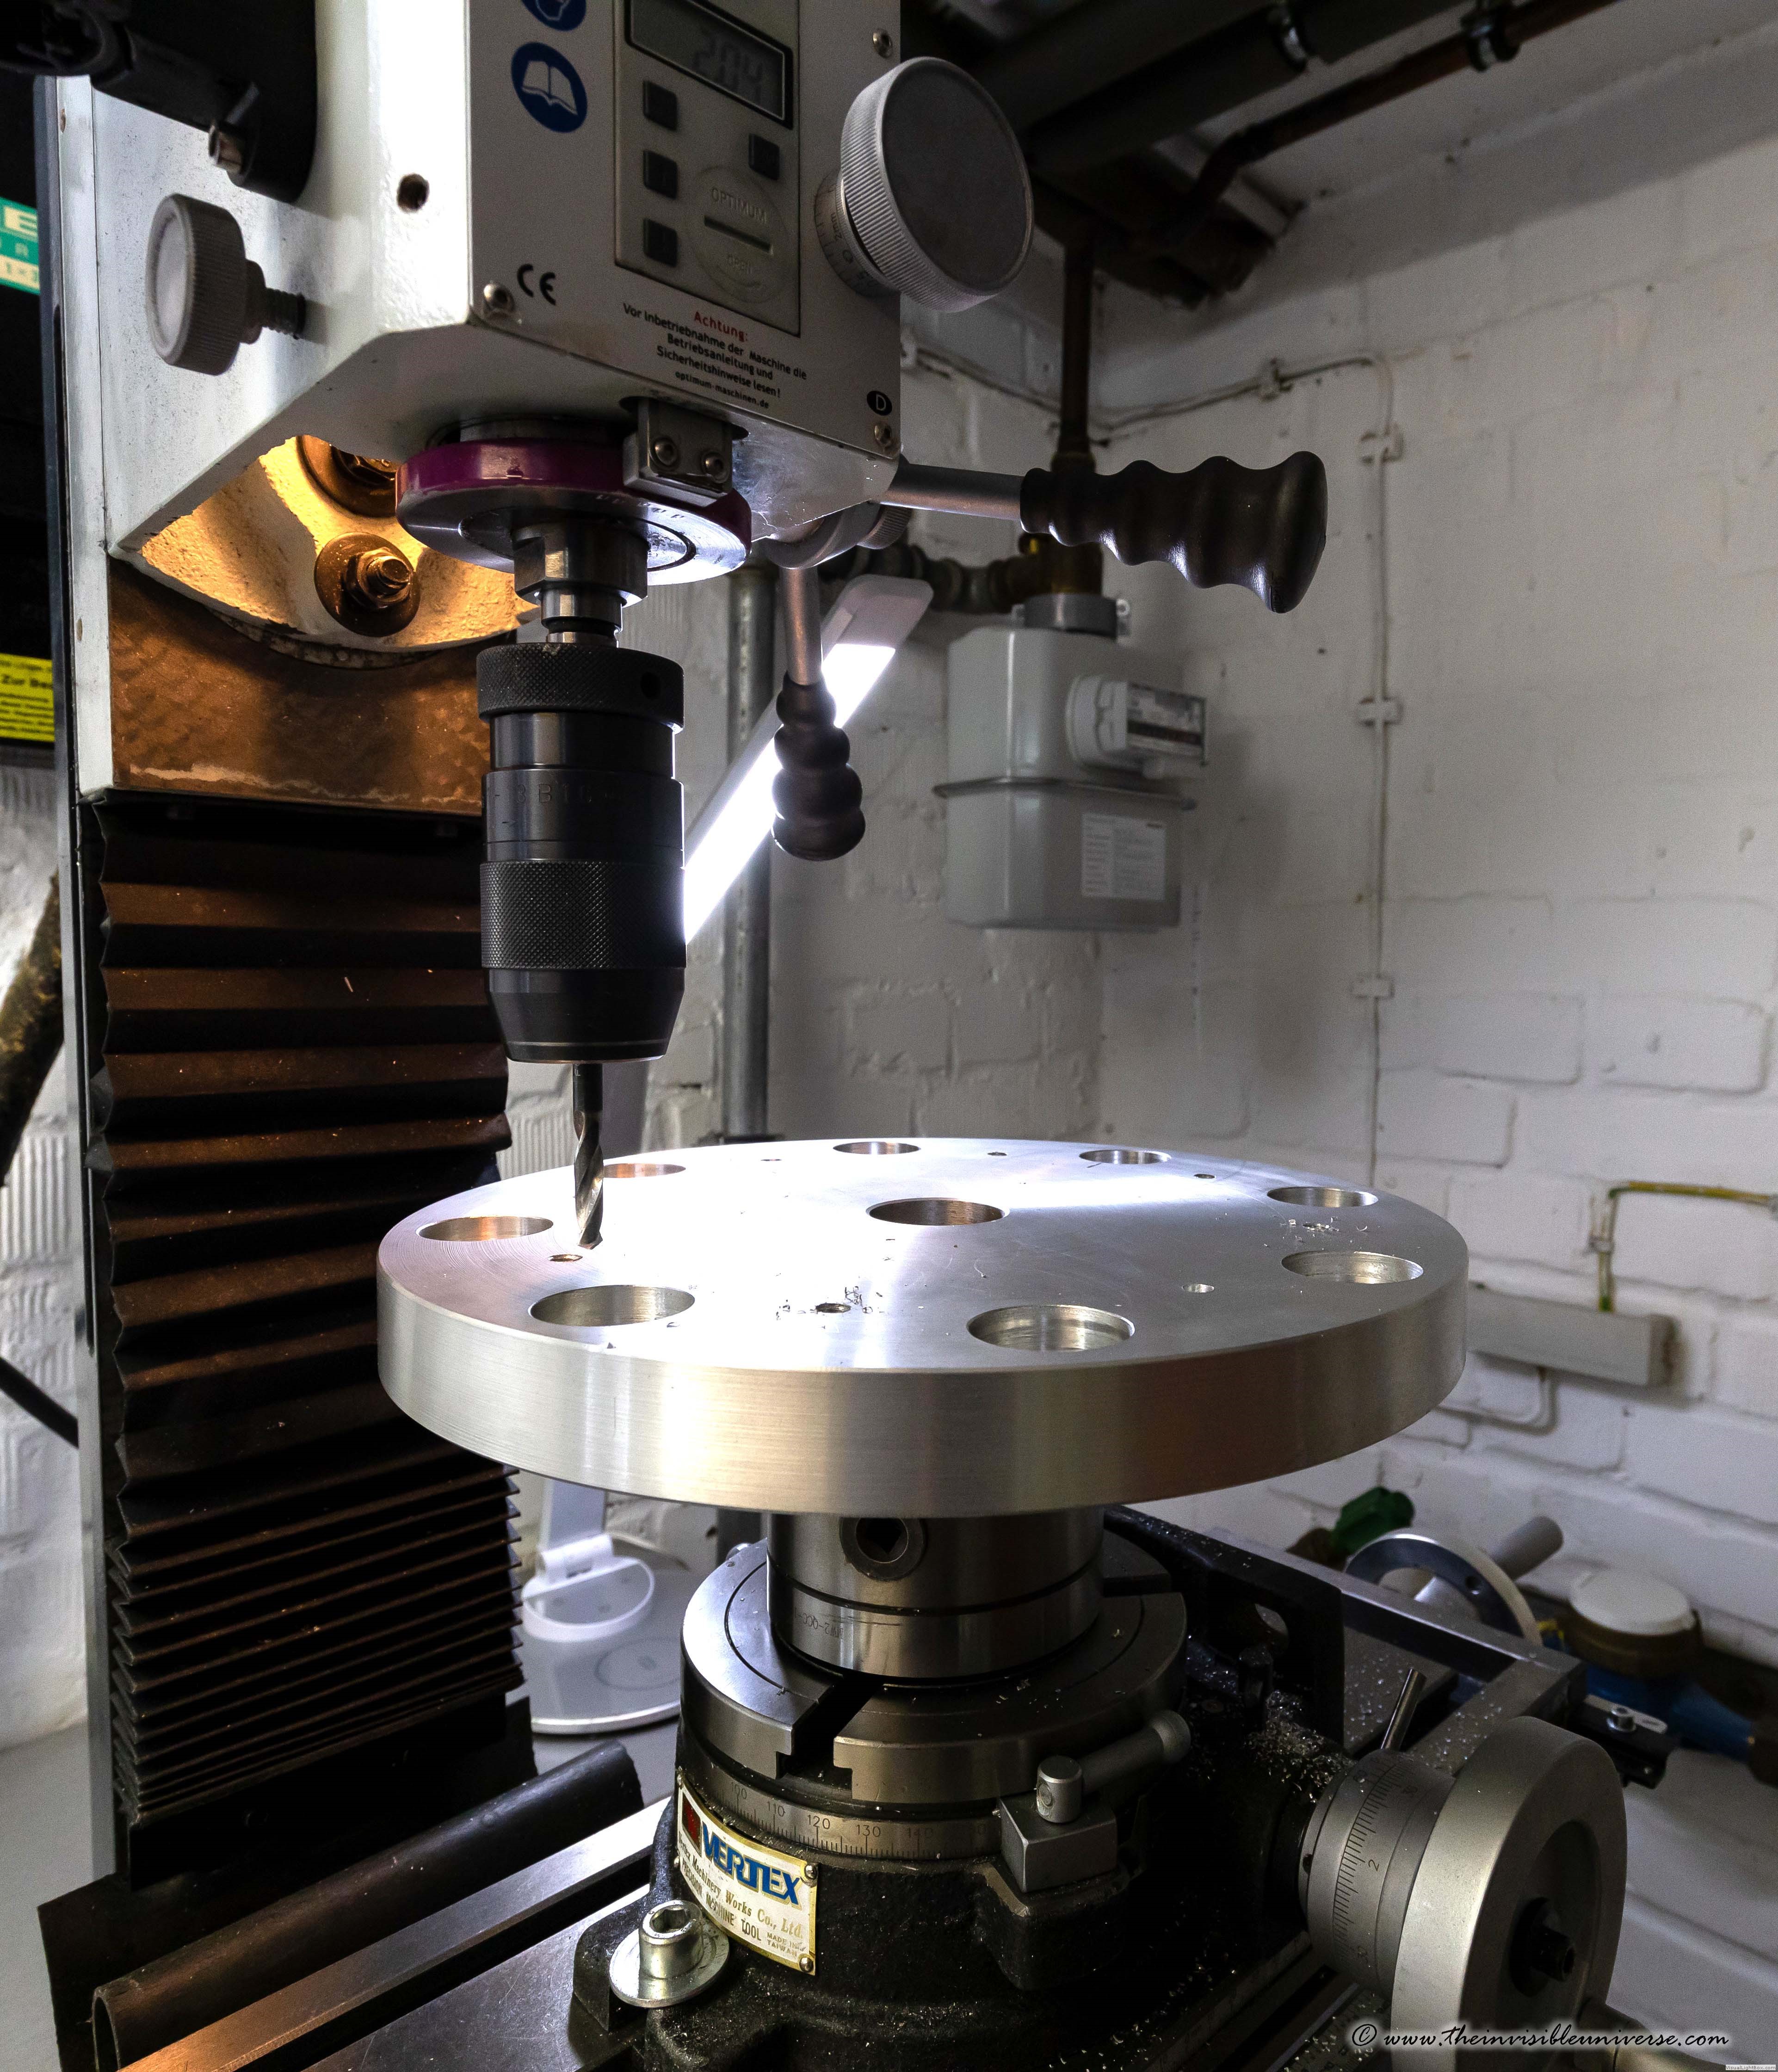 Steel Pier Levelling Plate machining
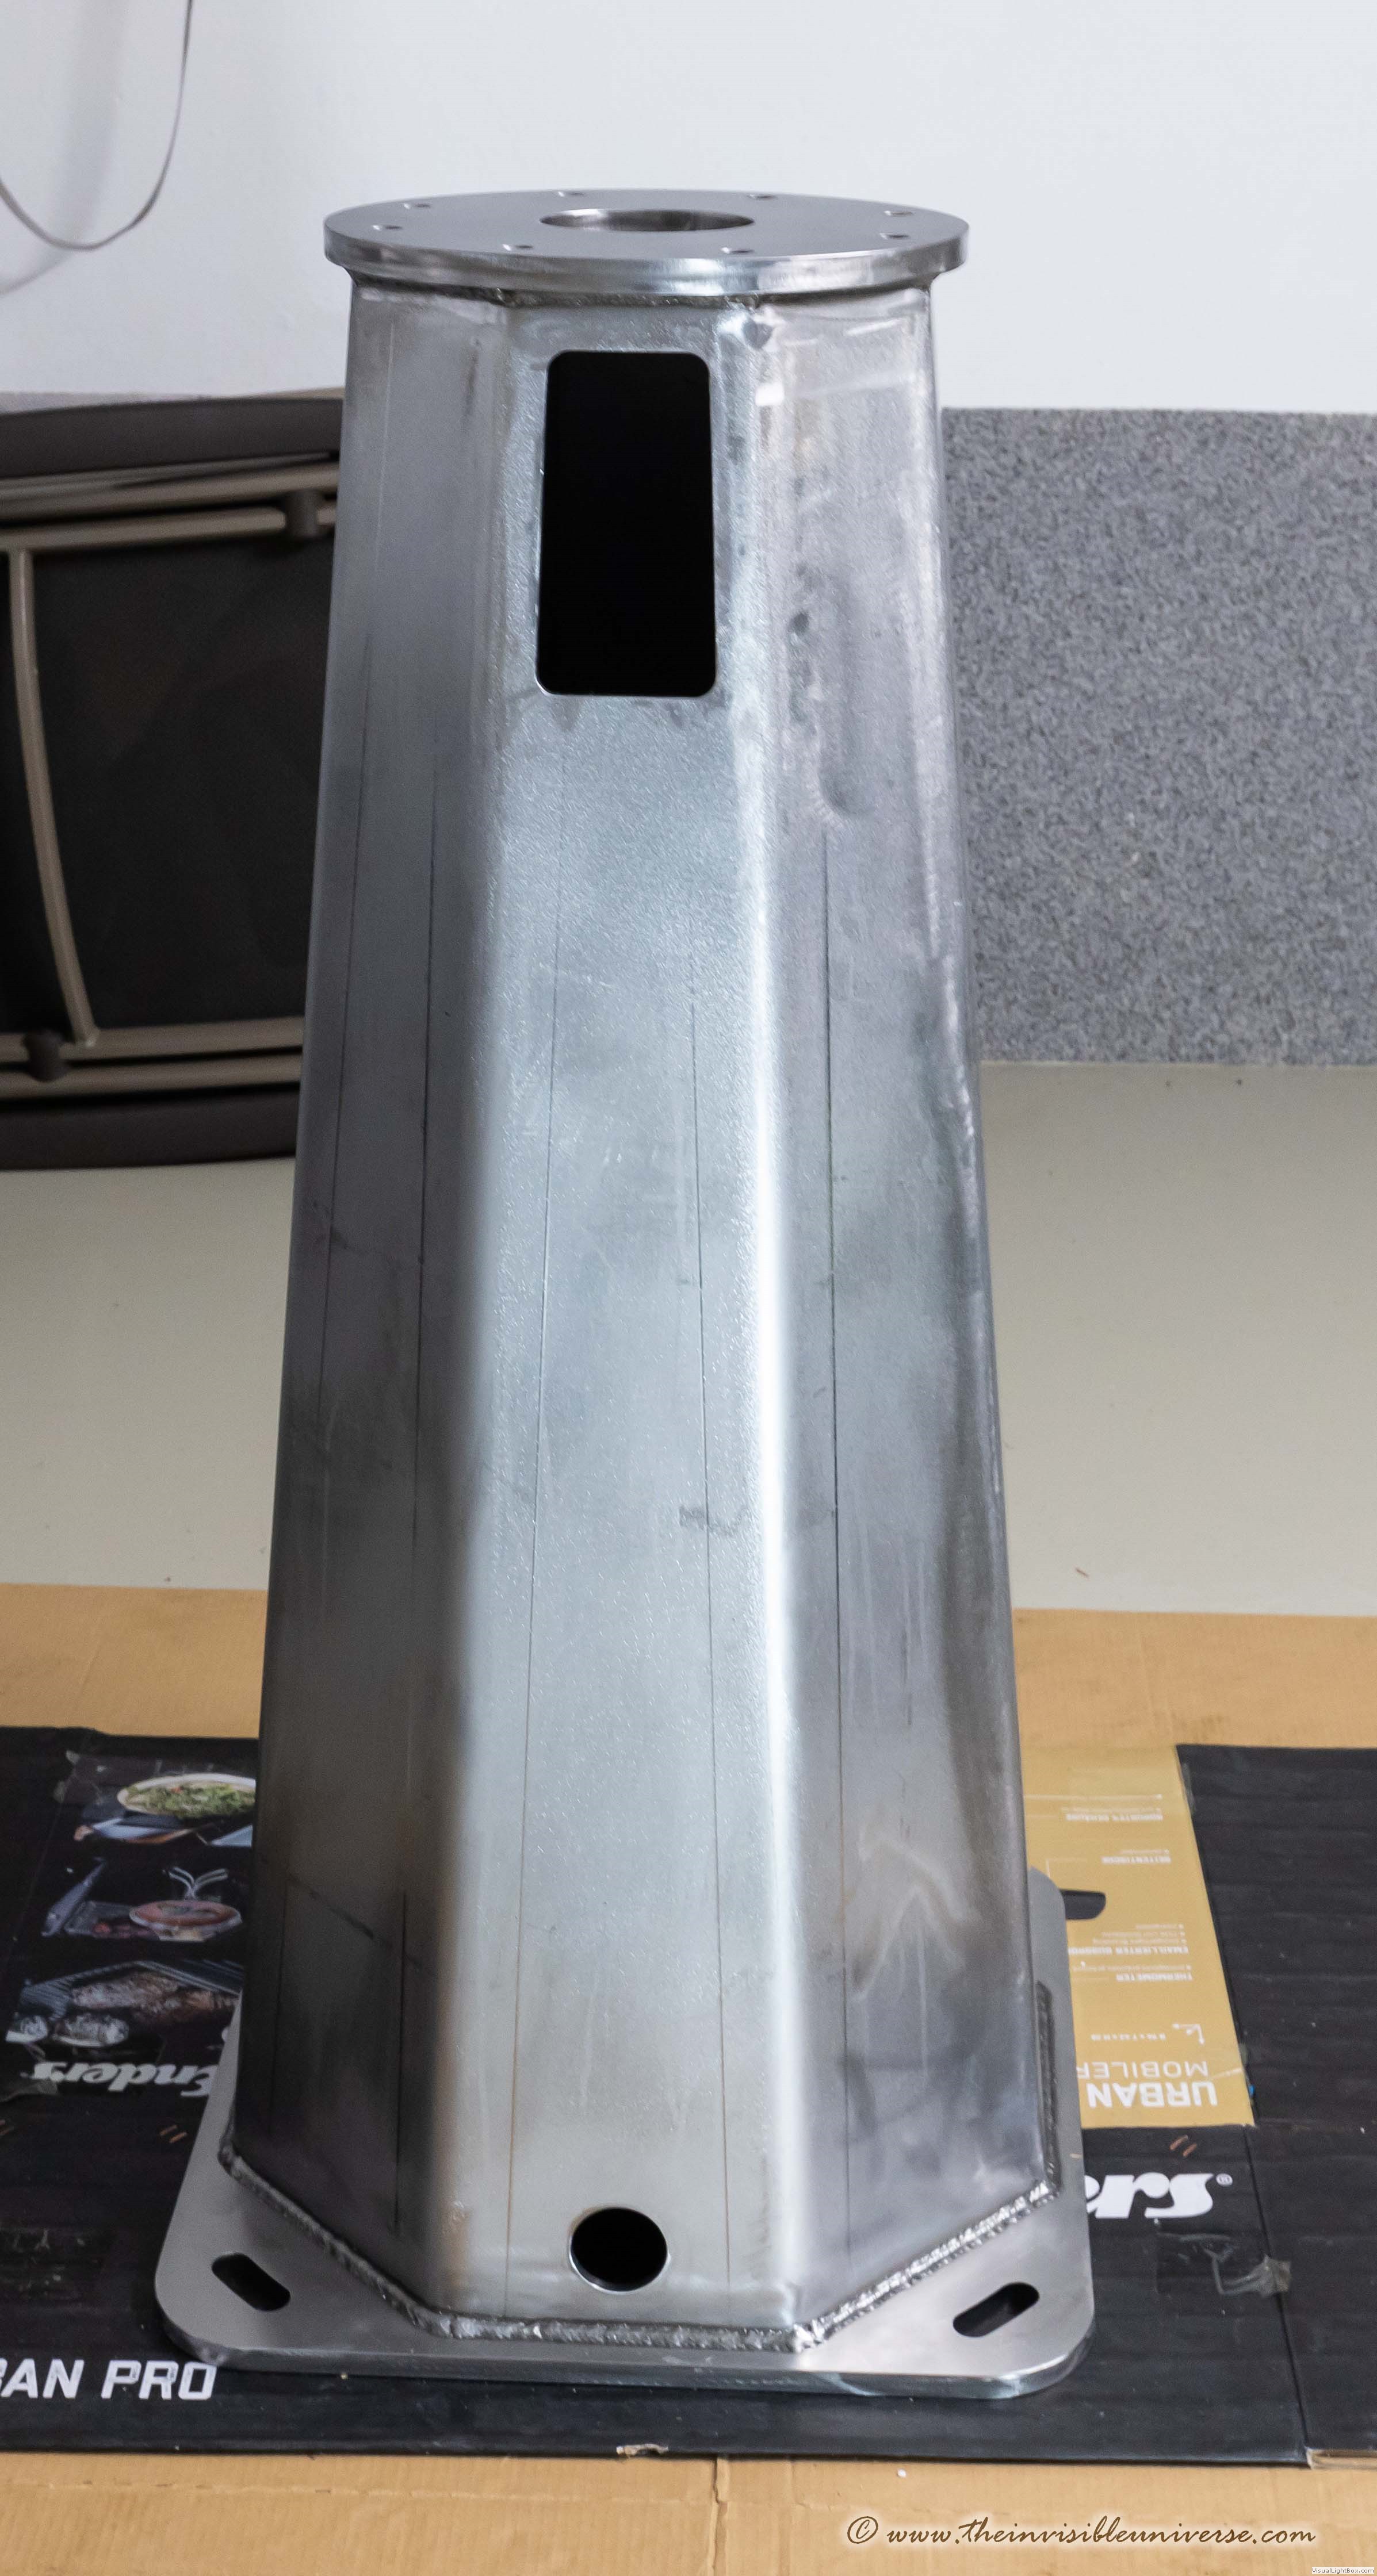 Octagonal Steel Pier_GM3000
10micron GM2000QCI Mount
Lastly a step back. My former mount for 12 years was the 10micron GM2000QCI Ultraport in eloxal fire red - monster red! This mount is reliable, solid, precise and fast. You can set it up and let it do its job. It just works - period. For a very short time I also posessed a GM2000HSP II Ultraport. But I was not satisfied with the stability of this mount, compared to the older GM2000QCI and returned it. According to 10micron, it should have had the same payload capacity. But I can say, it had not.
For a review of my former mount, the venerable 10mciron GM2000QCI please read this review of this mount.
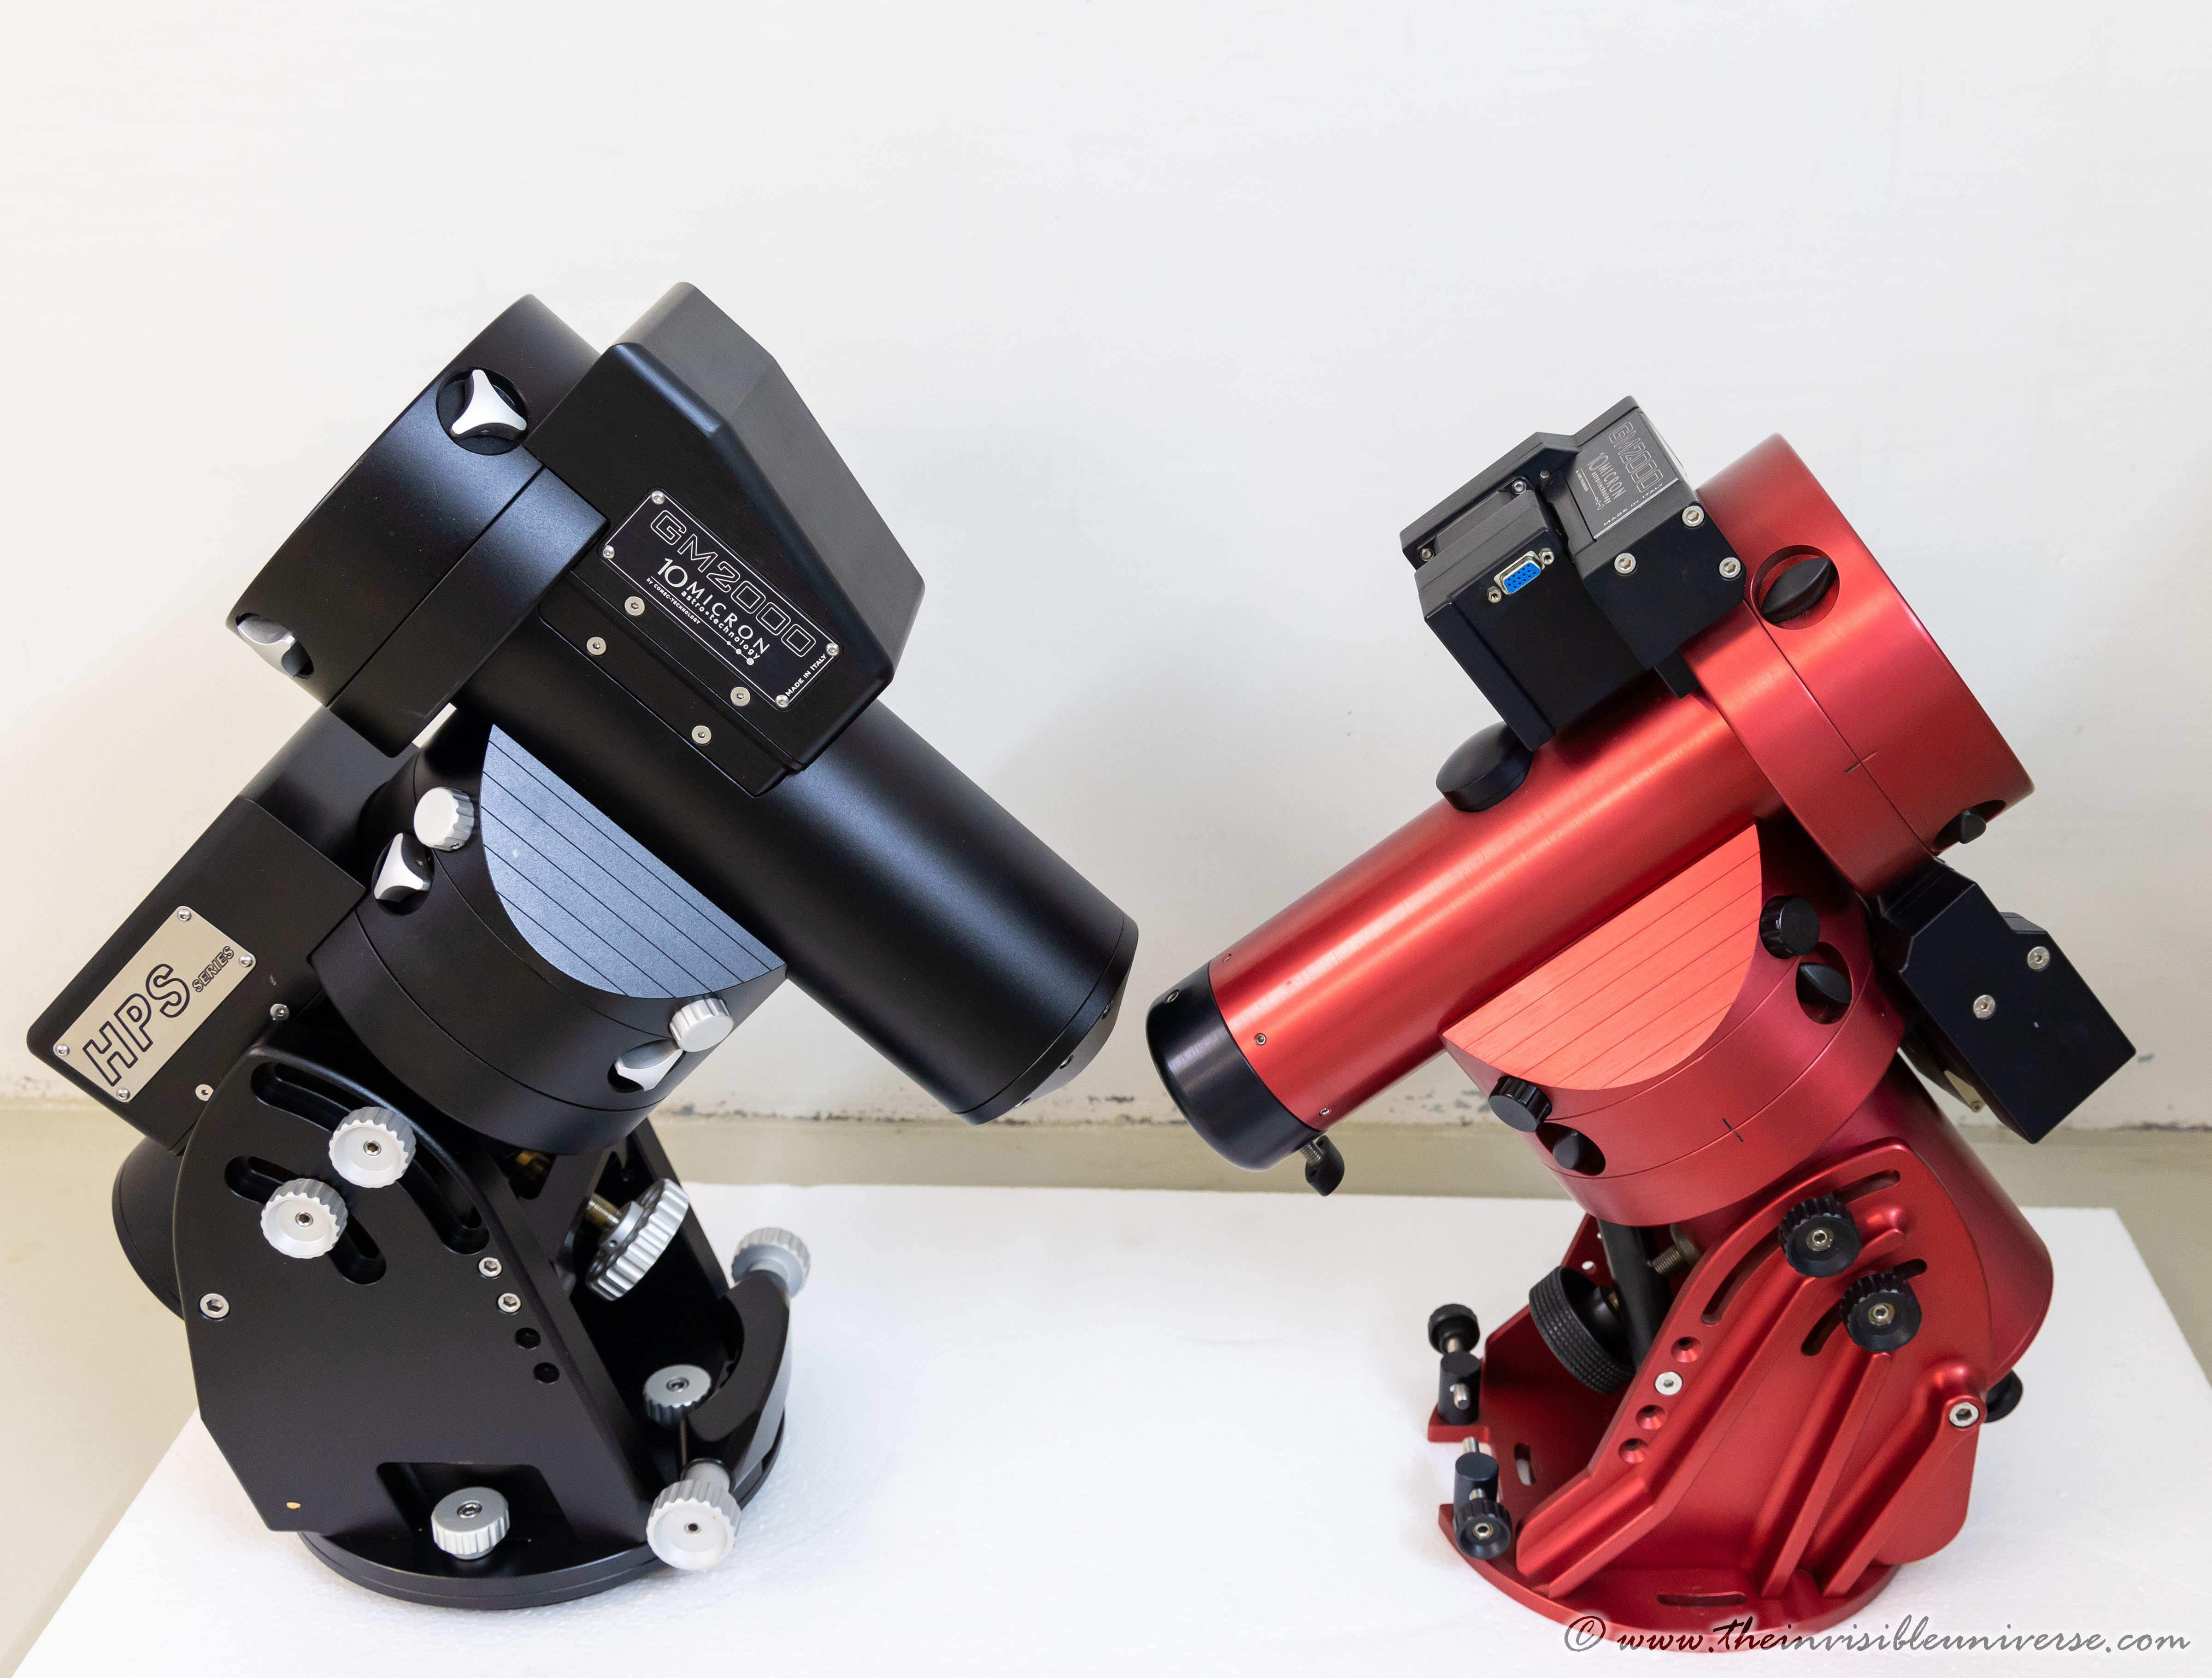
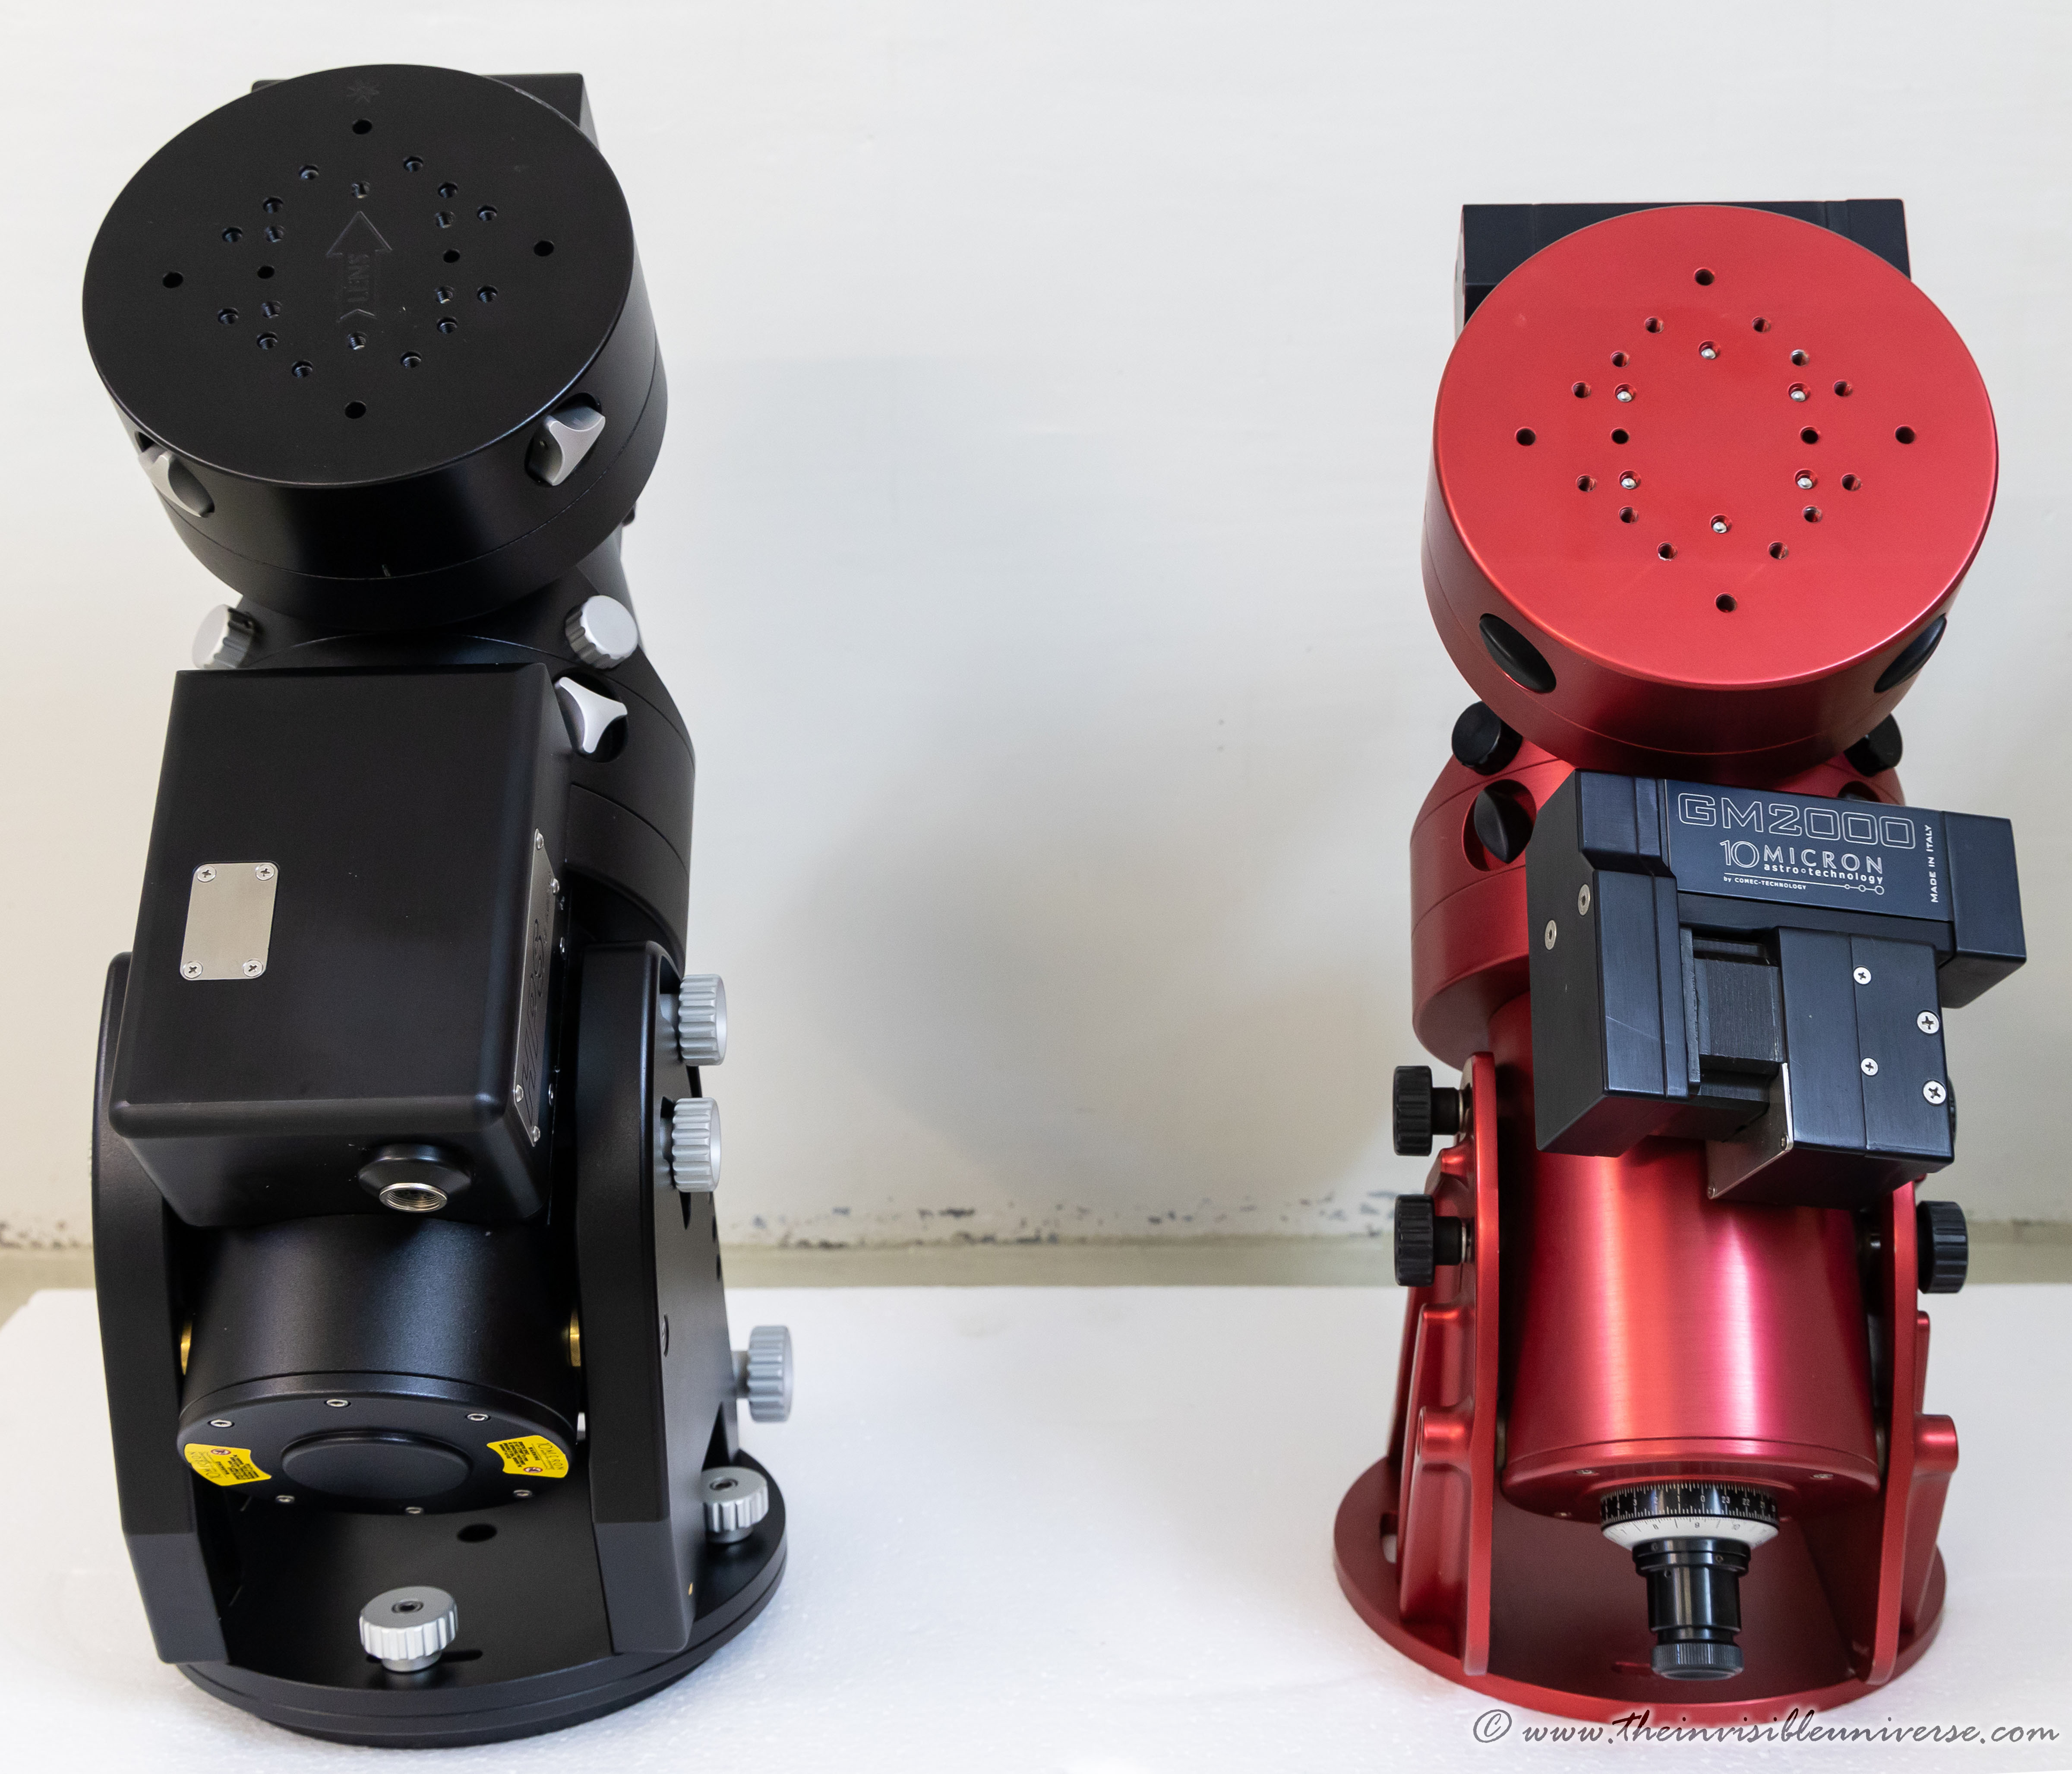
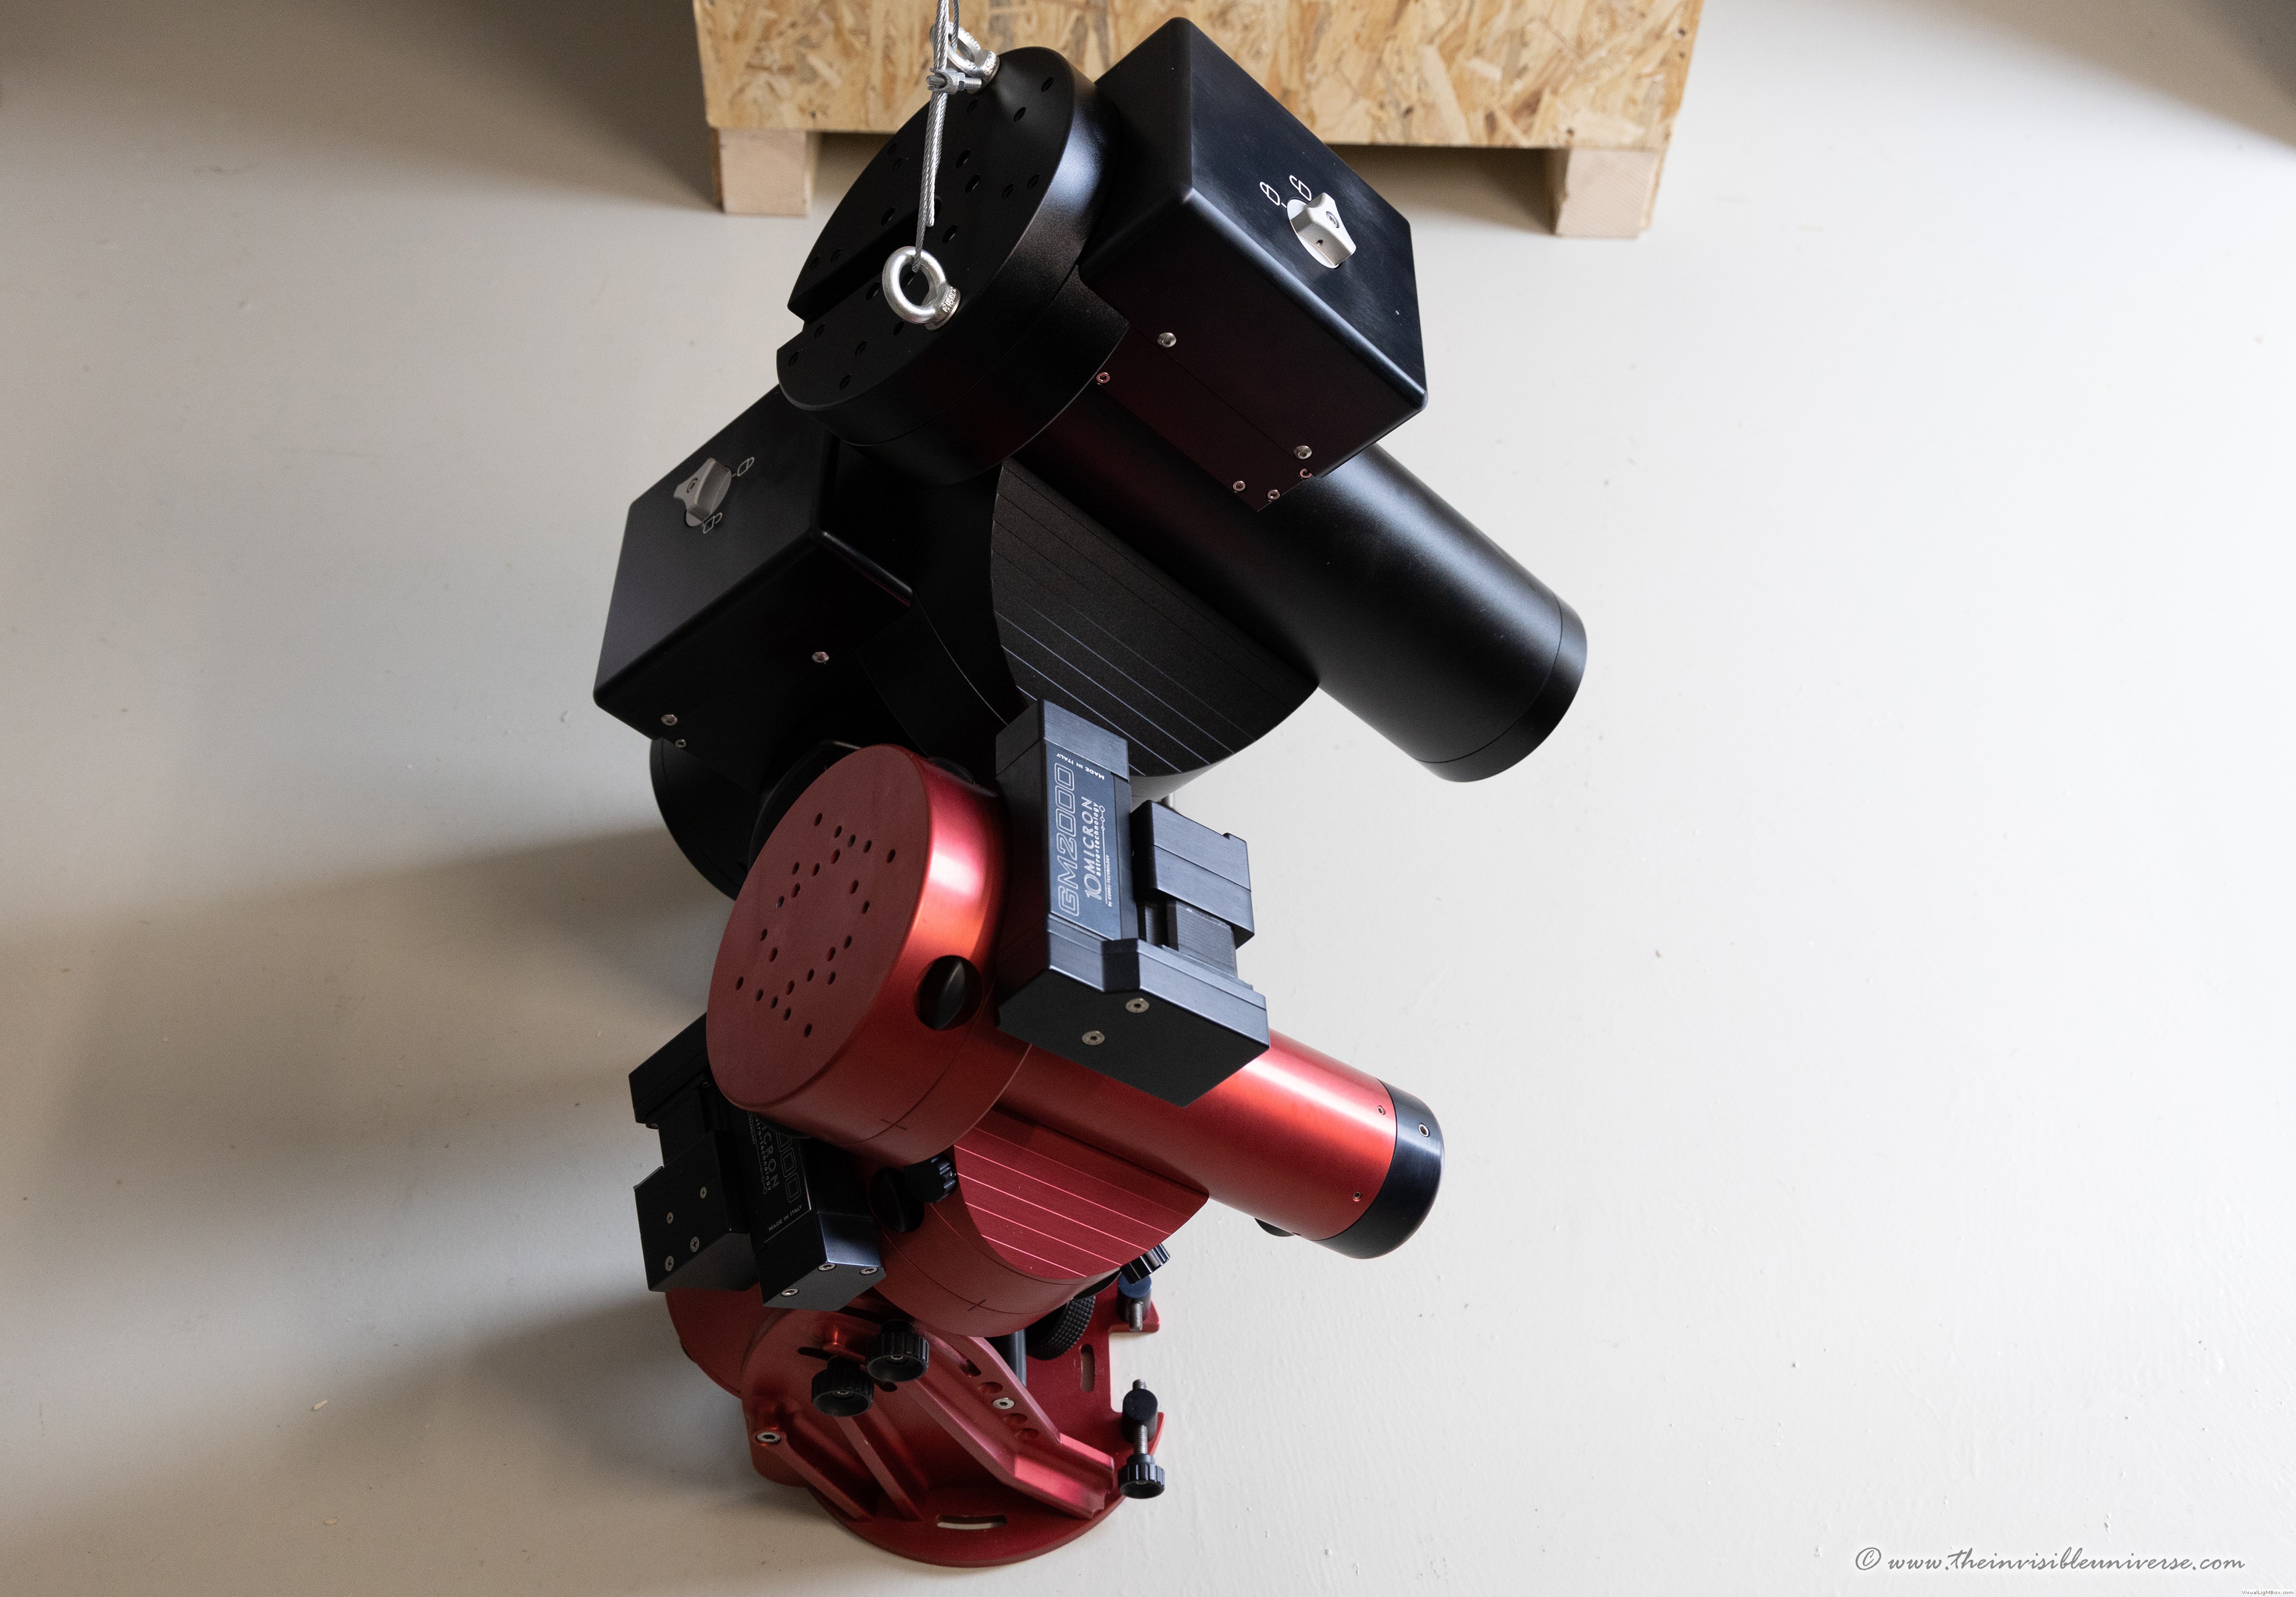
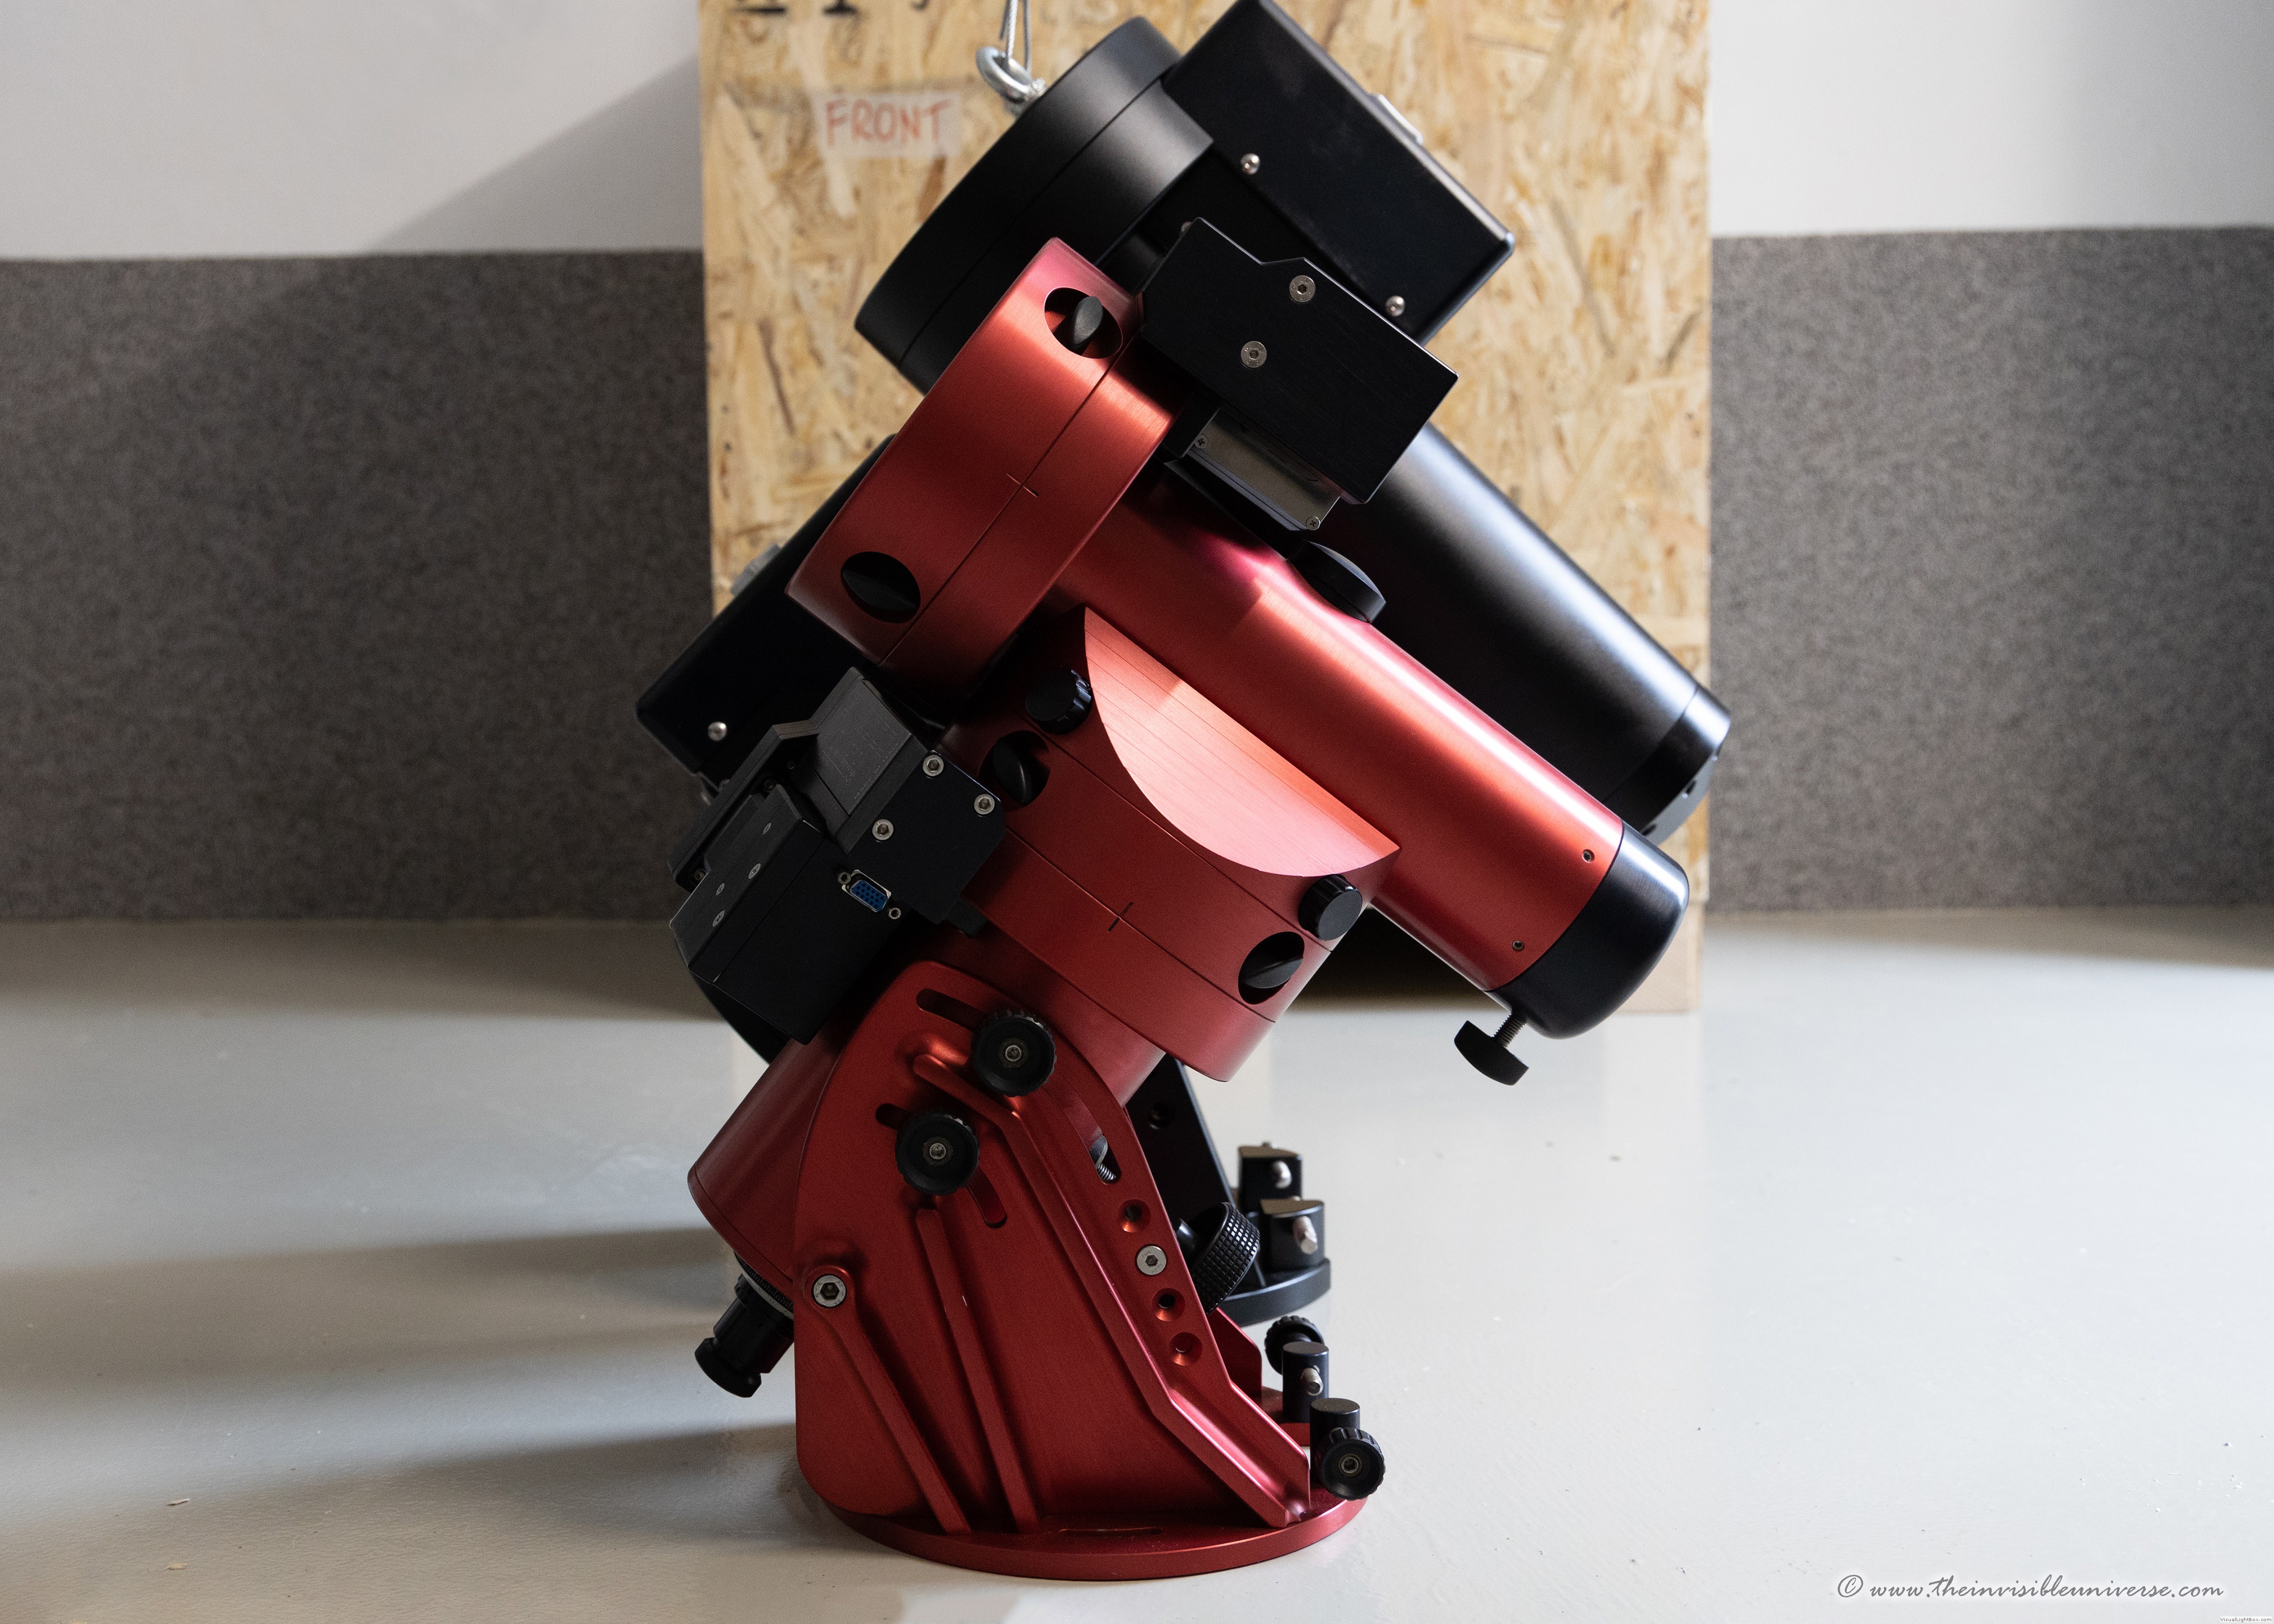
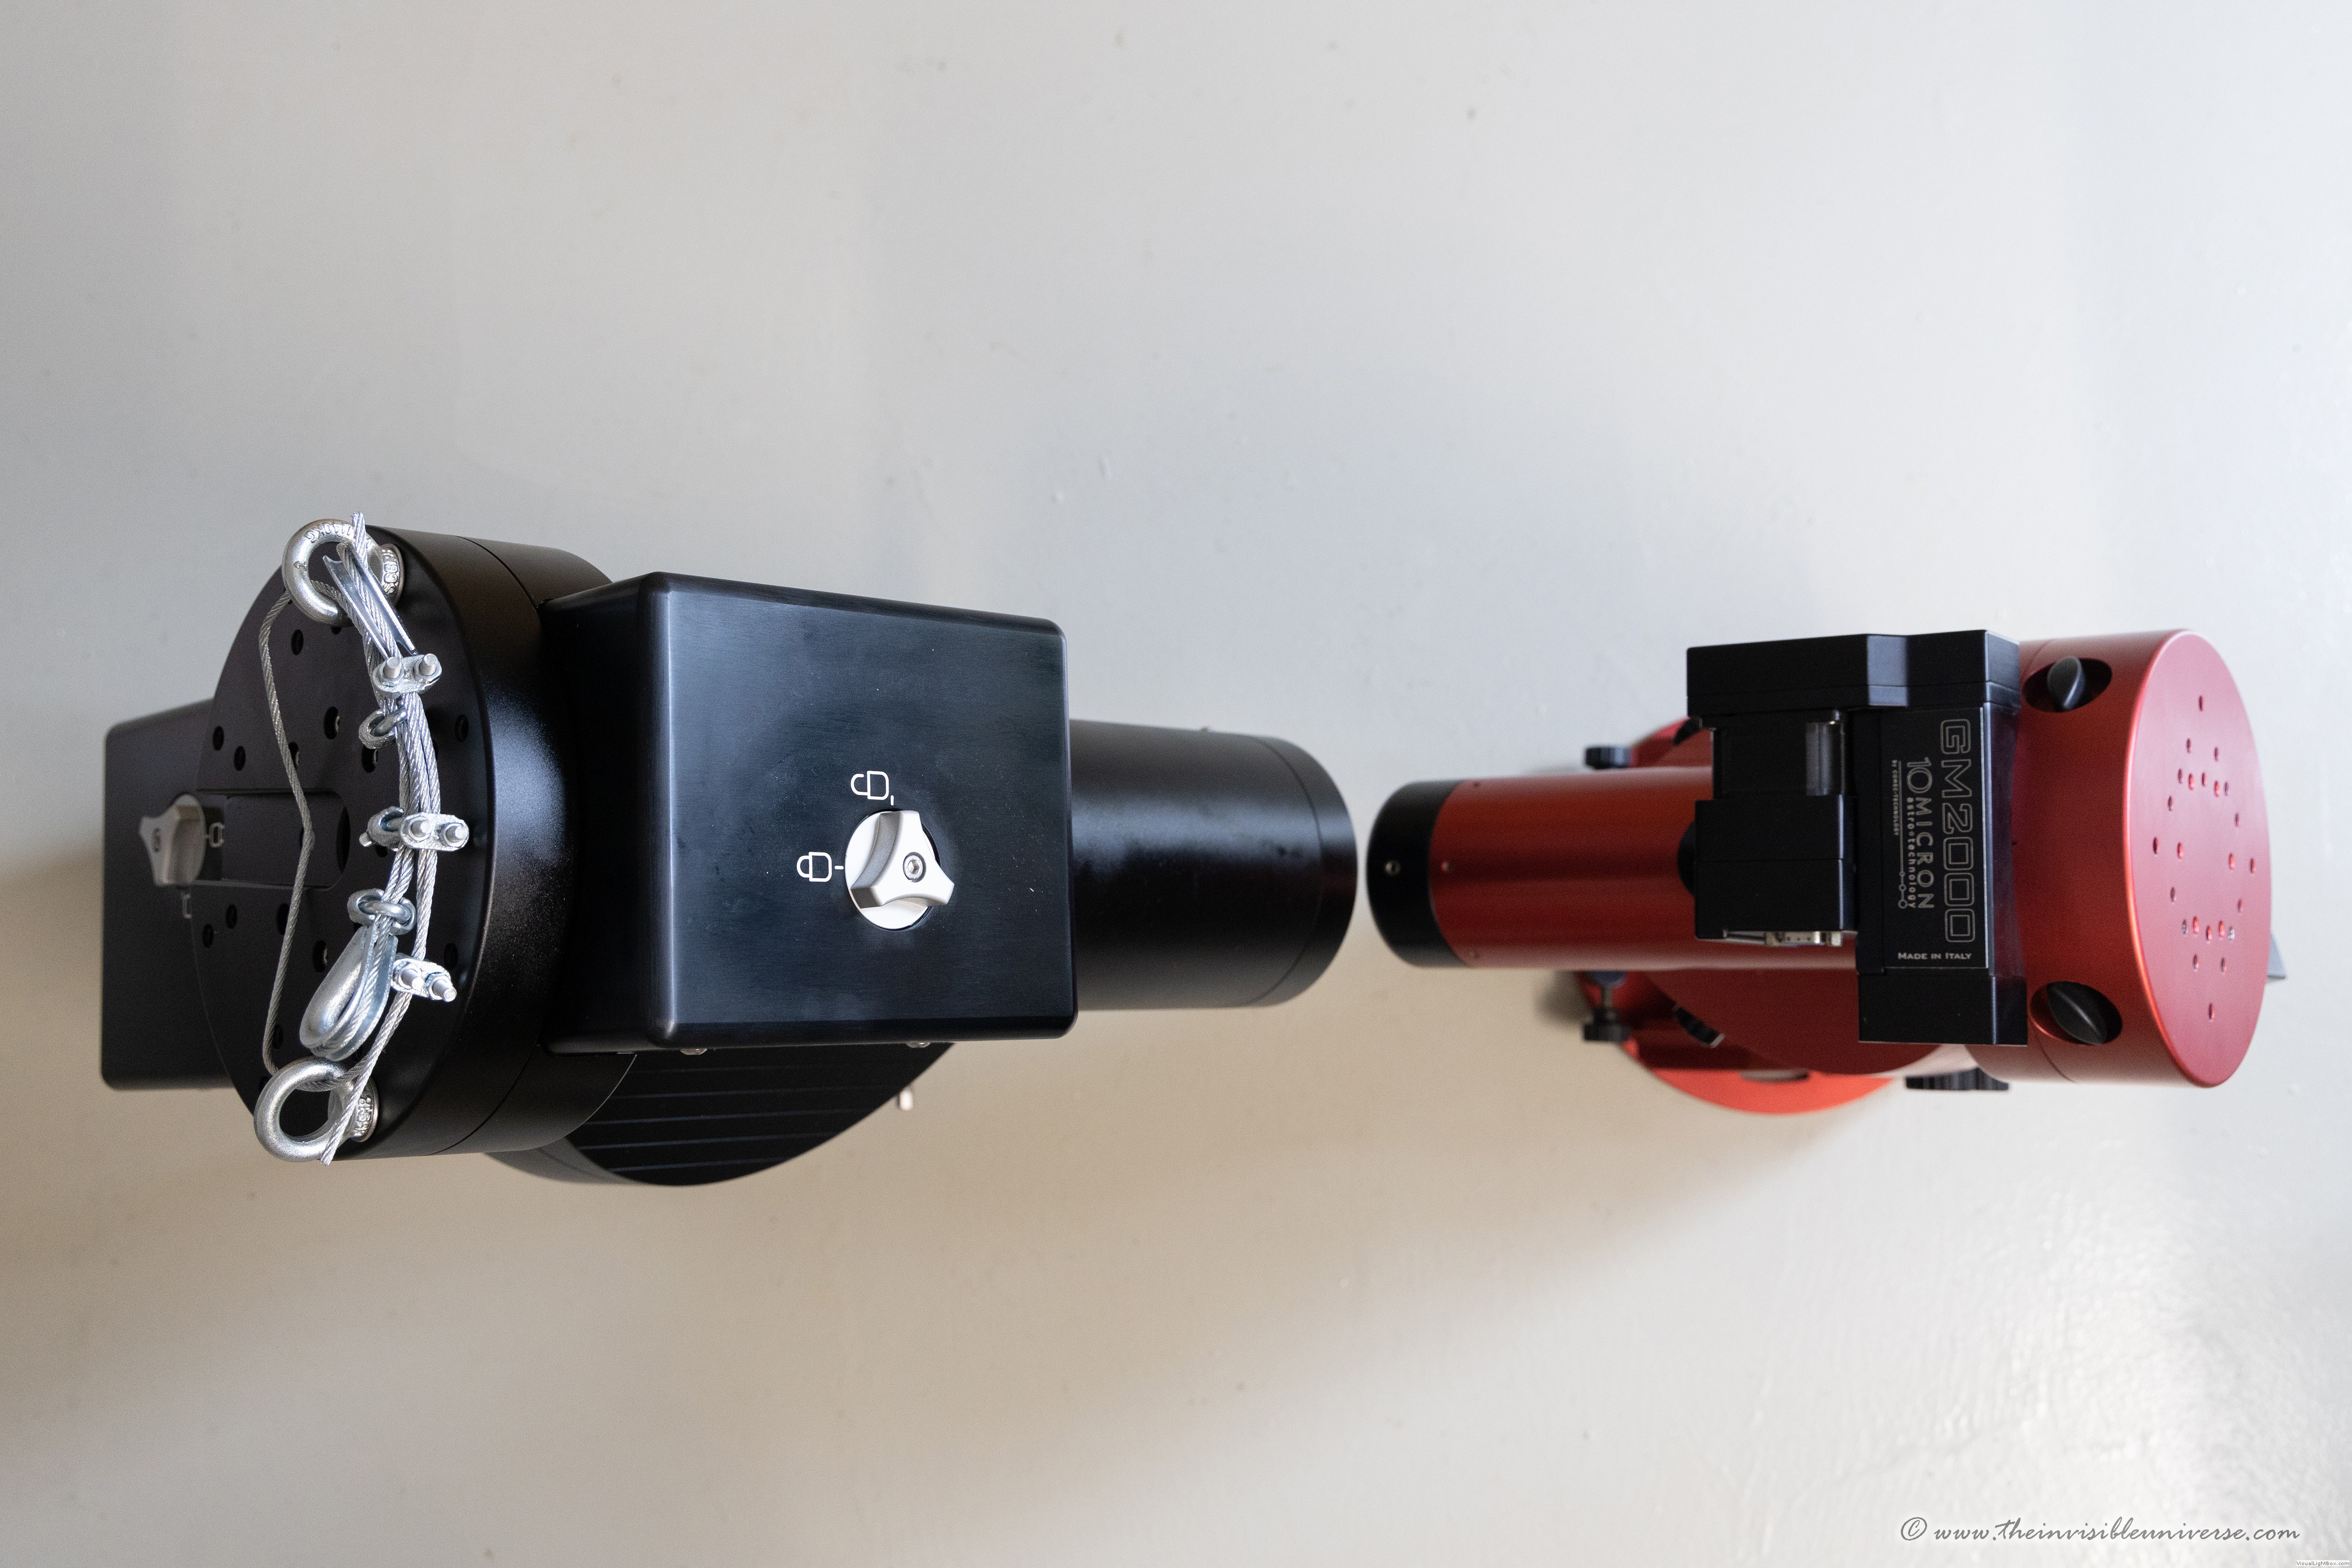
Comparison 10micron GM3000HPS vs GM2000QCI side by side
Before I lifted the mount onto the pier of my observatory, I took the opportunity to take some comparison shots of the two mounts. The GM2000QCI is a heavy amateur astronomy mount, mainly for stationary use, but also for mobile astronomy since the body is conveniently separable in two parts. The GM3000, on the other hand, is a completely different category in every respect and is not portable in any way.
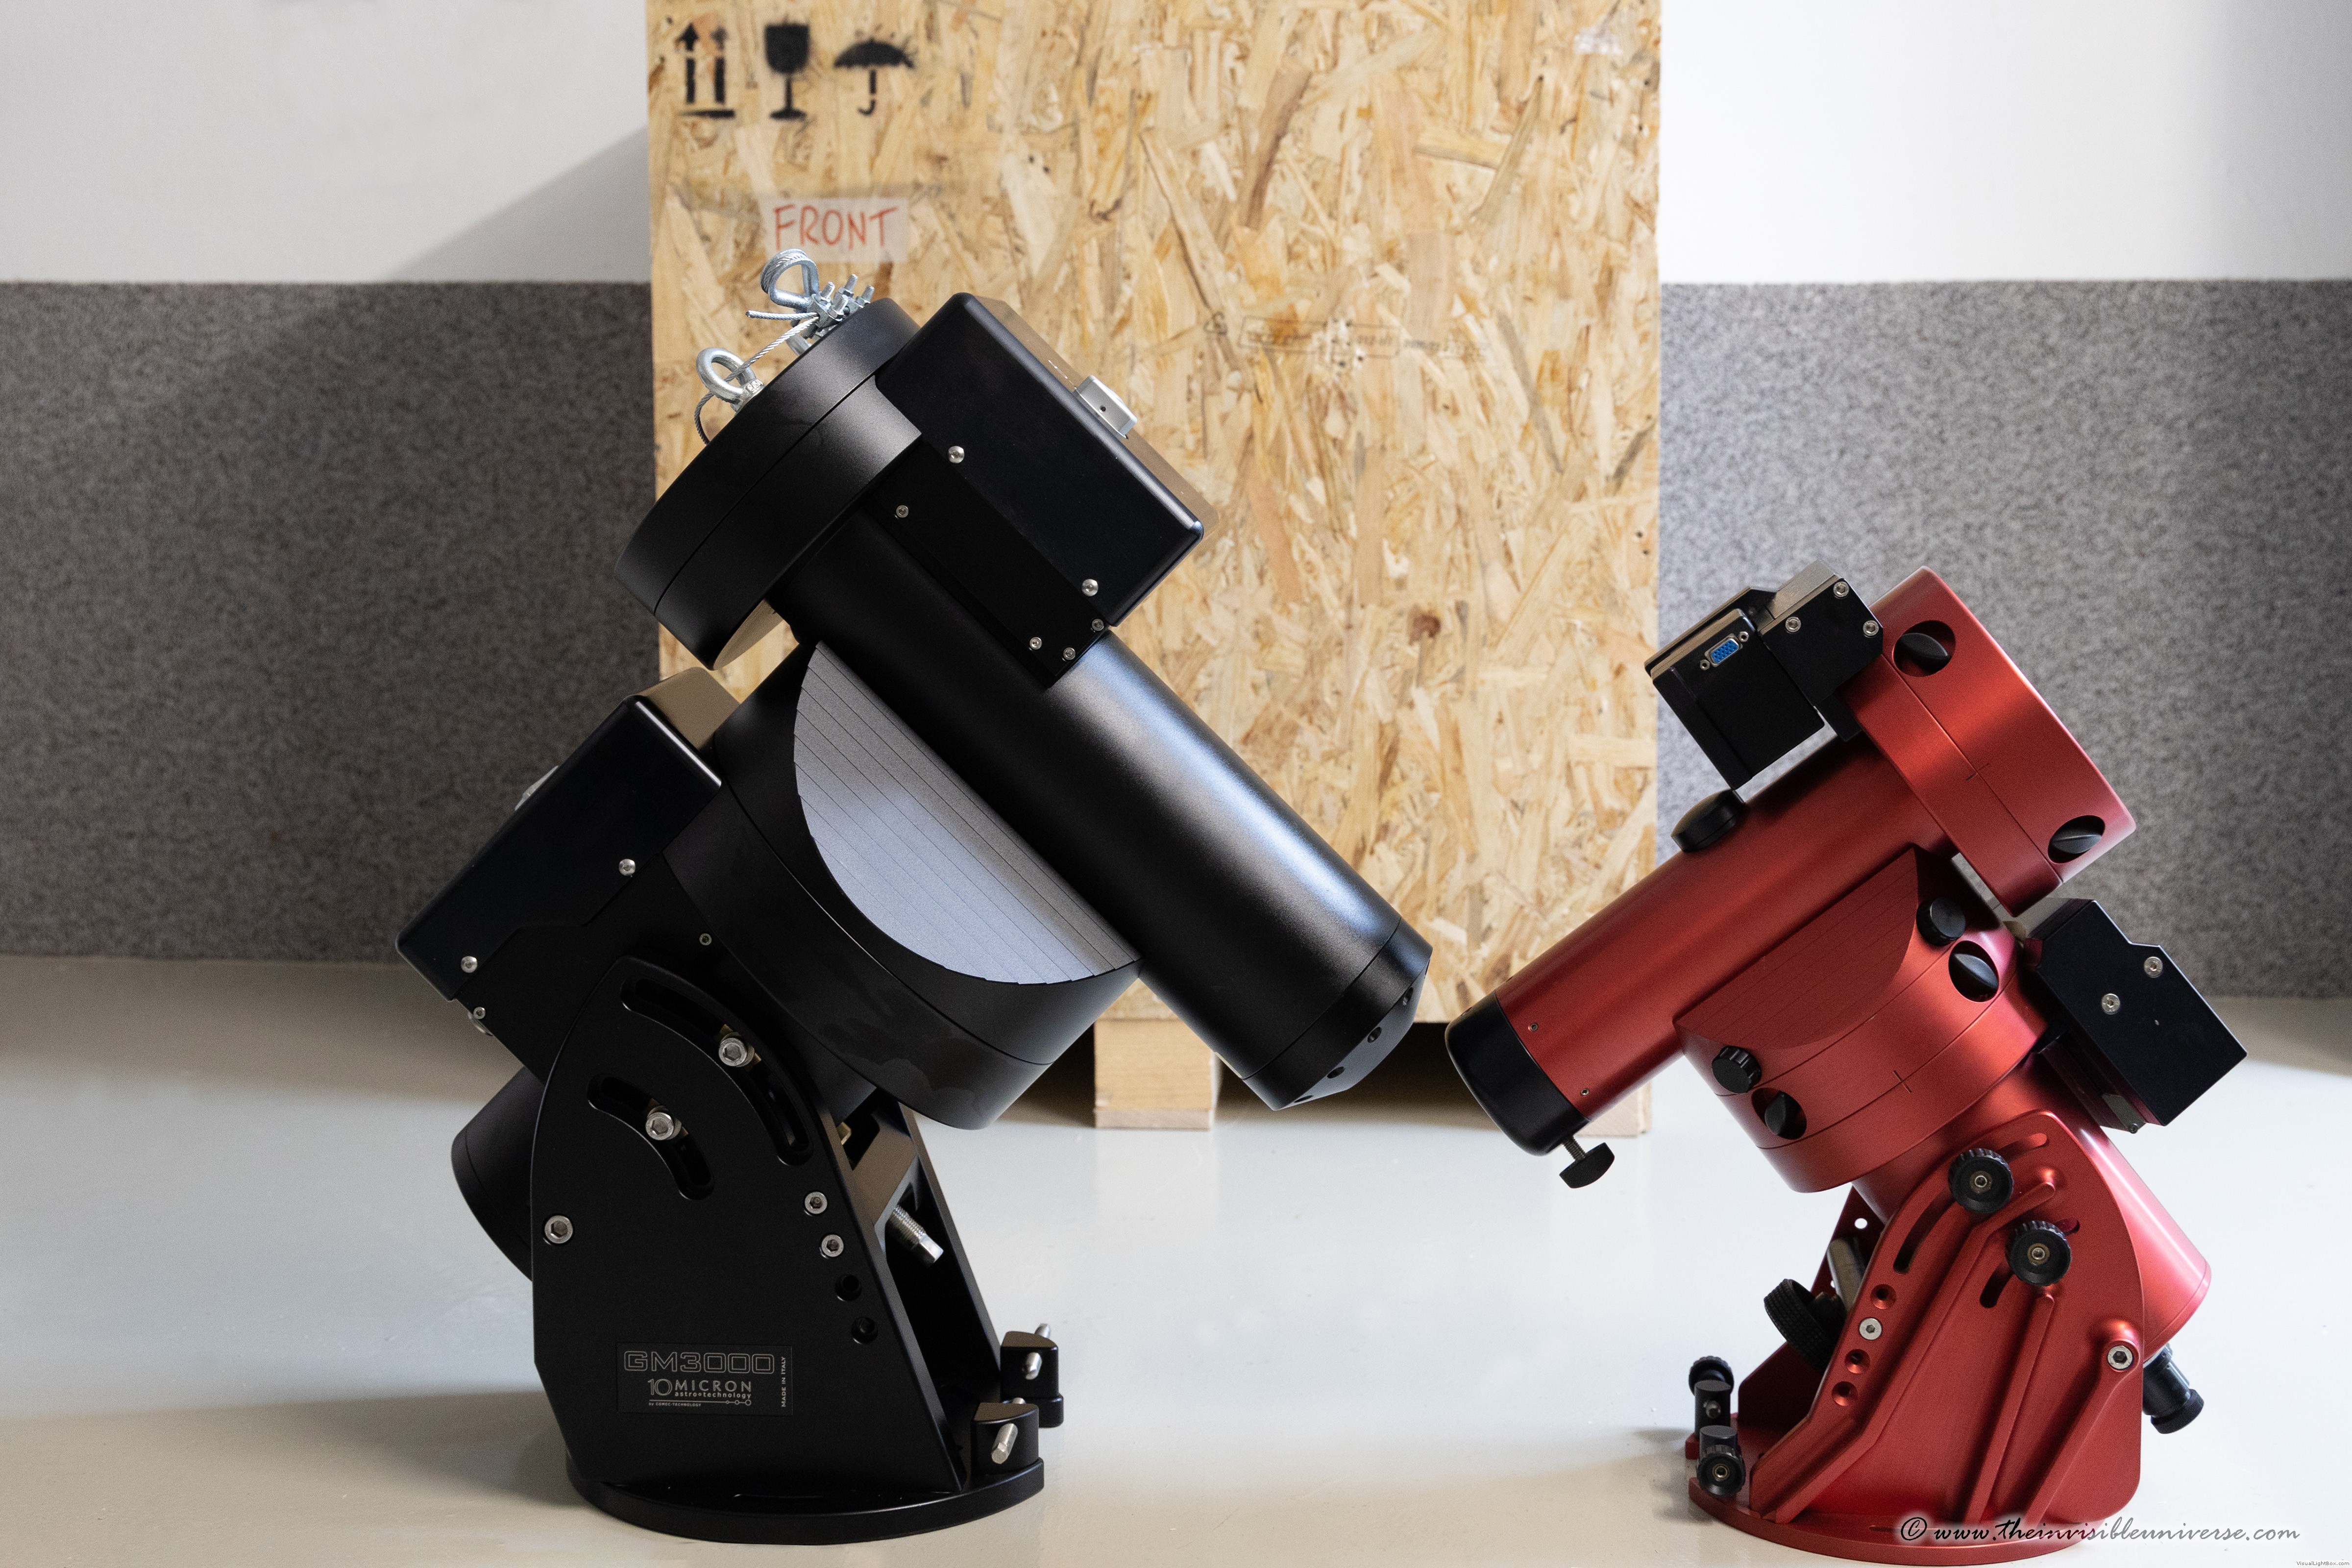 10micron GM3000HPS vs GM2000QCI - 663 vs 538 mm total height
 65kg vs 27 kg
 Side by side - 573 vs 461 mm width
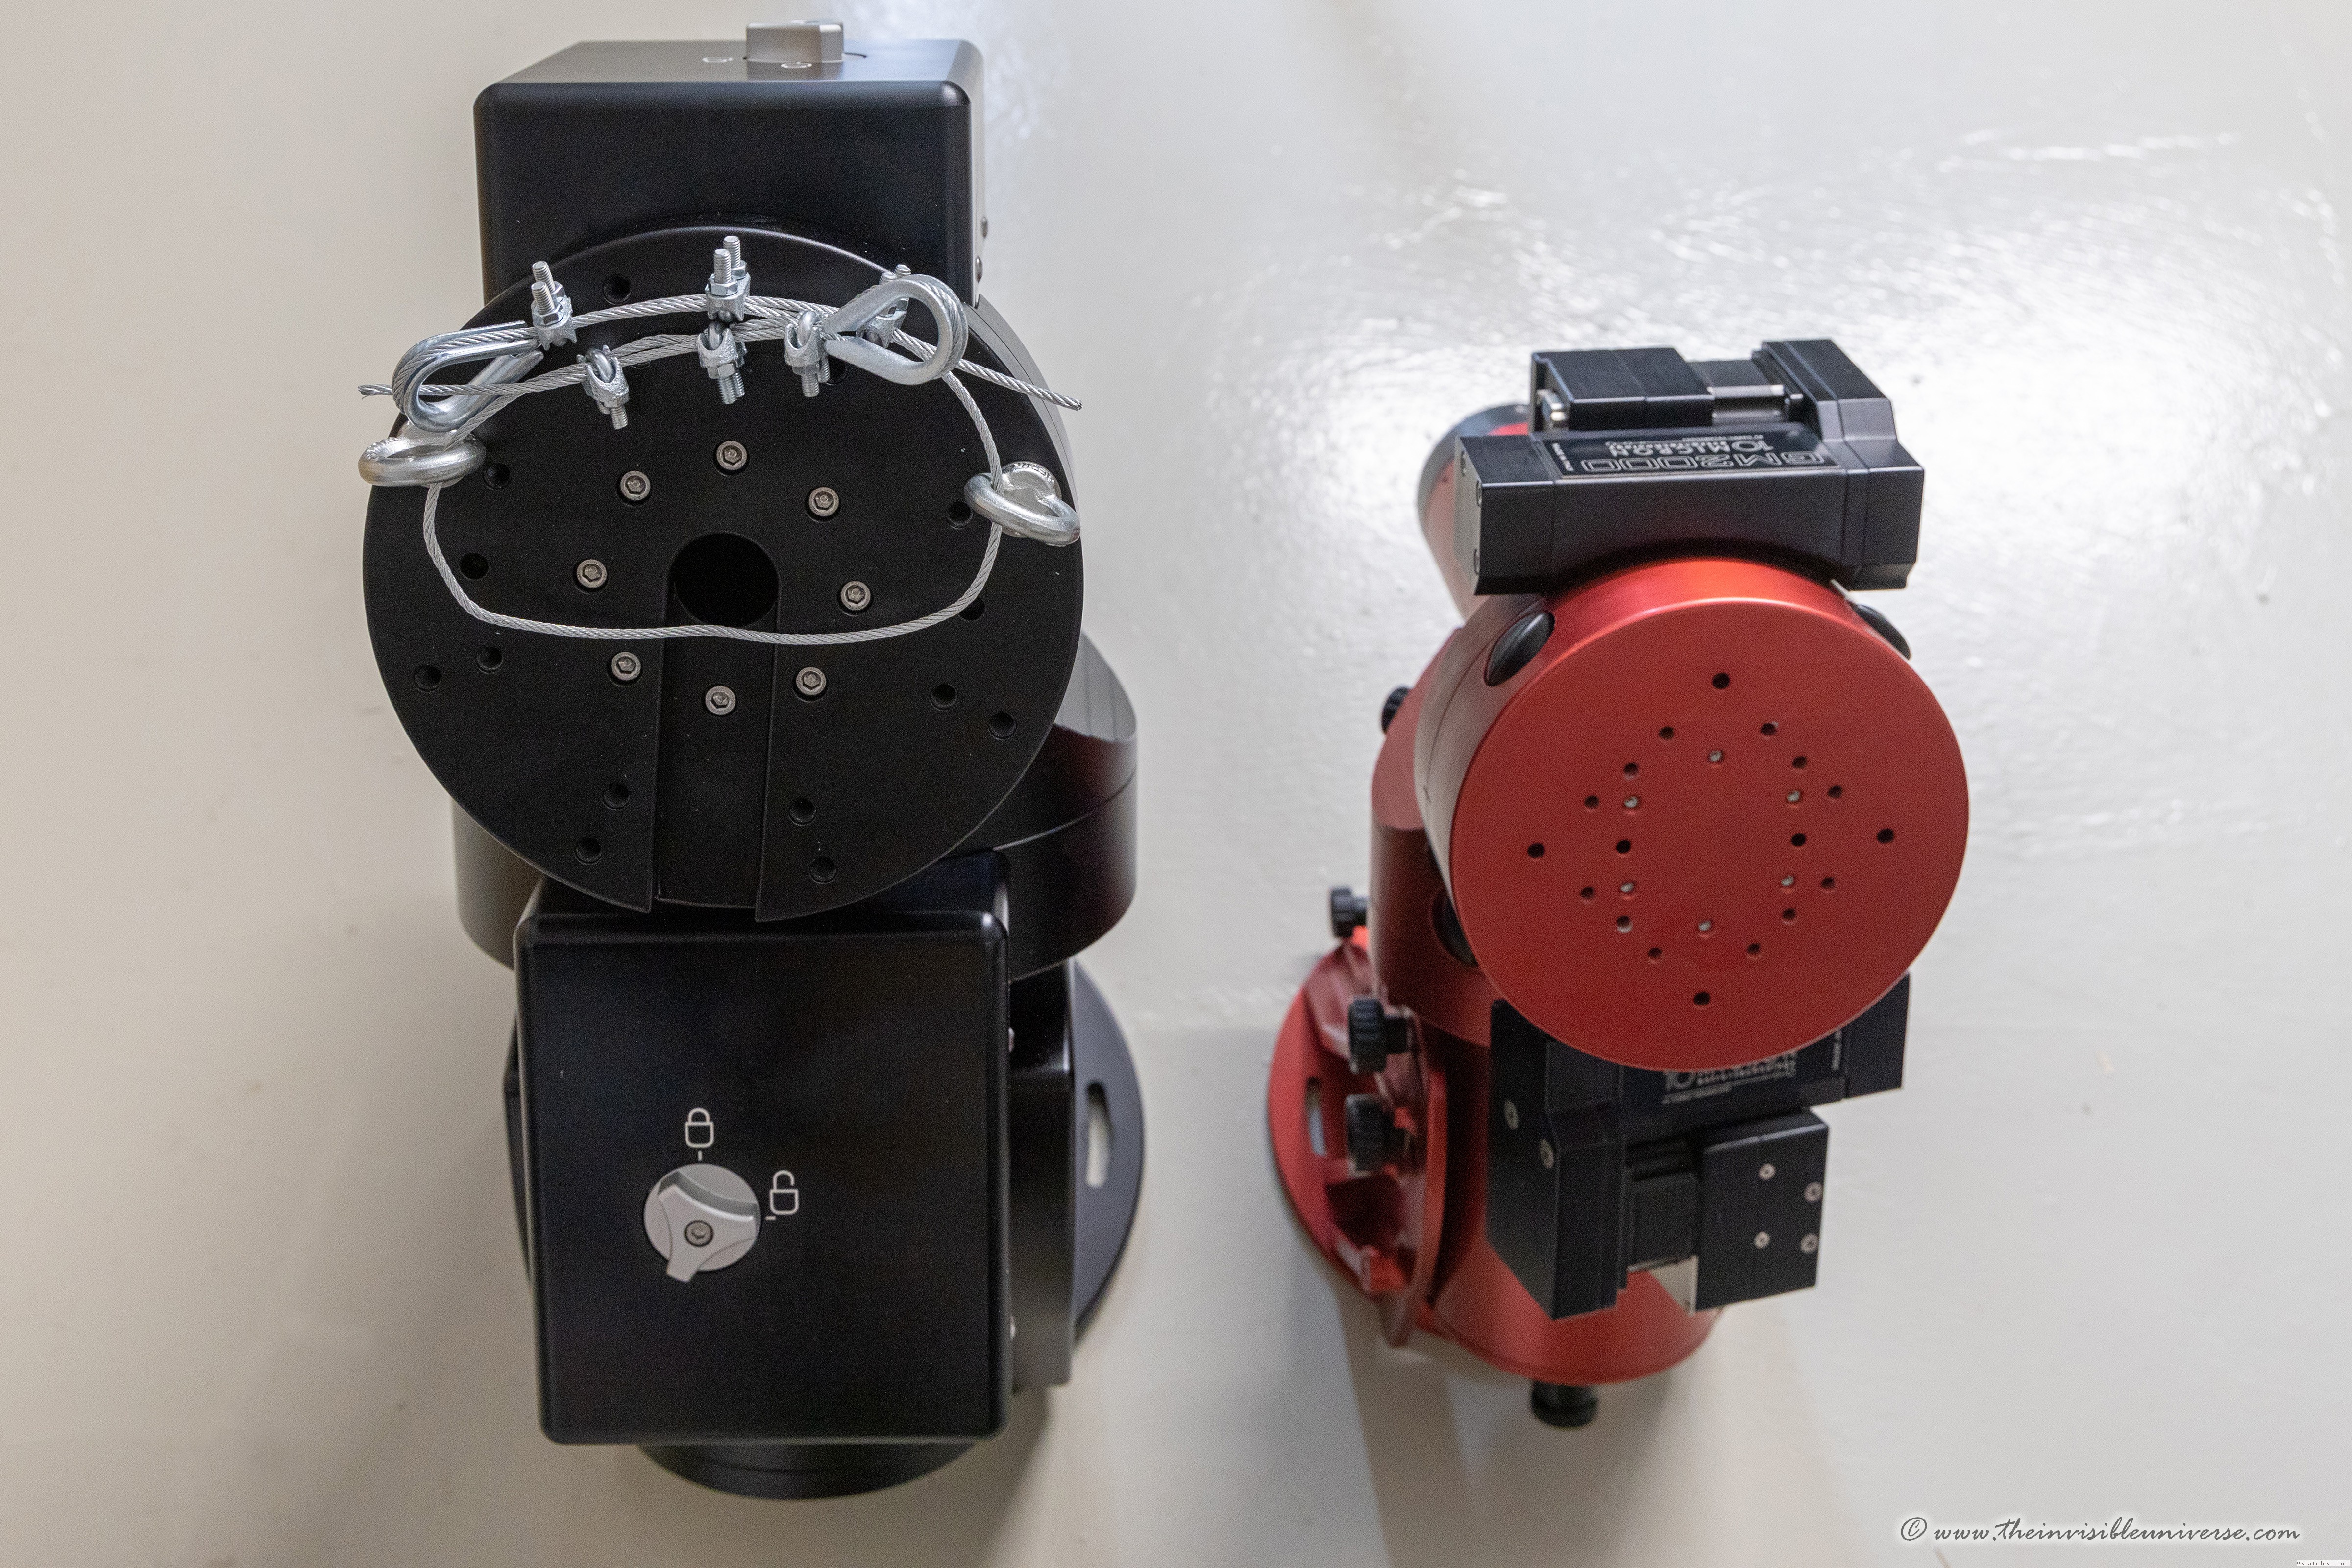 290 vs 229 mm base diameter
 244 vs 174 mm worm wheel diameter